How to Paint a House in Watercolor: A Simple Step-by-Step Guide

There is something deeply satisfying about painting a house you will never have to pay a mortgage on. No leaky roof, no property tax, no neighbors who mow their lawn at seven in the morning. Just a pencil, a few colors, and absolute architectural freedom.
This tutorial walks you through painting a cozy winter house — complete with snow on the roof, smoke from the chimney, and a dark forest behind it. The kind of place where someone is definitely inside drinking tea and not checking their email.
Prefer watching to reading?
Leave your email — we'll send you a full video lesson. Watch, pause, repeat — much easier than following text.
Done!
We'll prepare the video lesson and send it to you shortly.
What You'll Need
- Paper: watercolor paper, cold-pressed, 300 gsm — anything thinner will buckle and your house will look like it survived an earthquake
- Paints: yellow, orange, scarlet, brown, blue, dark blue-green (six colors total)
- Brushes: one round brush (size 6-8) for washes, one fine brush (size 2) for grass and details
- Water jar and a paper towel for blotting
- Pencil (HB or 2B) for the initial sketch
Step-by-Step: Painting a House in Watercolor
Step 1: Sketch the House
Start with the basic shape — two walls forming a corner, a triangular roof, and a chimney. Add a door and a couple of windows. This isn't architectural drawing, so don't measure anything. The charm of a watercolor house is that it looks slightly tipsy, like it's been standing there since the nineteenth century.

Step 2: Paint the Fur Trees
Wet the paper behind the house and start painting fur trees. Move your brush from bottom to top — this keeps the tip sharp and gives each tree a natural pointed shape. Let the colors bleed into the wet paper. The forest should feel deep and slightly mysterious, like it has opinions about your house.

Step 3: Add Blue Strokes in Front
A few blue strokes in front of the house suggest shadows on the snow. Don't overdo it — two or three is enough. Snow is mostly about what you leave unpainted.

Get a free video lesson
We'll send you a step-by-step tutorial from a professional artist — start painting today.
Awesome!
We'll prepare the lesson and send it to you shortly.
Step 4: Wash the Walls with Yellow
Wet both walls and lay in a warm yellow. This is the foundation — it makes the house look like there's a fireplace inside, even if you haven't drawn one. Yellow walls in watercolor are basically the visual equivalent of comfort food.

Step 5: Add Orange and Brown Shadows
While the yellow is still damp, drop in orange, scarlet, and brown — especially on the right wall, which sits in shadow. The colors will blend on their own. This is the step where the house stops being a flat rectangle and starts looking three-dimensional.

Step 6: Snow on the Roof and Chimney Smoke
The roof stays white — that's your snow. Leave it alone. For the chimney smoke, paint a soft gray wisp and immediately blur the edges with a wet brush. Good smoke in watercolor should look like it's not entirely sure where it's going. Much like smoke in real life.

Step 7: Dry Grass and Details
Switch to your thin brush and paint dry grass around the house with quick upward flicks. Each stroke should be fast and confident — hesitate and you get a blob instead of a blade. A few dozen strokes and suddenly it looks like late autumn around the foundation.

Step 8: Final Touches
Now the dark accents: doors, windows, the underside of the roof, the shadow on the right wall, the chimney. Use a strong, dark color — almost black. These details tie everything together and make the house pop against the snowy background.

General Principles of Painting Buildings
The secret to painting houses is that you're not really painting the house — you're painting the light on the house. The sunny wall is warm yellow. The shadow wall is cool brown. The roof catches the sky's color. Once you see a building as a collection of colored surfaces rather than a "house," everything clicks.
Another principle: the background goes first. Paint the sky and trees before touching the house. This way the house sits naturally in its environment instead of floating in a white void like a real estate brochure.
And don't forget the small lies that make a painting true. A wisp of smoke says "someone lives here." A warm glow in a window says "it's evening." A crooked door says "this house has character." Details are cheap. Spend them generously.
After three or four houses, you'll start noticing walls differently. The way afternoon sun turns a white wall pale orange. The way rain makes bricks darker at the bottom. You'll photograph buildings and annoy your family by explaining the color temperature of shadows. This is normal and there is no cure.
What's Next
You've just painted a house. One cozy, snow-covered, slightly crooked house. But in doing so you practiced wet-on-wet trees, color mixing on paper, and the art of leaving white space — three skills that apply to every landscape you'll ever paint.
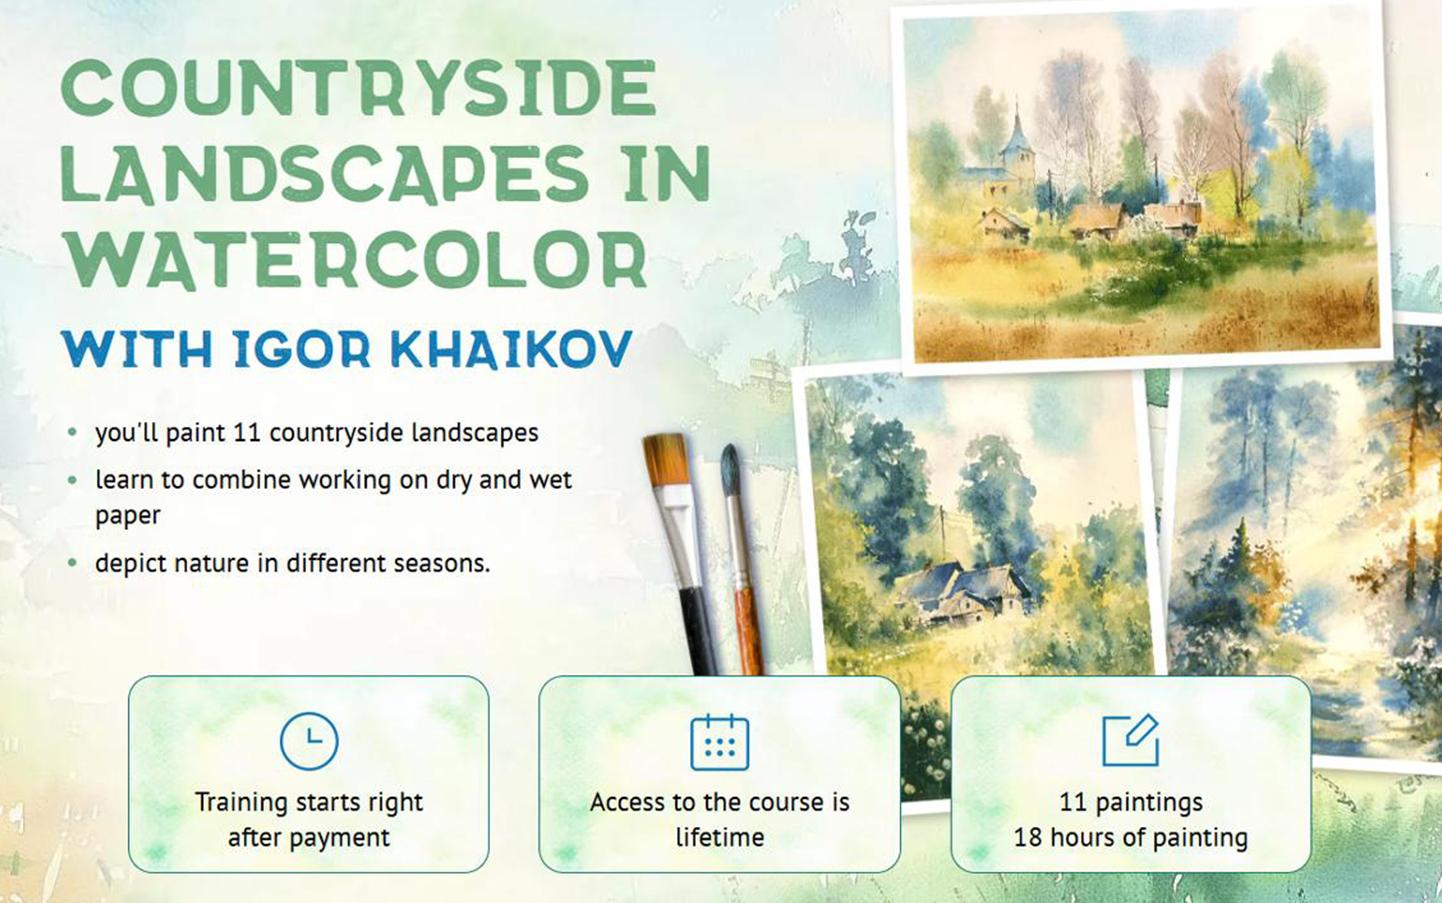
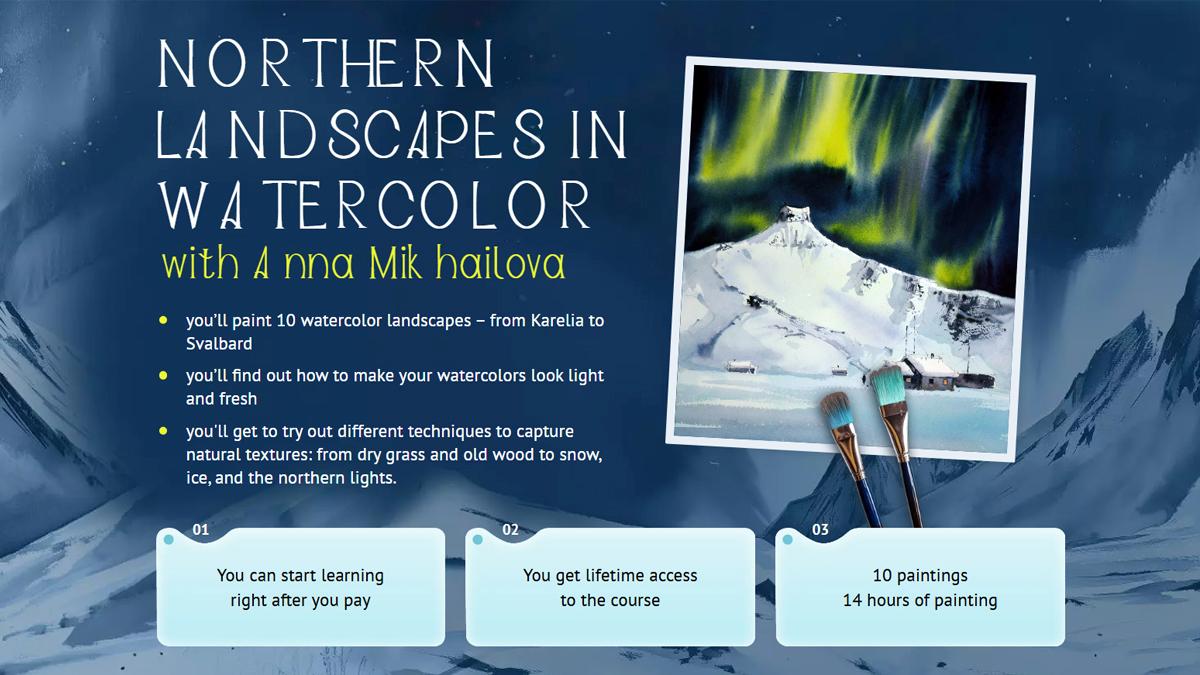
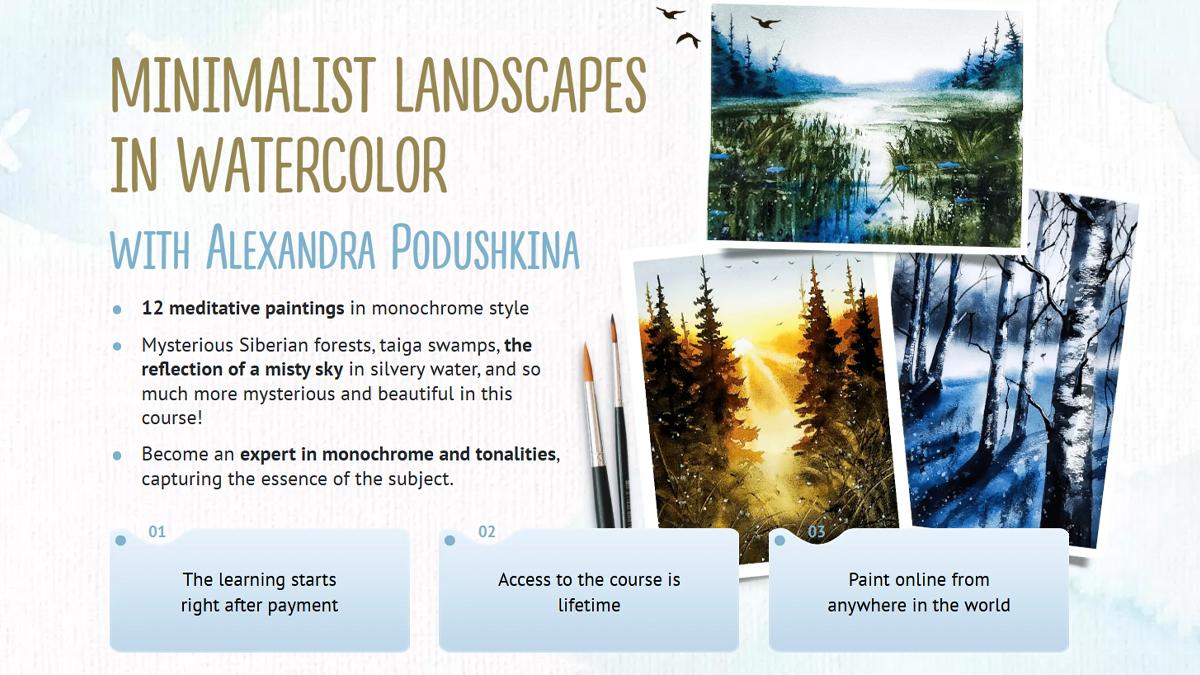
Try a different landscape scene next — a forest, a mountain, a seaside village. Each one builds on the same fundamentals. Or explore our landscape courses where professional artists guide you through dozens of scenes from gentle countryside to dramatic northern light.
Next time you drive past a cottage in the countryside, you'll catch yourself squinting and thinking "warm yellow wash, brown shadow, blue snow." The person in the passenger seat will be confused. That's how you know it's working.
Frequently Asked Questions
Try painting it yourself
Free step-by-step video lesson delivered to your email — start painting today.
Awesome!
We'll prepare the lesson and send it to you shortly.