Feminine Portraits in Markers course with Maya Filippova
- Draw 8 portraits with different looks and moods
- Master facial construction and proportions for harmonious, striking portraits
- Learn to convey character and emotion through facial details and the gaze
What this course is about
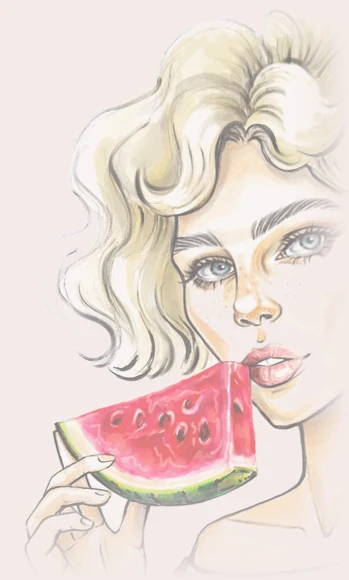
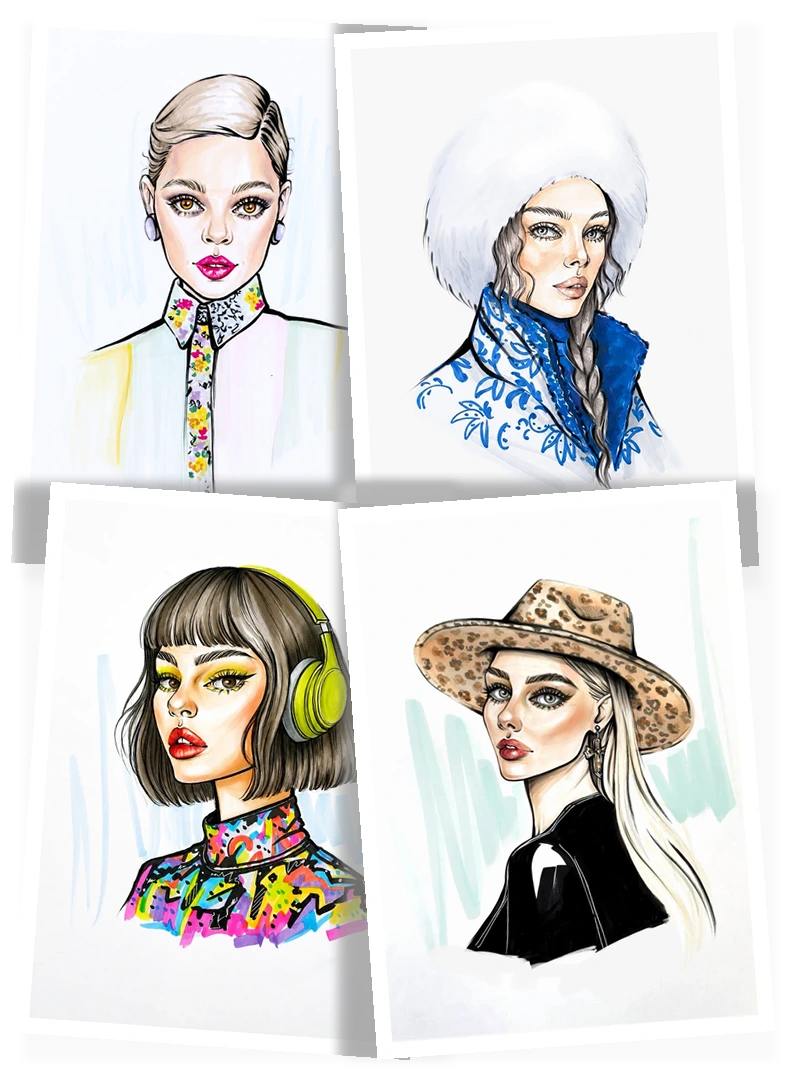
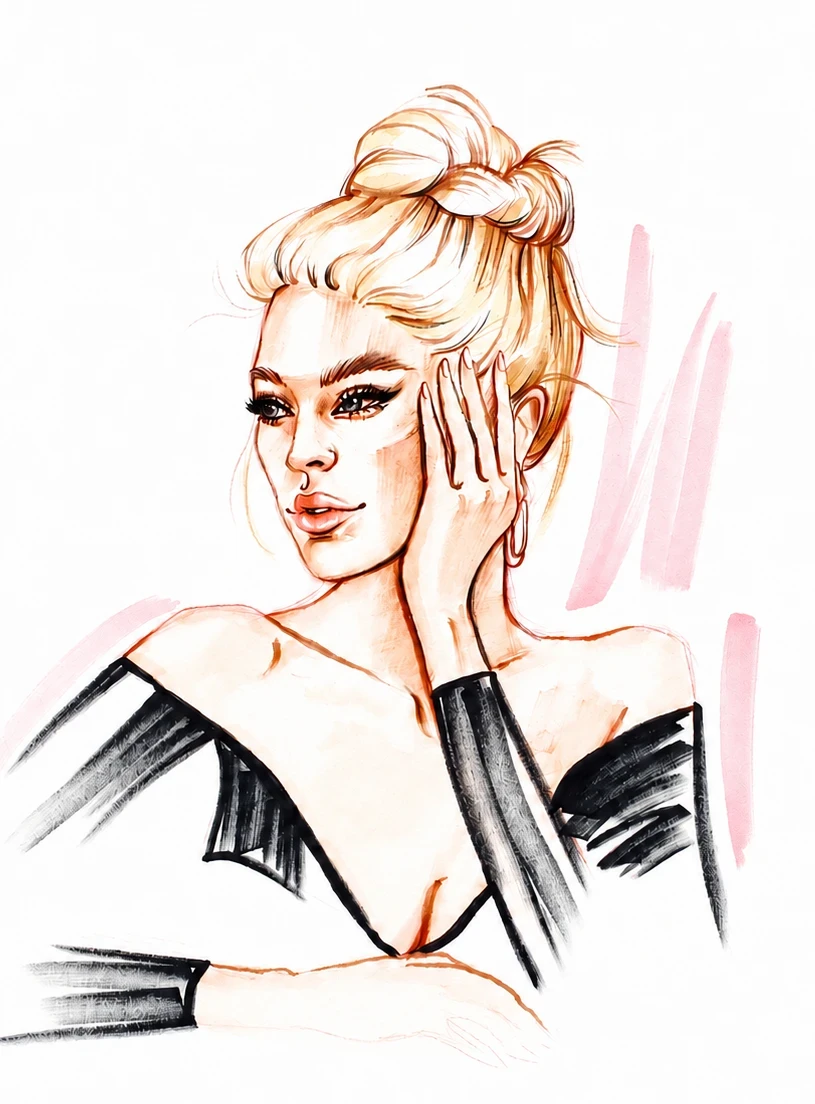
This is a portrait course with one main focus: a woman's character. Each work in the course is devoted to a distinct feminine persona: refined, daring, vibrant, calm, dreamy, or romantic. Through facial expression, the gaze, color accents, light, and details, we'll convey the emotions, mood, and individuality of each character. That way, a portrait becomes more than a drawing: it becomes a complete story about a woman and her state of mind.
We'll cover:
- how to construct a face
- how to convey emotion and mood
- how to work with light and shadow
- how to add depth and volume
- how to make your illustrations rich and professional-looking
Who this course is for
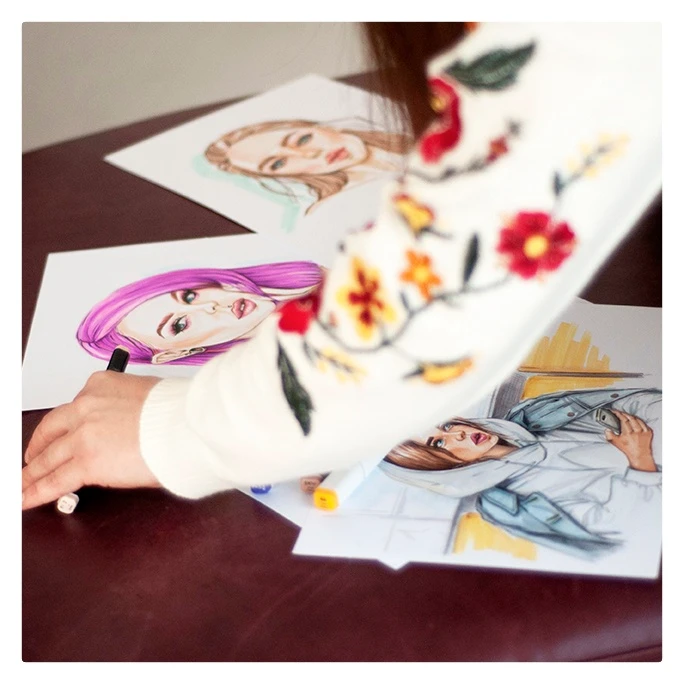
- those who want to improve their portrait drawing skills
- artists who feel their work is "missing something"
- those who want to move from simple images to more expressive, professional illustrations
Course program
In this lesson you'll learn to:
- construct the face and head in a front view
- convey a slight tilt of the head
- work with the proportions of a fashion portrait
- create a light, expressive pencil sketch
- choose skin tones with markers
- work with color in clothing and accessories
- emphasize what matters most and create an expressive look
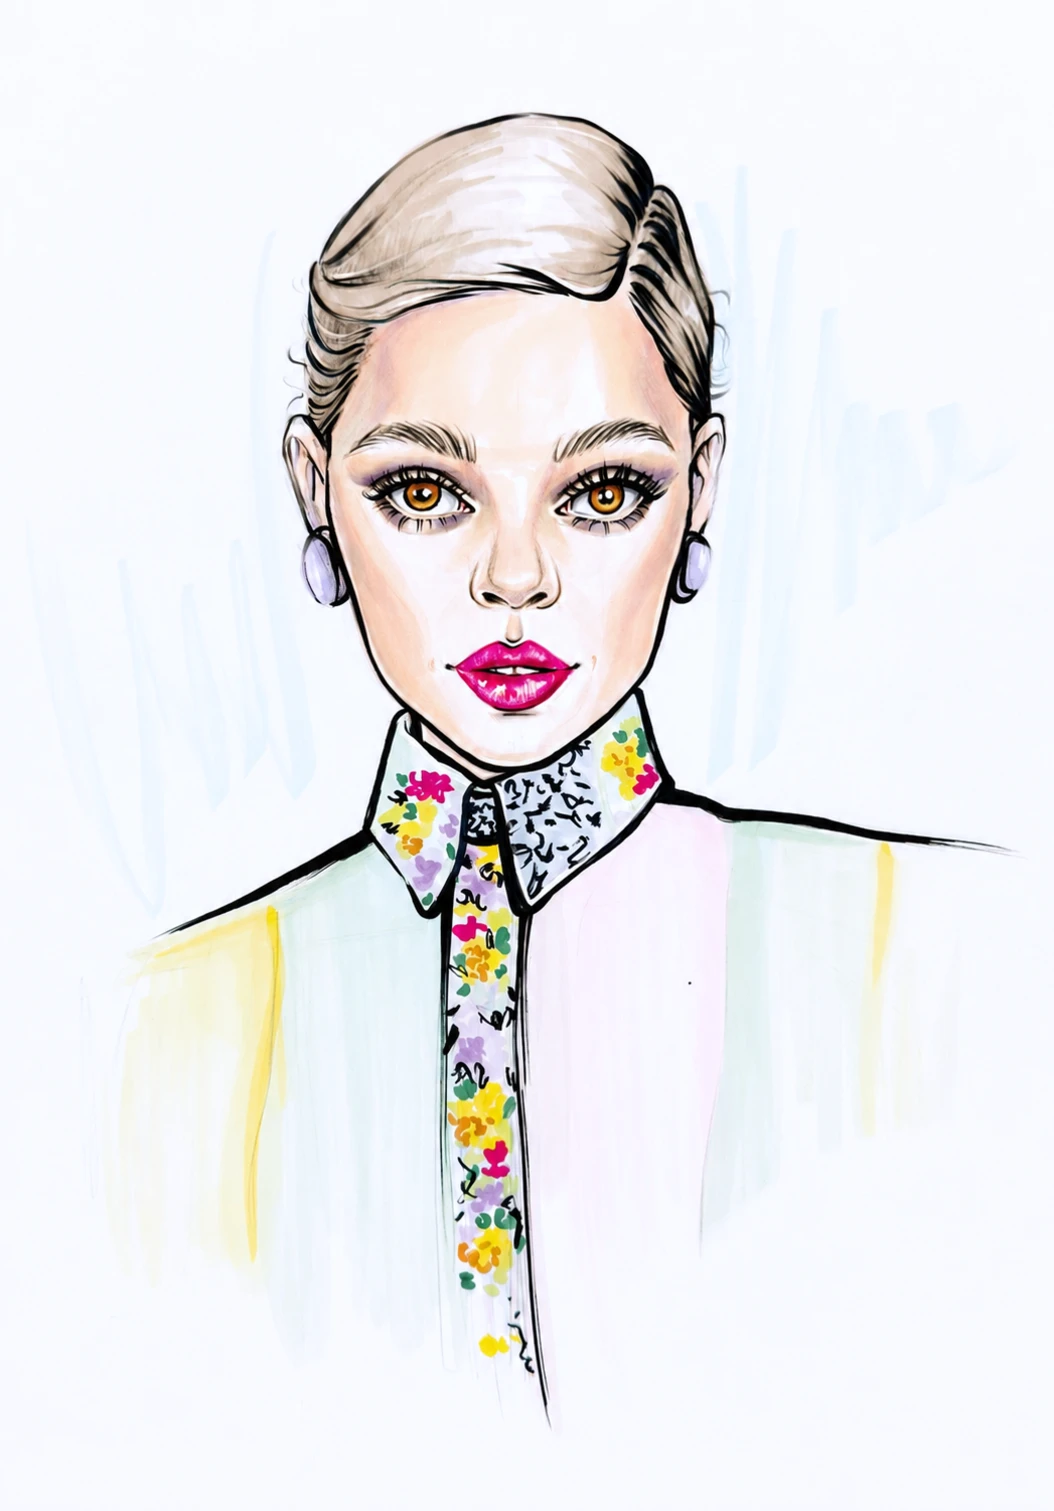
In this lesson you'll learn to:
- construct the head and face in a three-quarter view
- convey volume and perspective in a portrait
- create a light, expressive pencil sketch
- work with markers to build skin tones
- use a limited palette
- develop the details and textures of clothing
- create a vivid fashion look
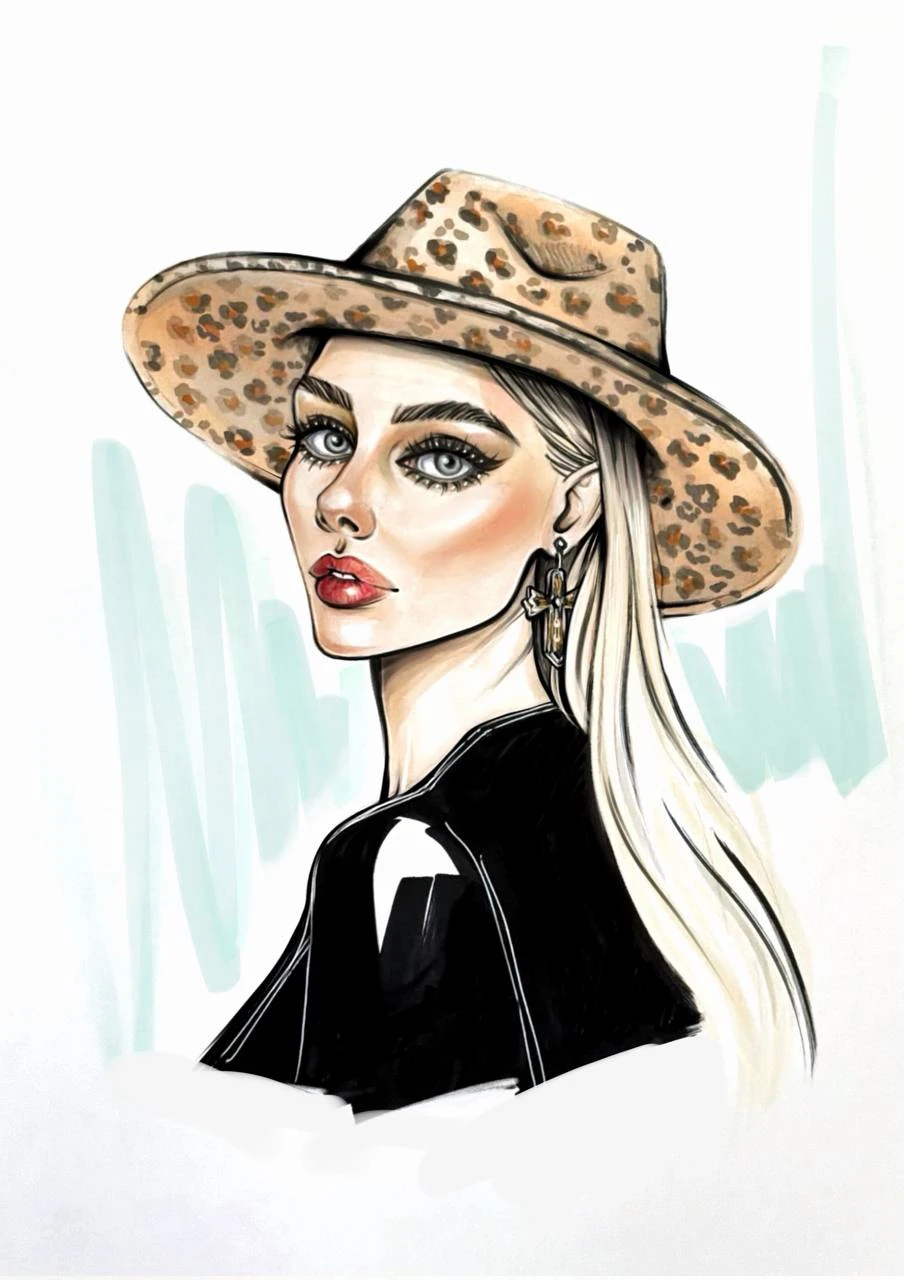
In this lesson you'll learn to:
- construct the head and face in a three-quarter view
- create a light, confident pencil sketch
- work with markers to build skin tones
- use an expanded color palette
- add complex accessories and prints
- create a vivid, stylized fashion look
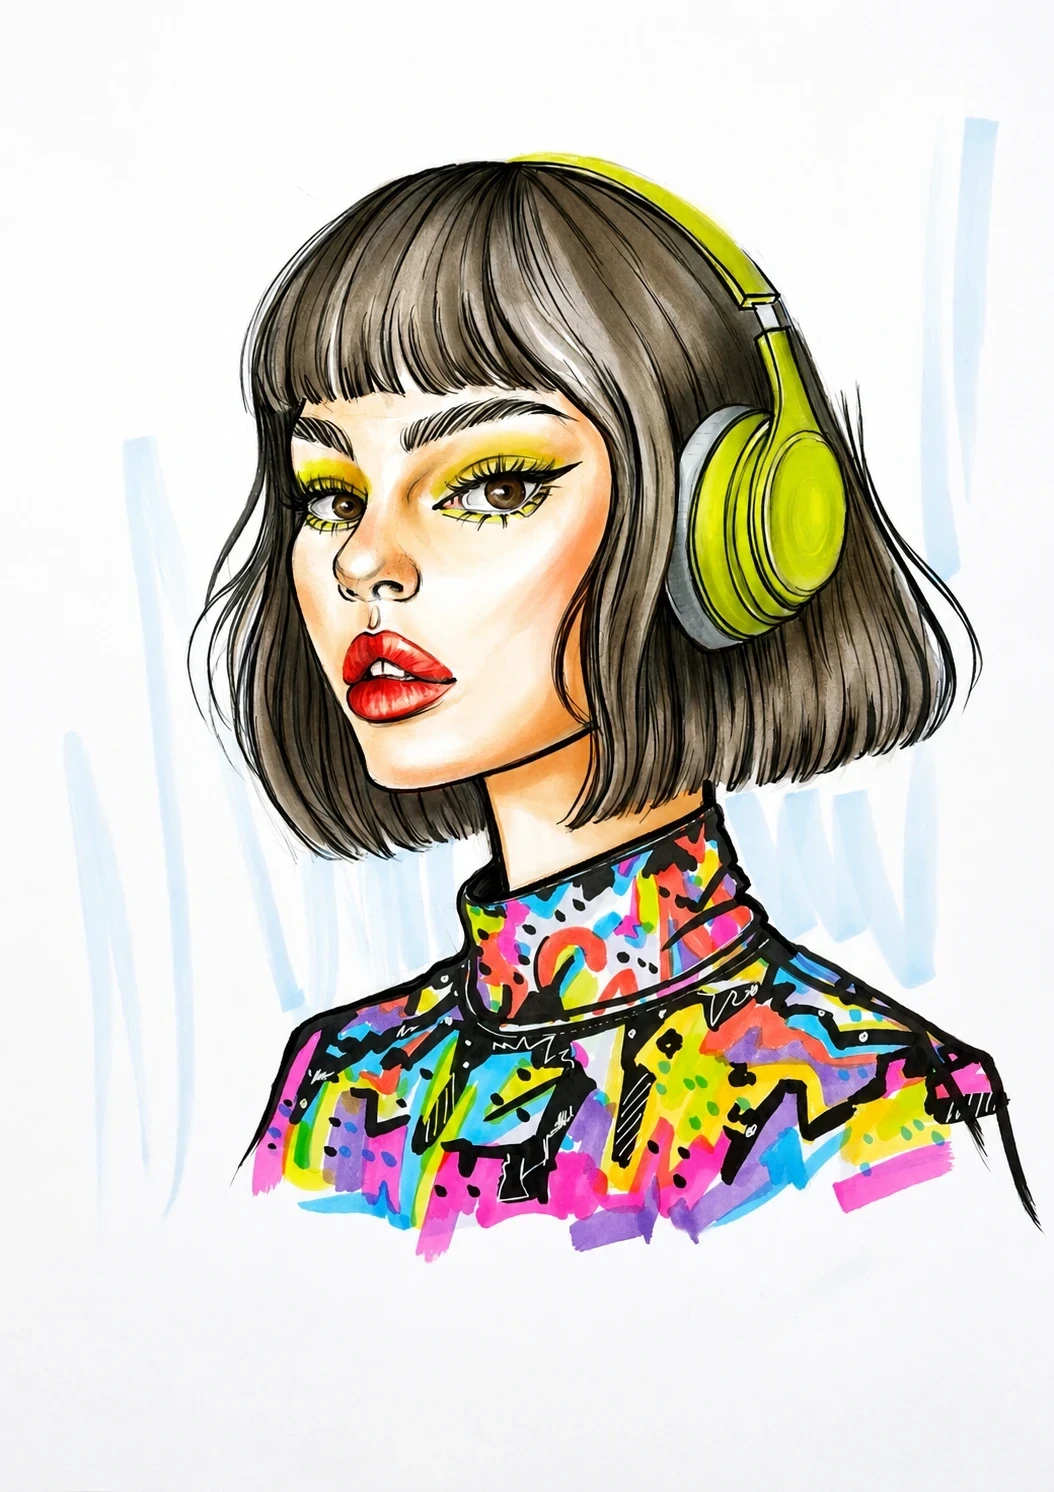
In this lesson you'll learn to:
- construct the head and face in a three-quarter view, taking overlapping forms into account
- create a light, confident pencil sketch
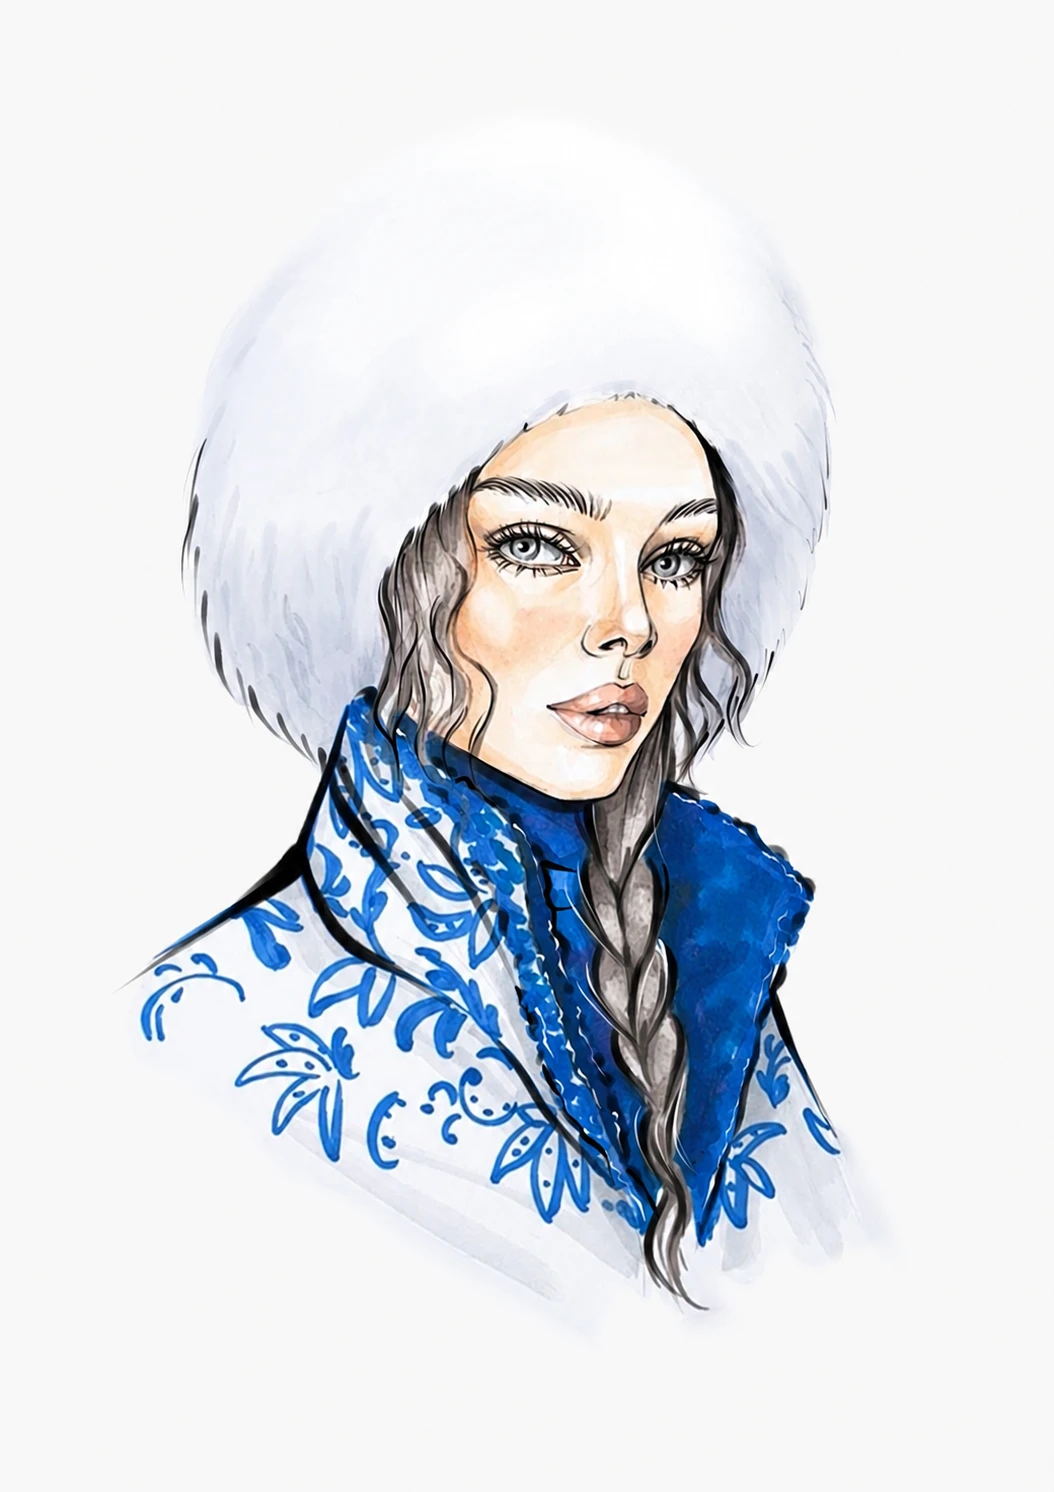
- convey the volume and texture of fur
- create intricate decorative prints in the Gzhel style
- use a cool color palette
- create an expressive, stylized fashion look
In this lesson you'll learn to:
- build a portrait composition with the head, torso, and hands
- create a light, confident pencil sketch
- convey the proportions and fluid lines of the figure
- draw expressive clothing details
- work with color and create a harmonious look
- convey the character's emotions and mood through drawing
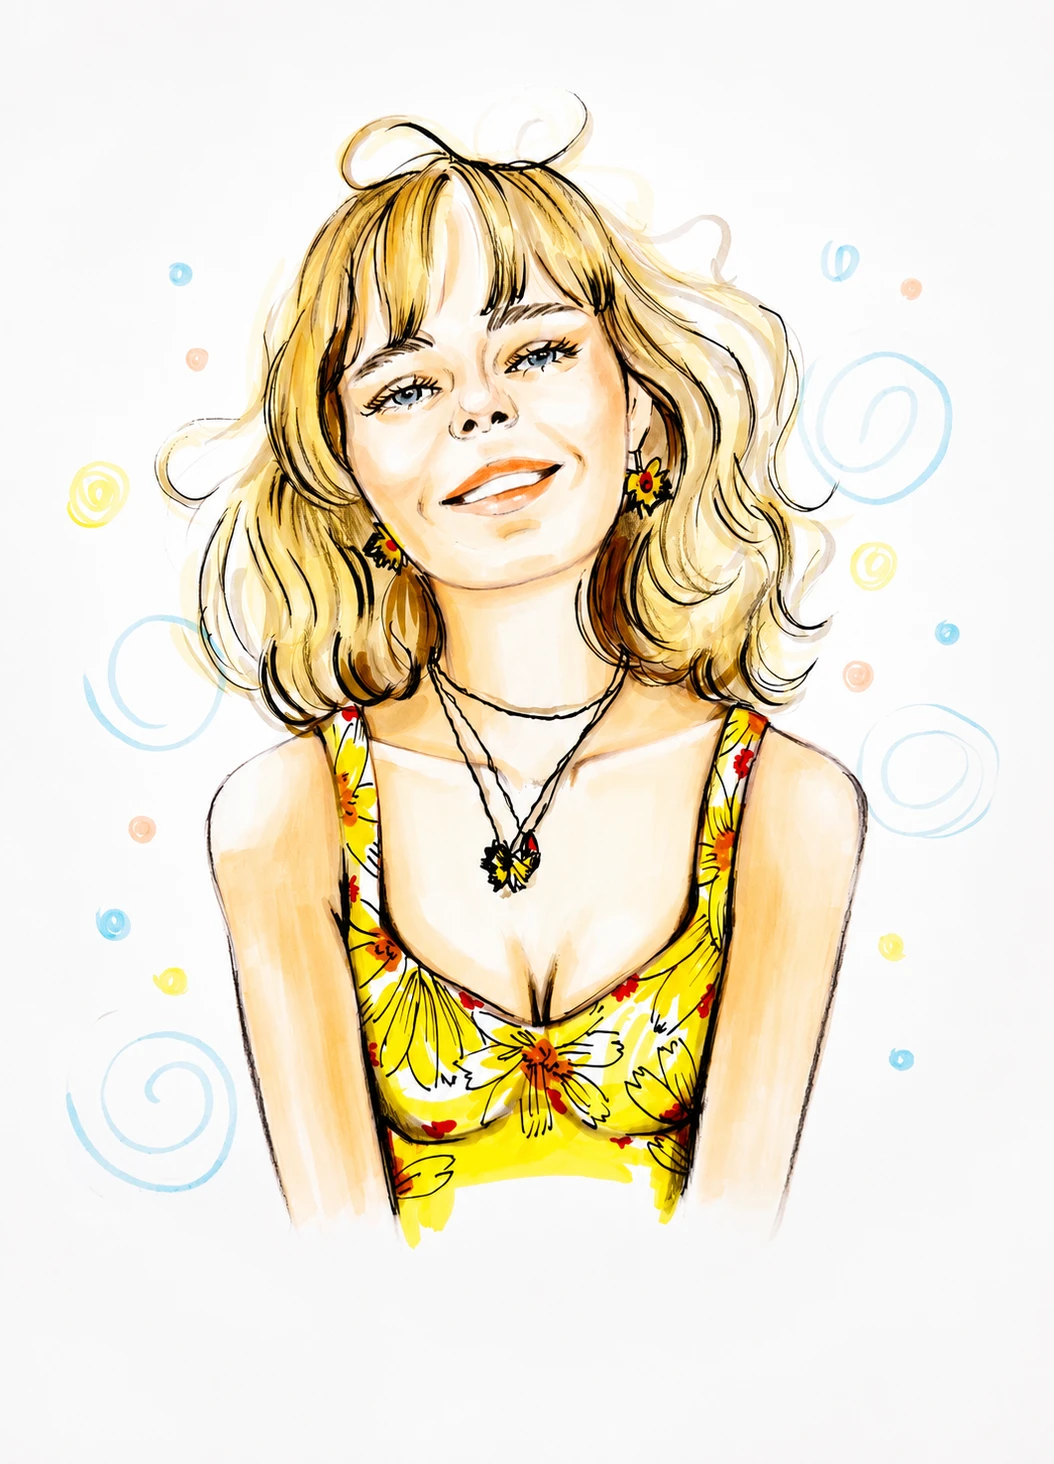
In this lesson you'll learn to:
- build a portrait composition with the head, torso, and hands
- depict a figure in a half-turn
- create a light, confident pencil sketch
- draw hands and integrate them into the overall composition
- depict voluminous clothing elements
- work with a bright color scheme and expressive accents
- create a cohesive creative look with character and mood
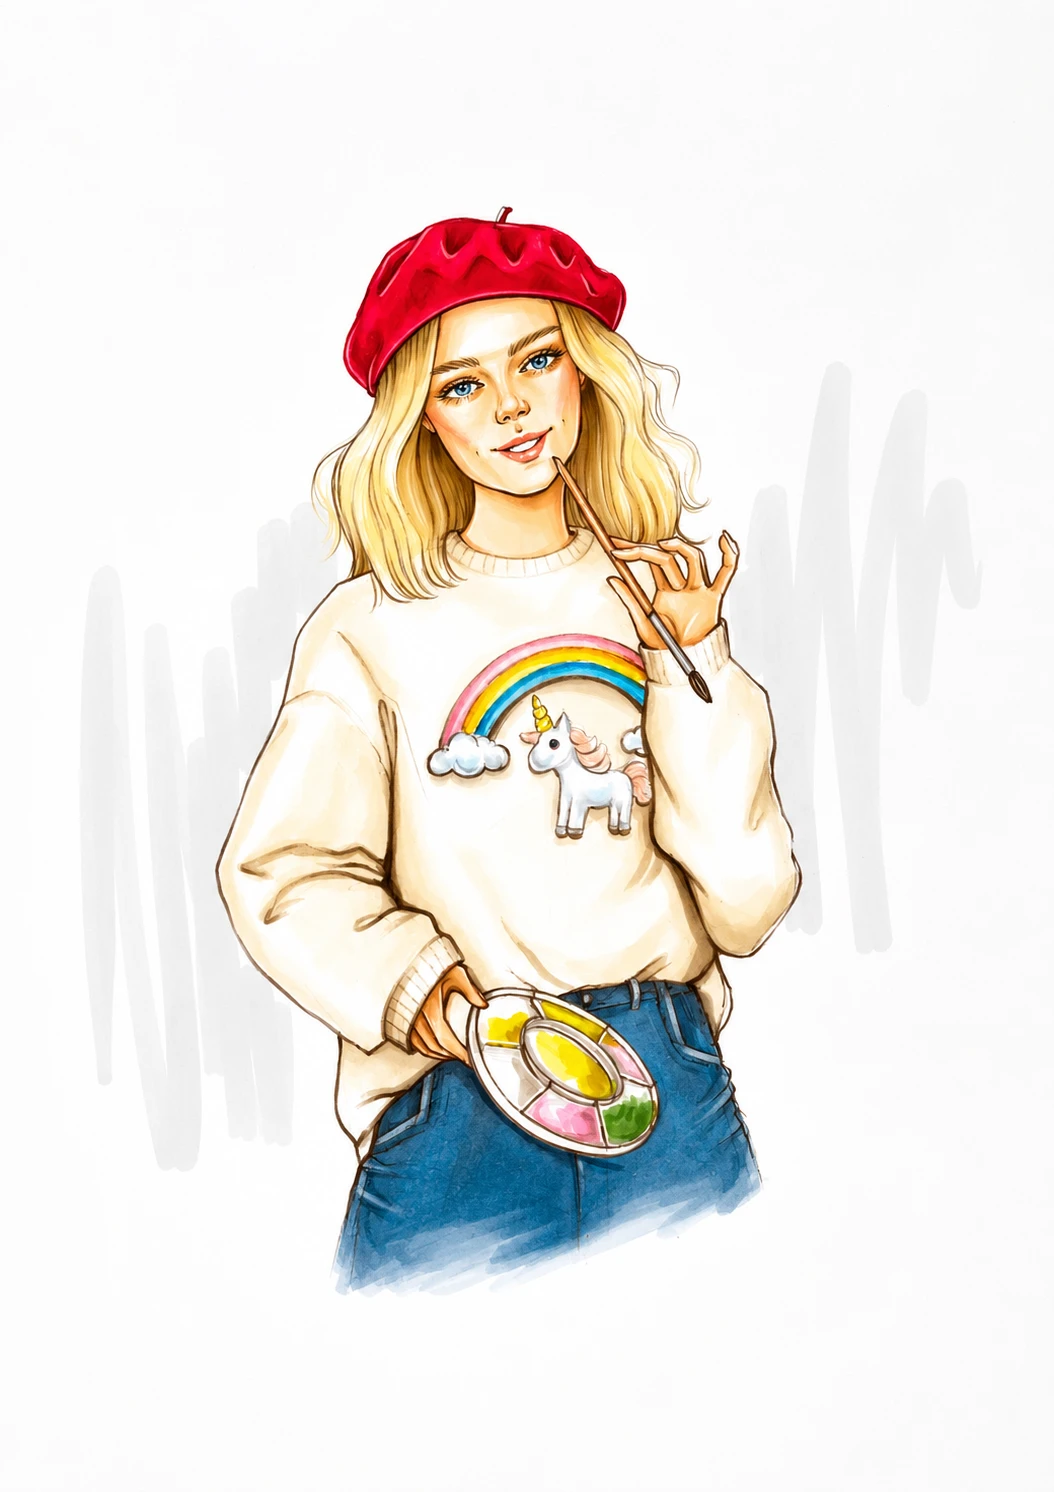
In this lesson you'll learn to:
- build a portrait composition with the head, torso, and hands
- convey a turn of the head and a sideways gaze
- create a neat pencil sketch before working in color
- work with a limited color scheme
- create an expressive graphic look with minimal use of color
- convey the character's personality and mood through pose, gaze, and details
- depict the texture of a cardboard crown with markers, fineliners, and colored pencils
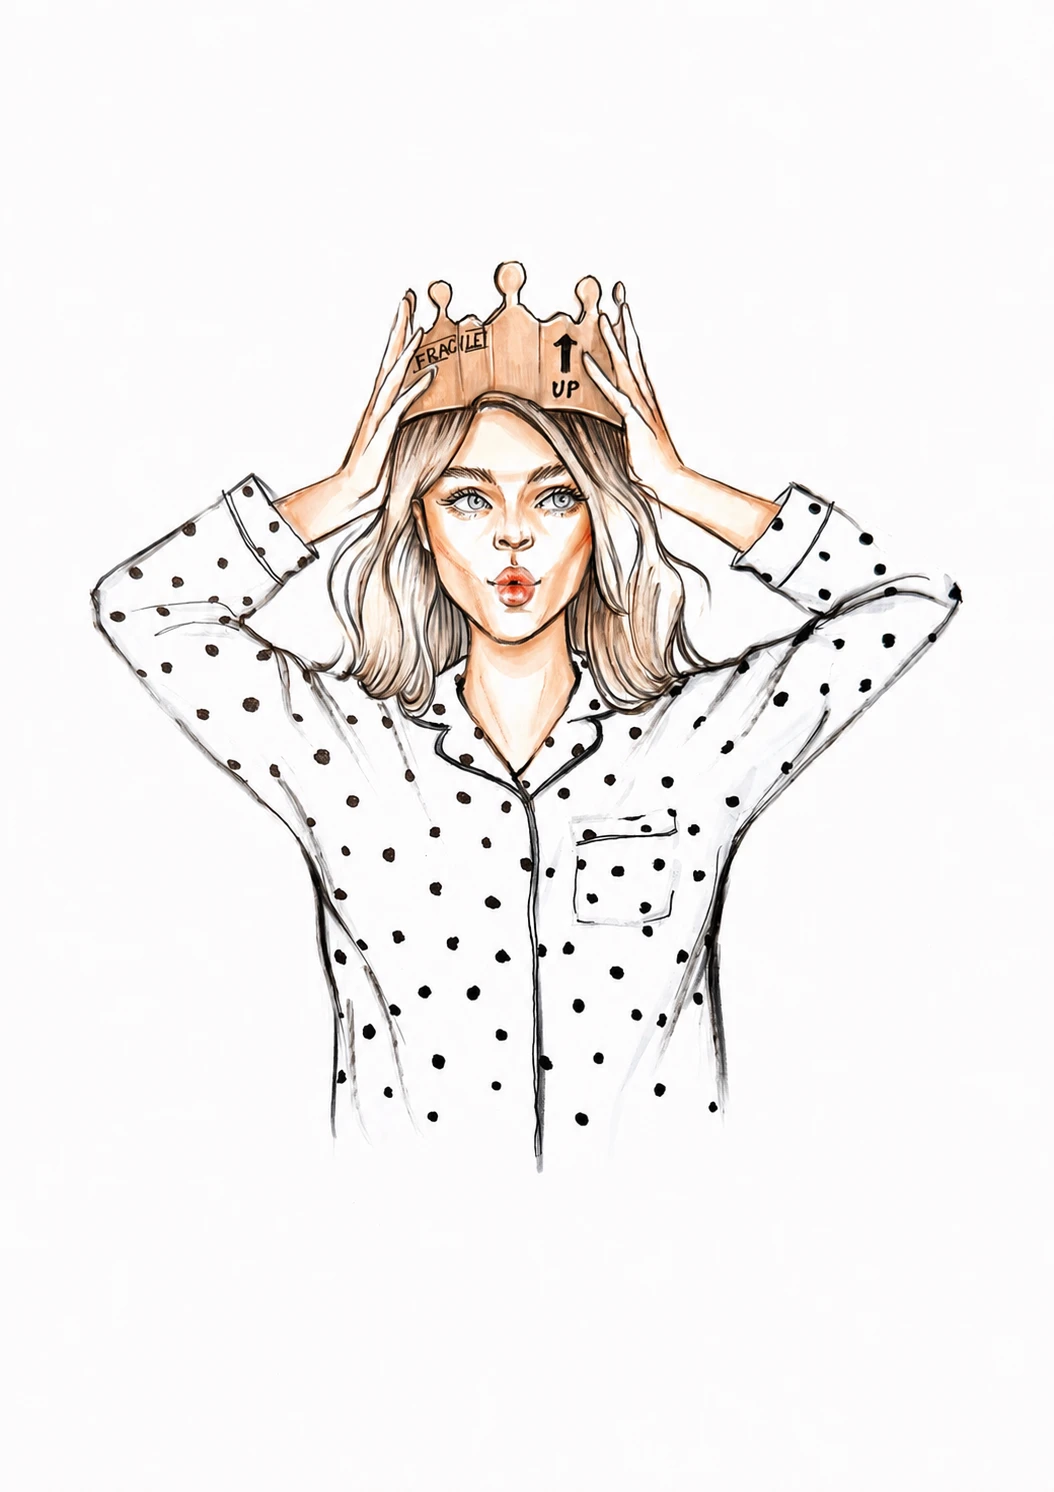
In this lesson you'll learn to:
- analyze references and pick out what matters most for your future work
- build a look from two or more sources
- creatively rework a photo into an illustration instead of copying it outright
- create a light pencil sketch before working in color
- plan the composition, pose, details, and mood of the character
- work with markers and colored pencils to create a harmonious summer look
- convey the atmosphere, character, and individuality of a portrait through color and details
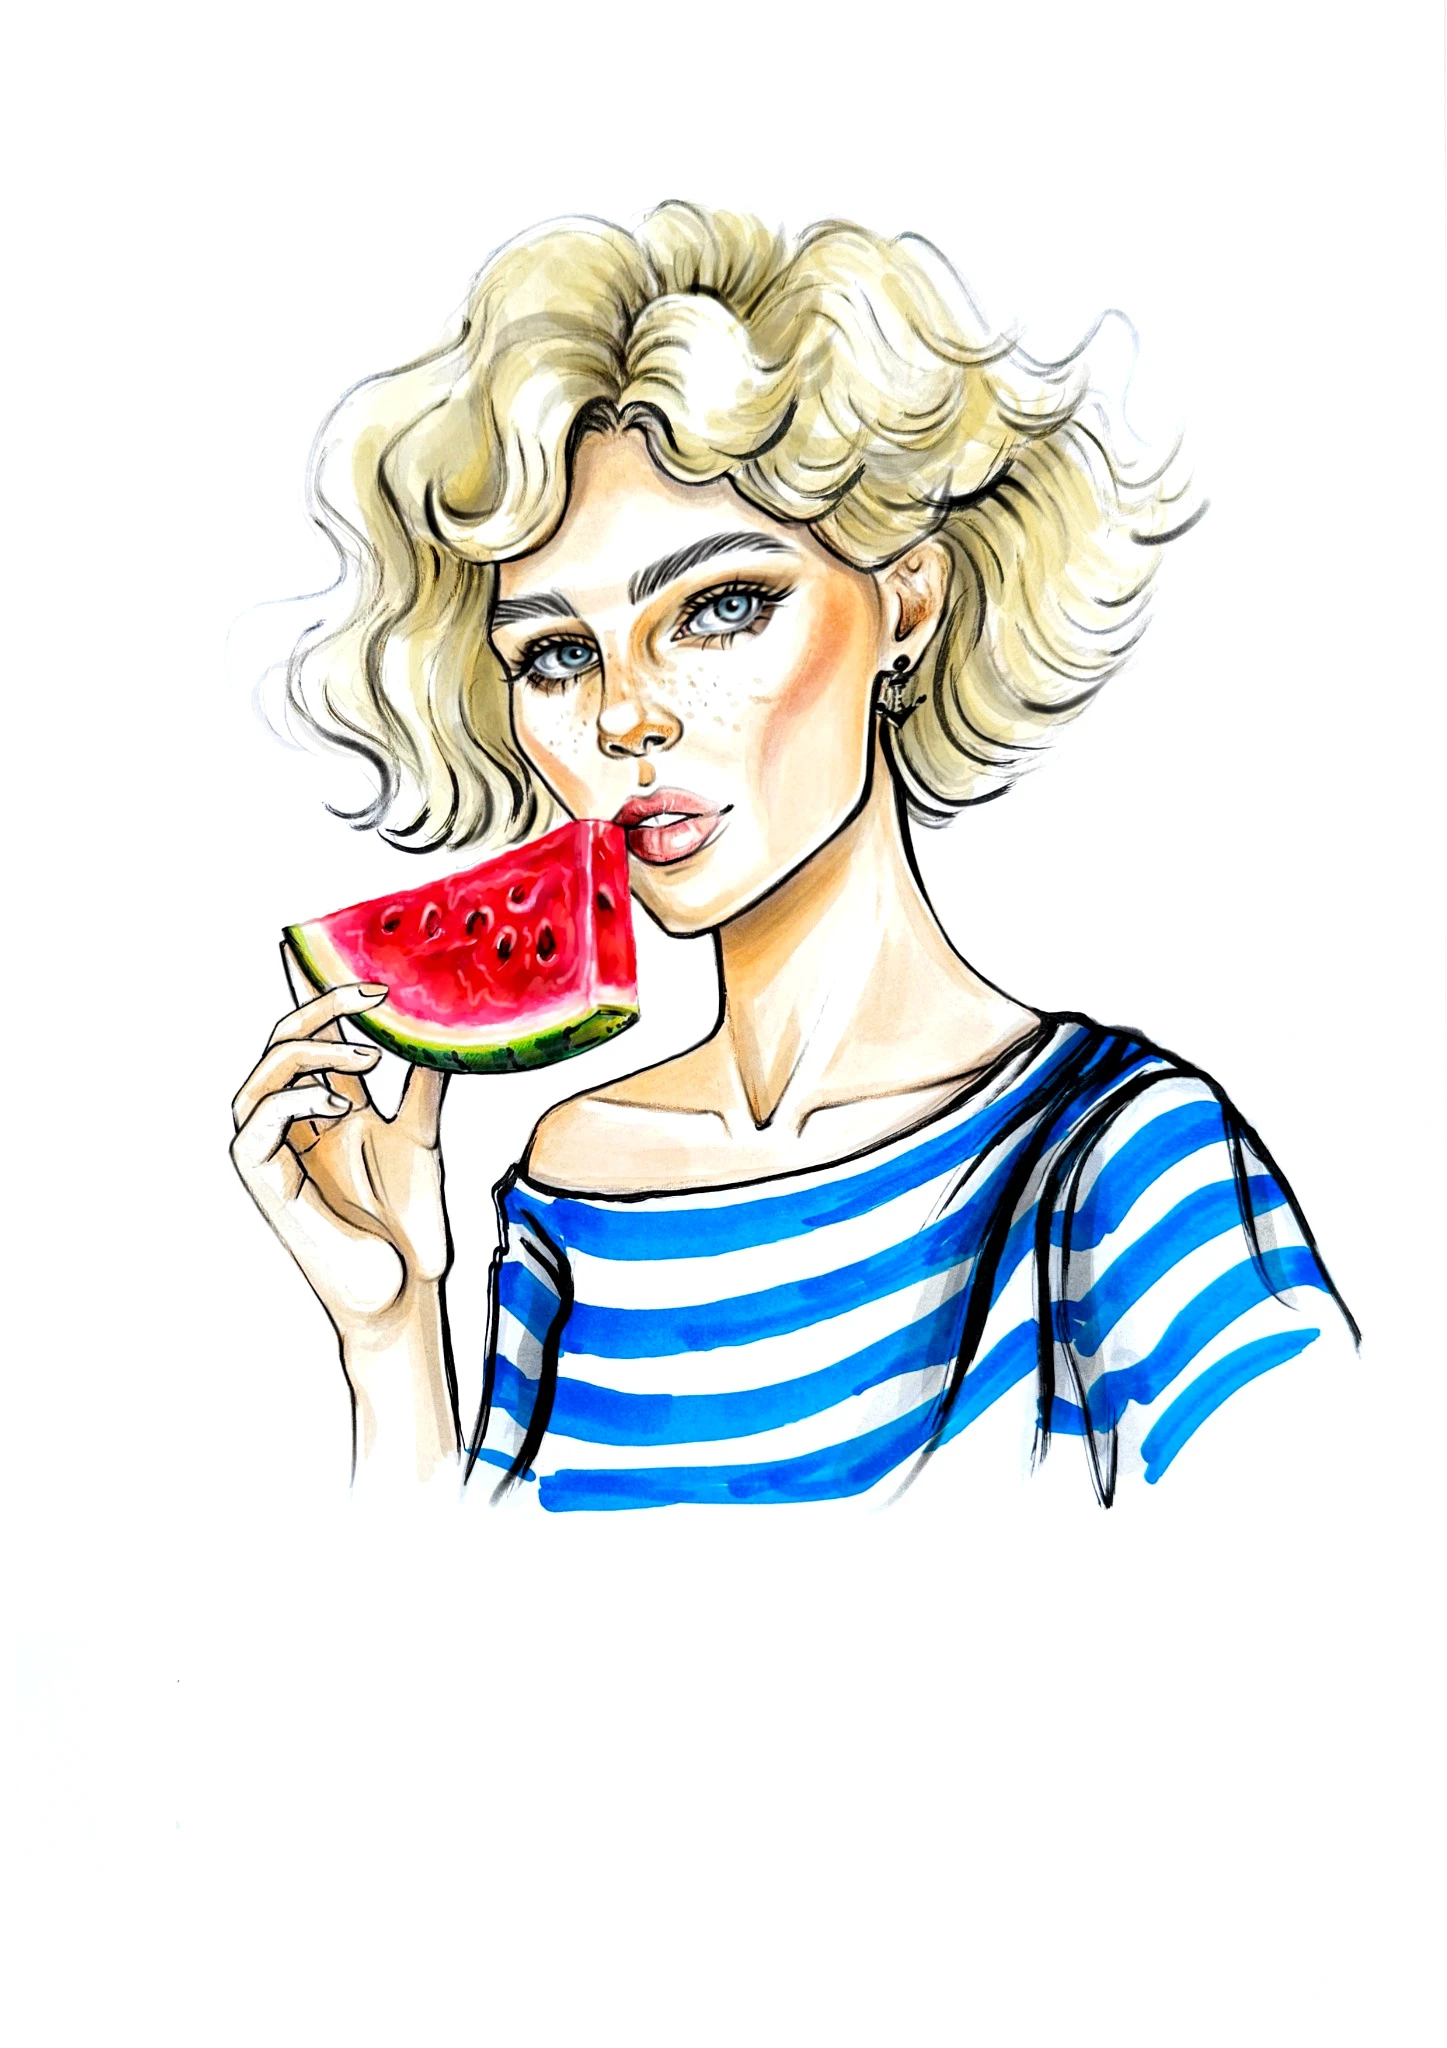
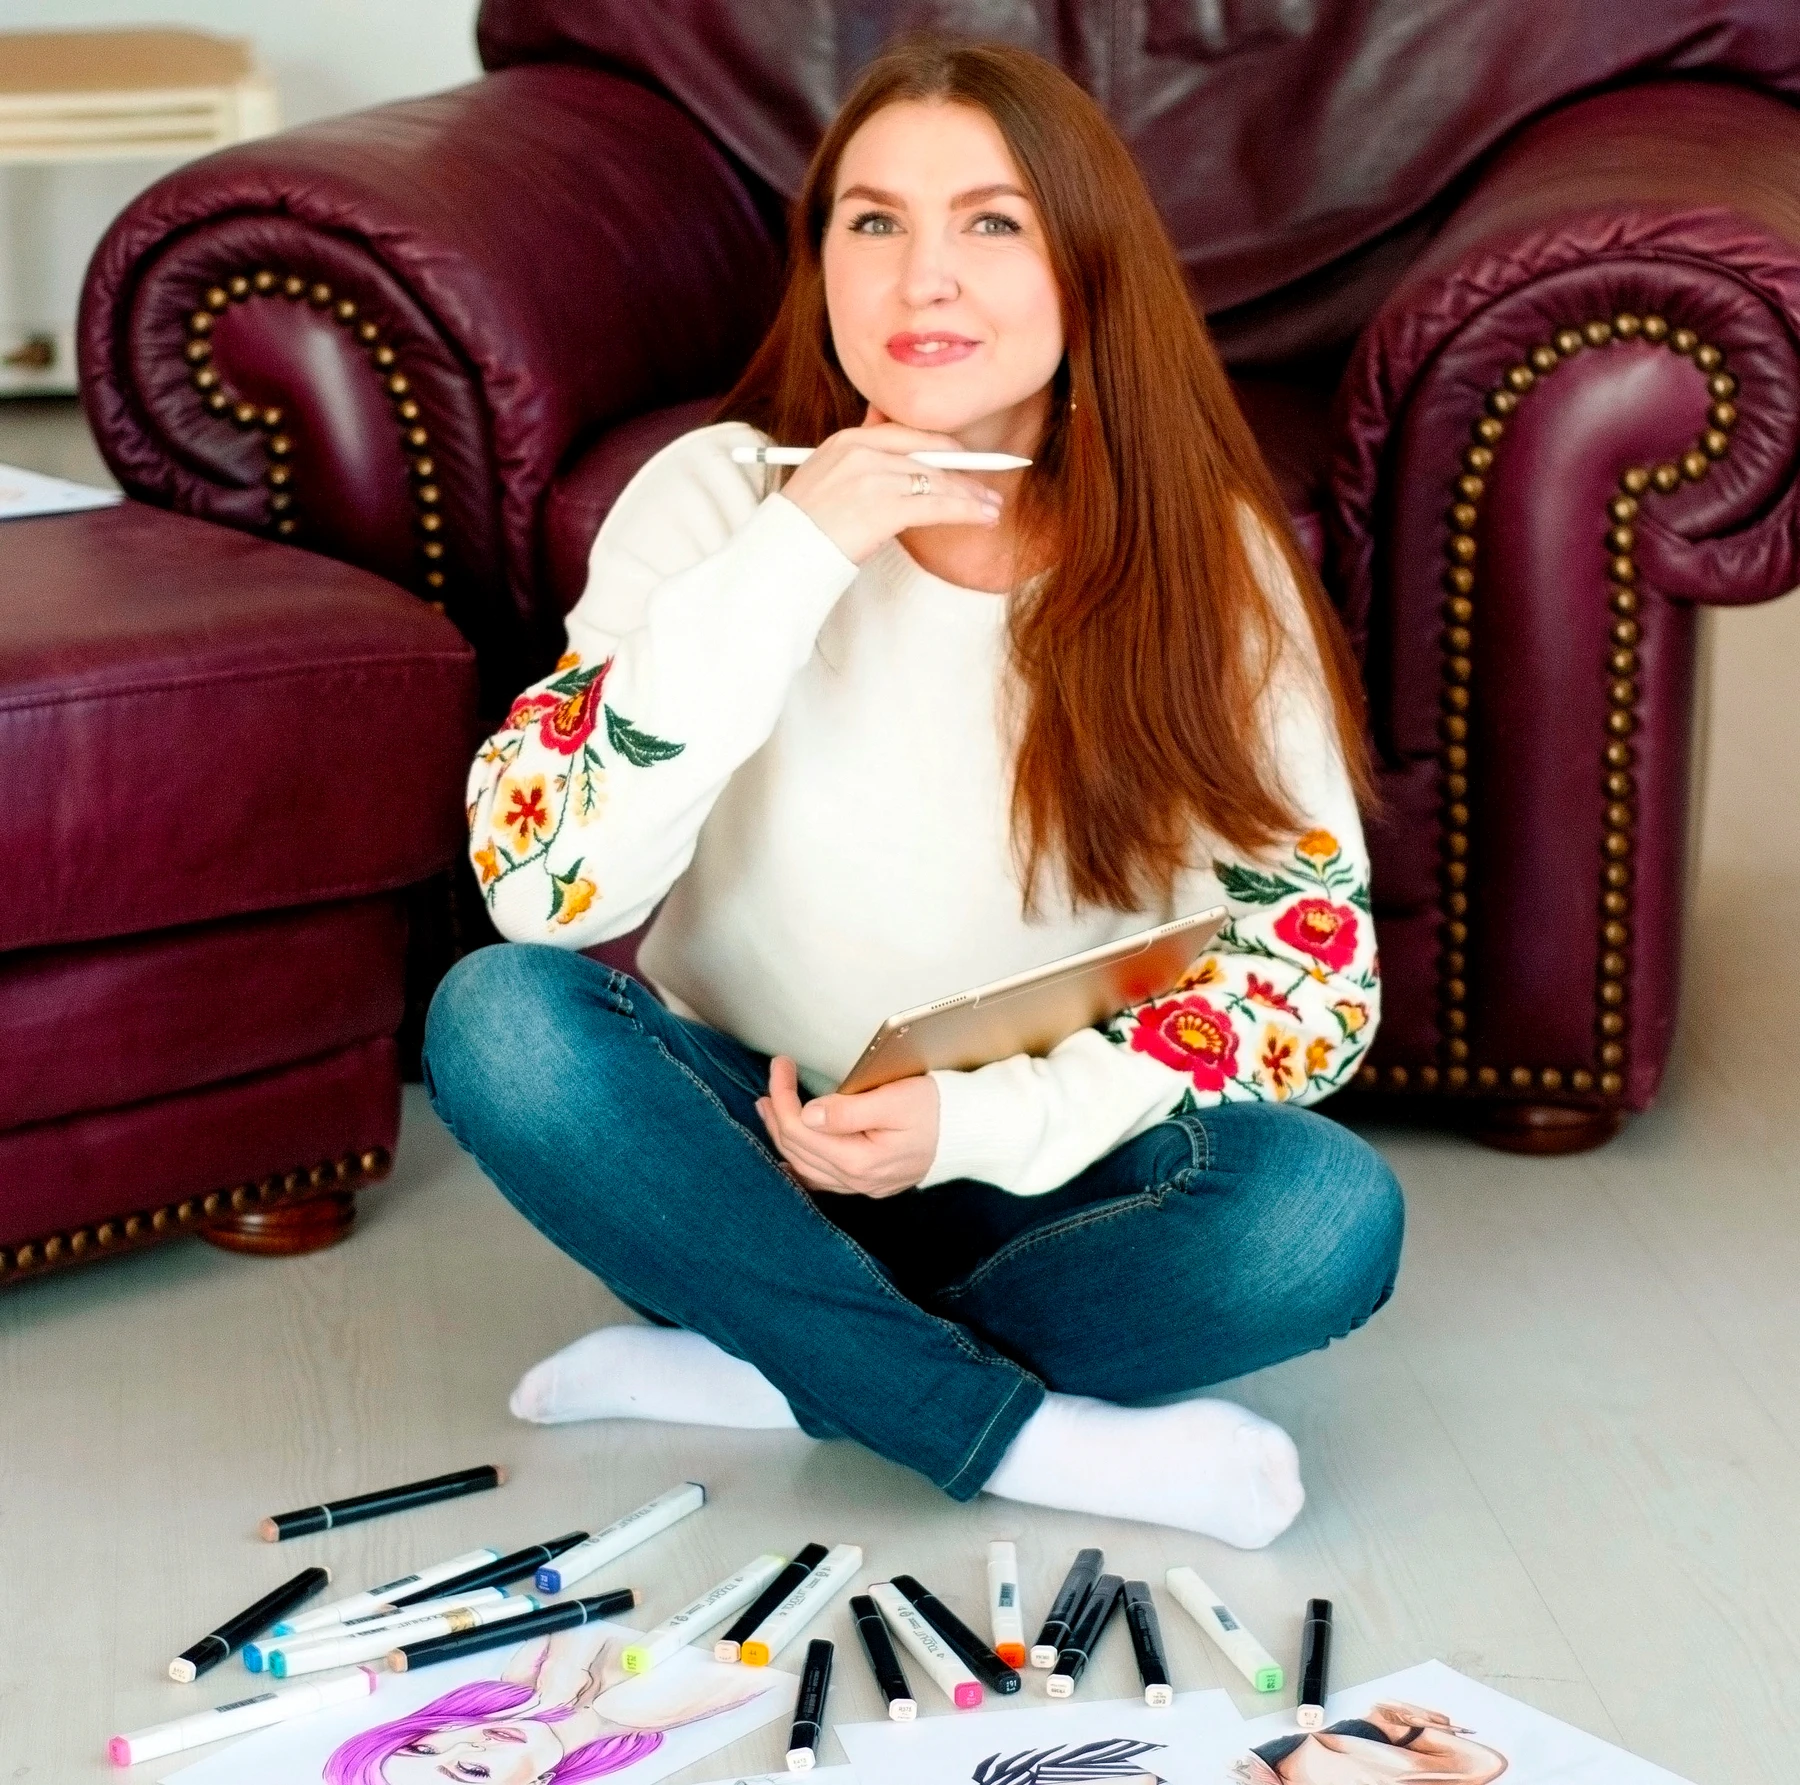
Course instructor
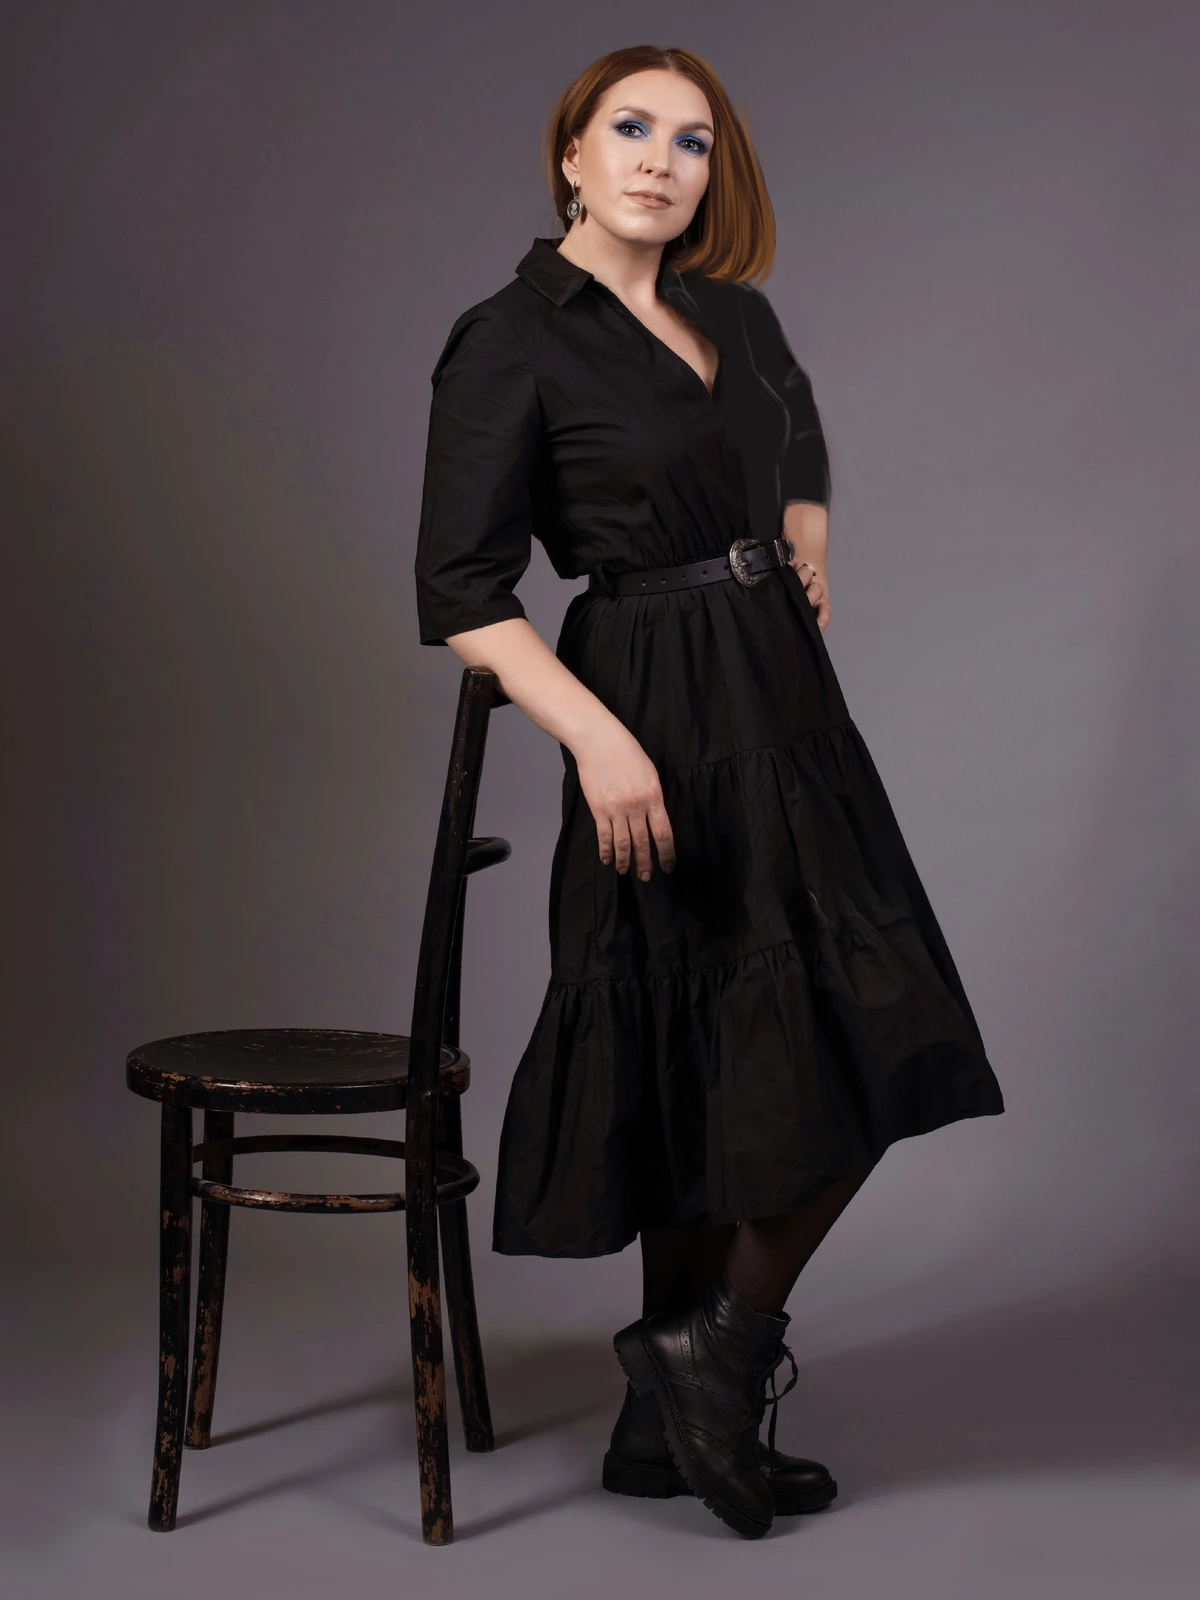
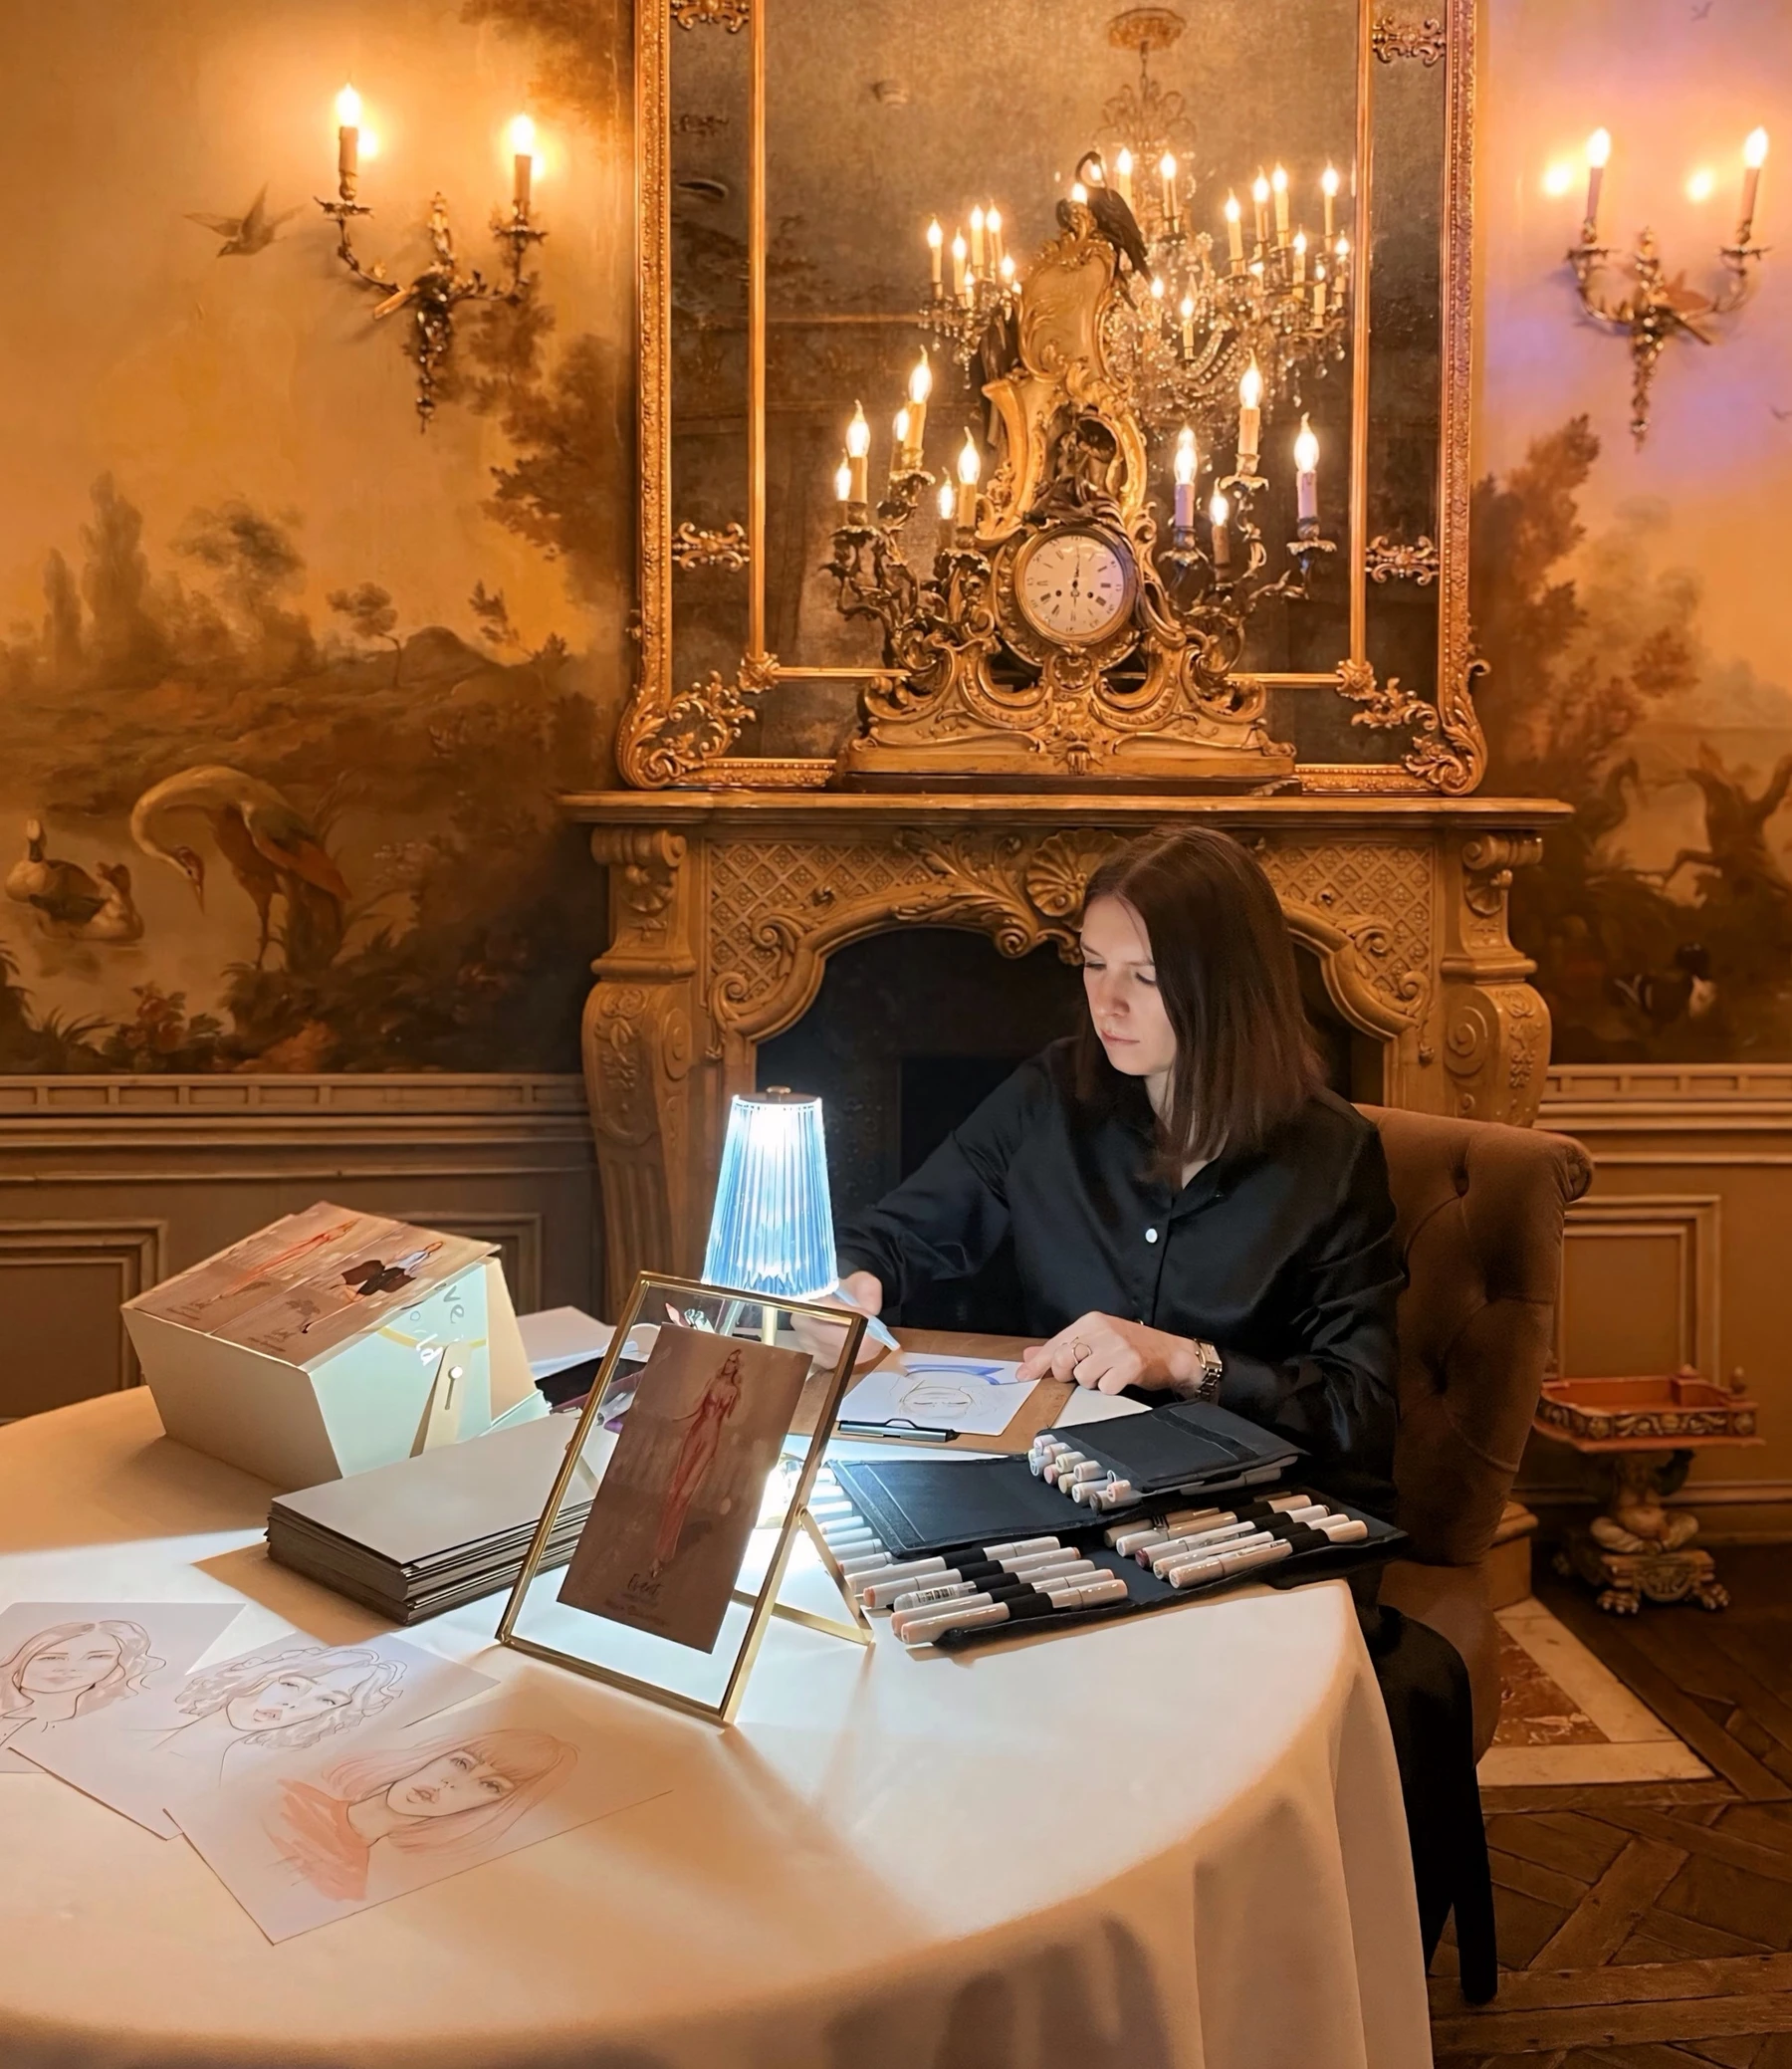
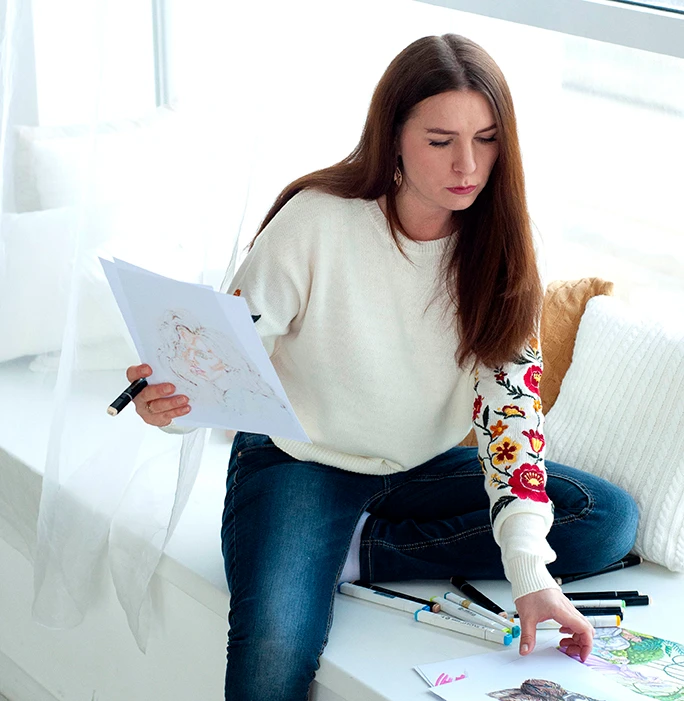
- I've been drawing since childhood, and in 2004 I earned an honors diploma as a decorative artist.
- Since 2017 I've been creating commissioned work: portraits, fashion illustrations, commercial projects, and decorative design.
- My illustrations have been bought on different continents, and T-shirts with my prints are sold on online marketplaces.
- I've drawn hundreds of portraits and worked with public figures.
- I create illustrations for album covers, children's magazines, games, and fashion projects.
- In 2025 I was an accredited fashion illustrator at Fashion Week Moscow.
- My illustrations have been used in store design and displayed on billboards in Moscow.
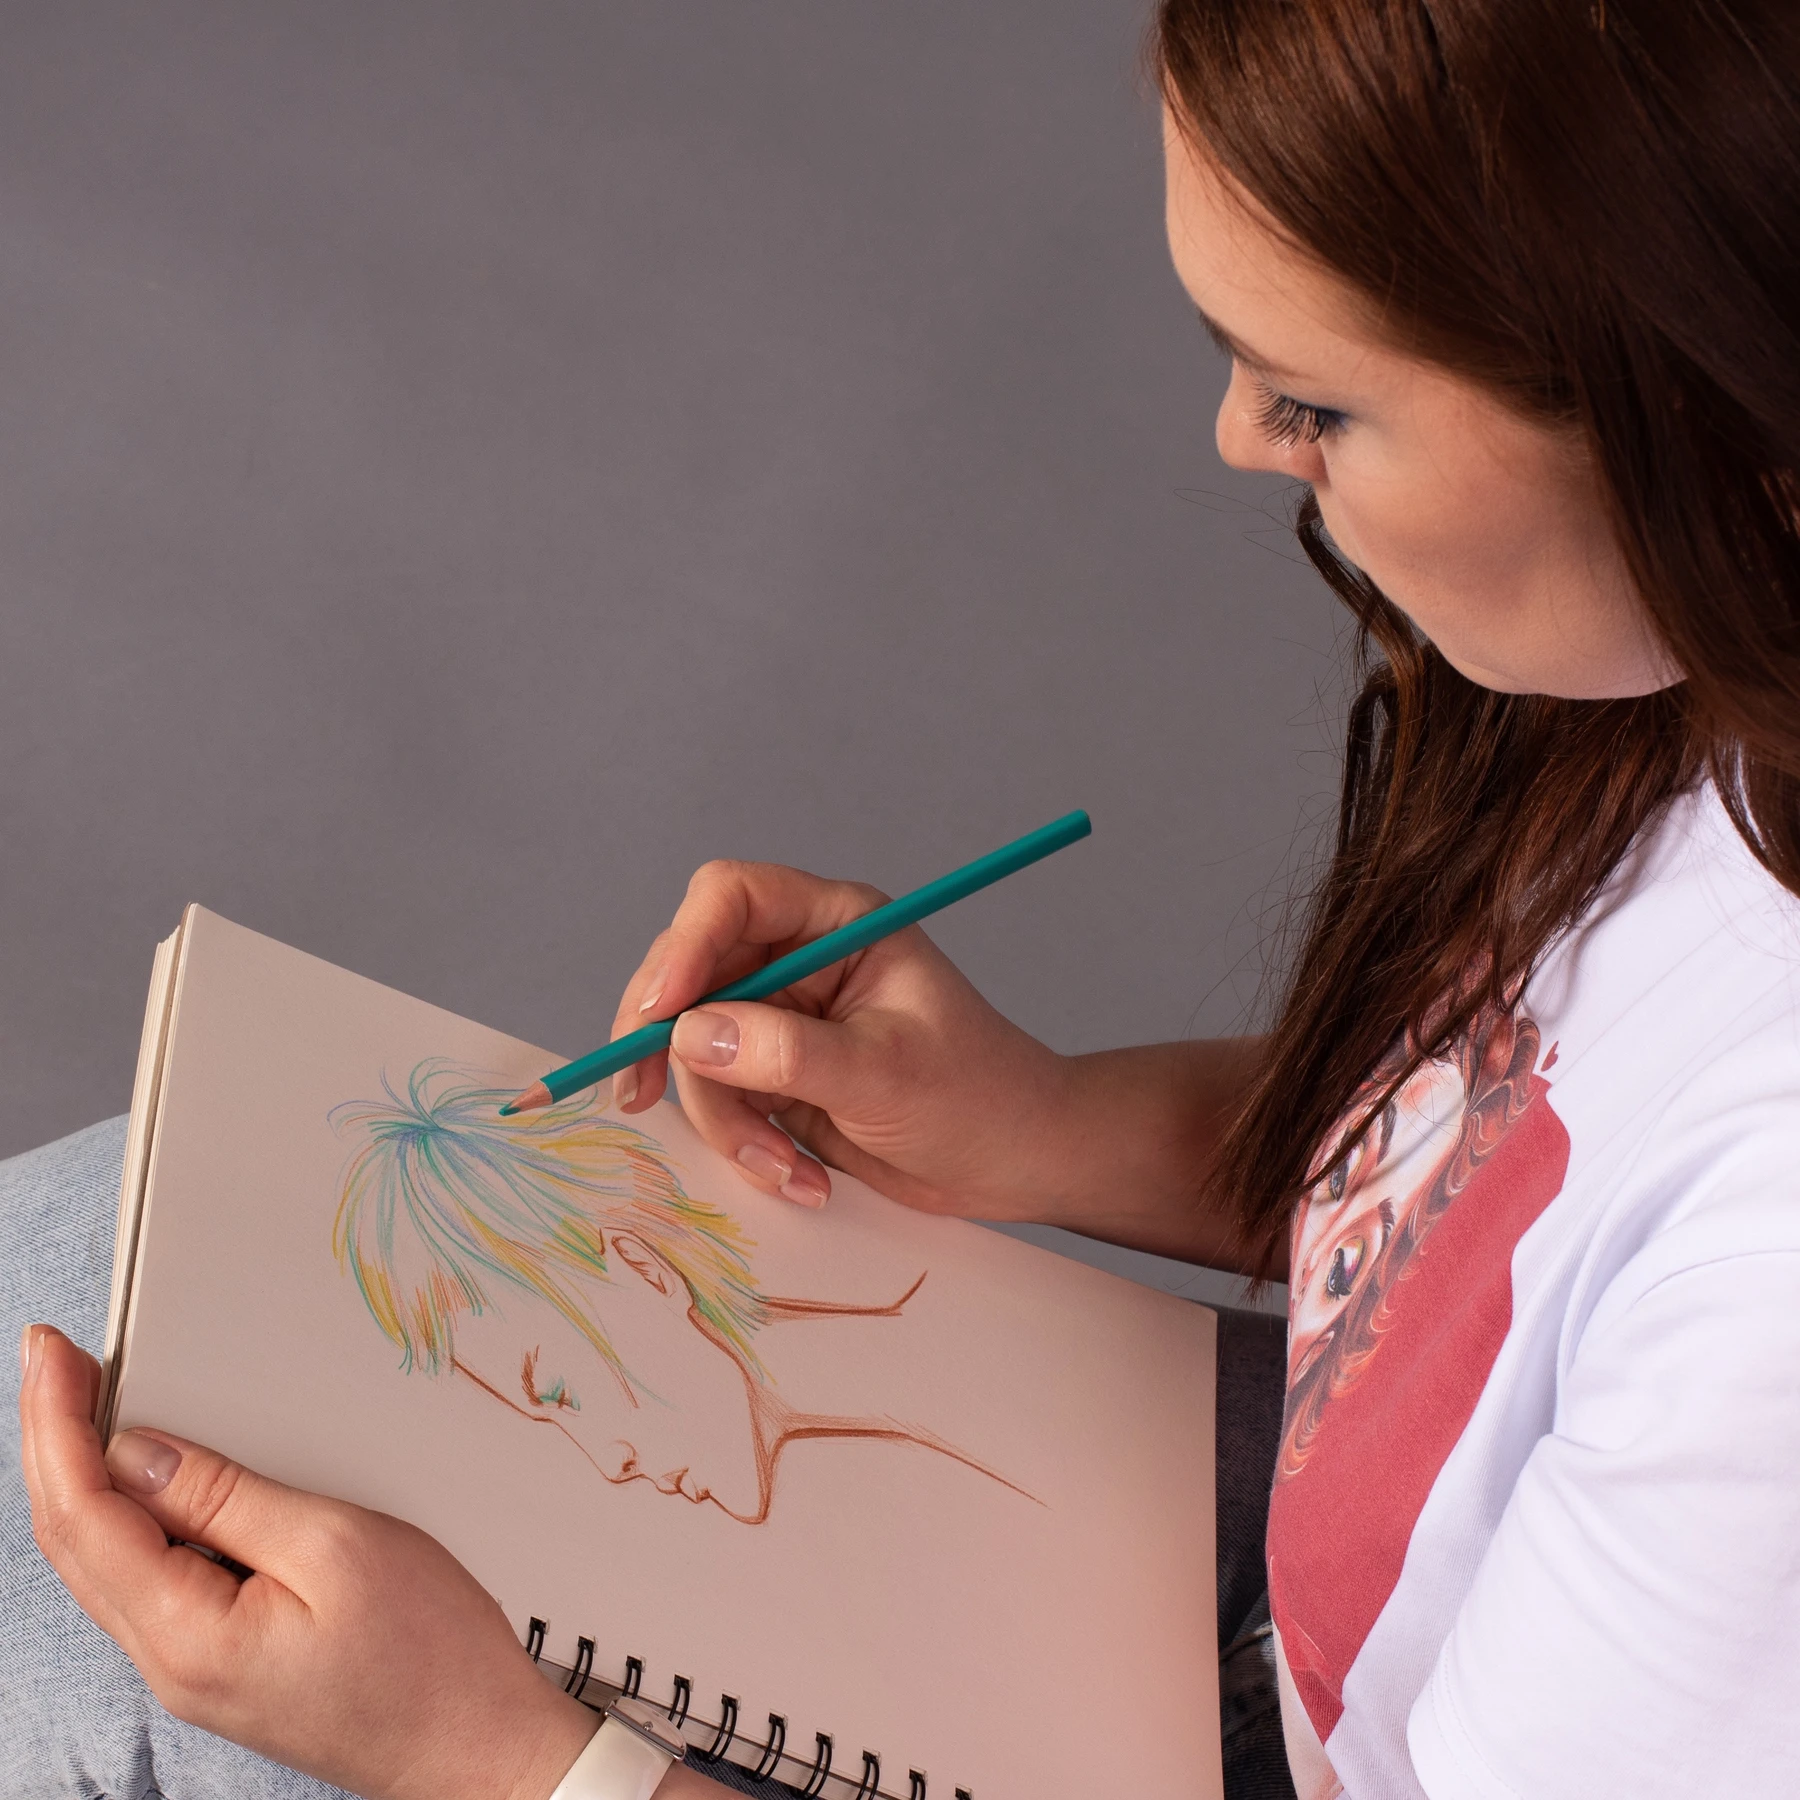
- Since 2020 I've been teaching children and adults and leading in-person classes and workshops.
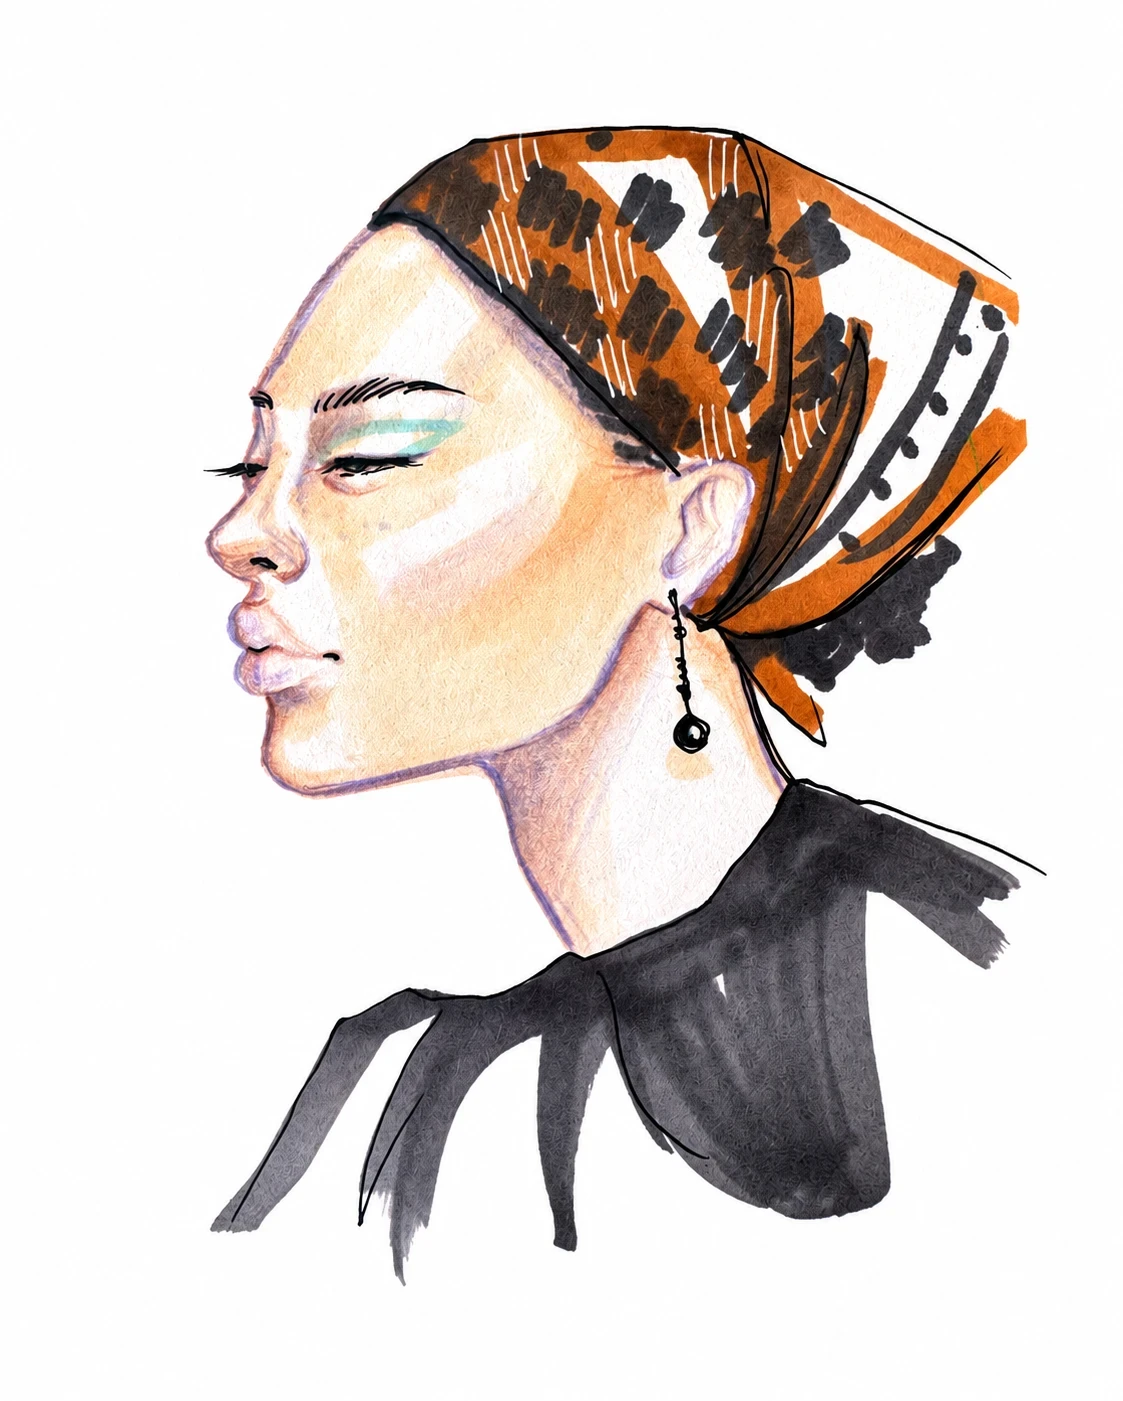
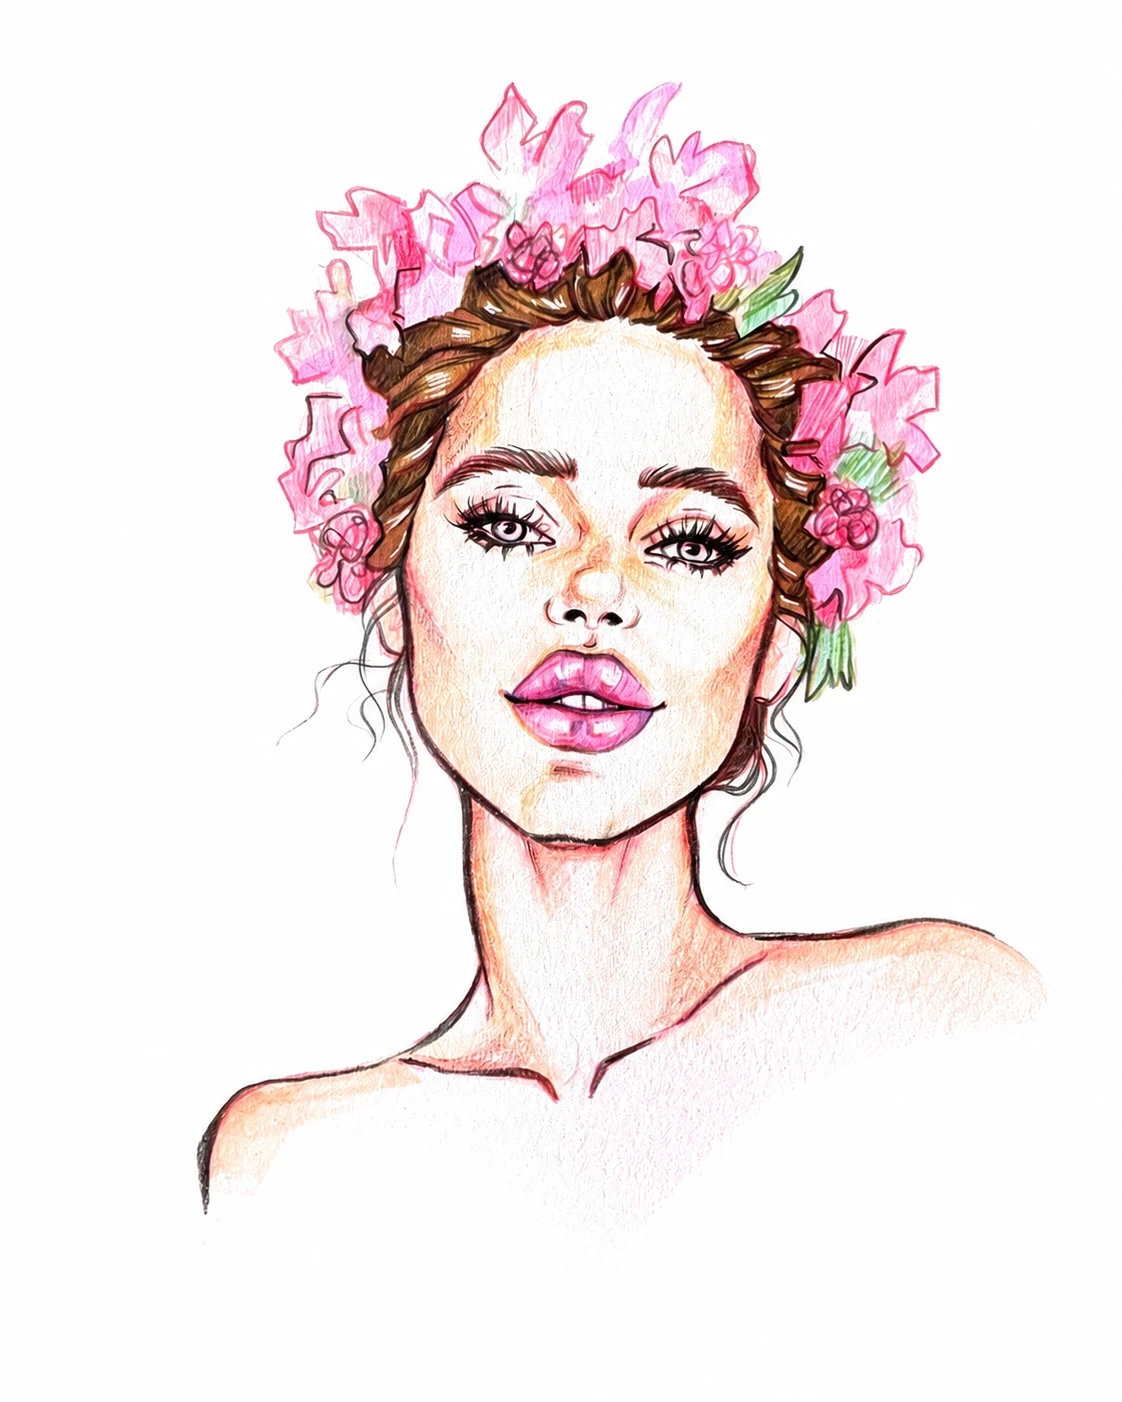
Works by Maya Filippova
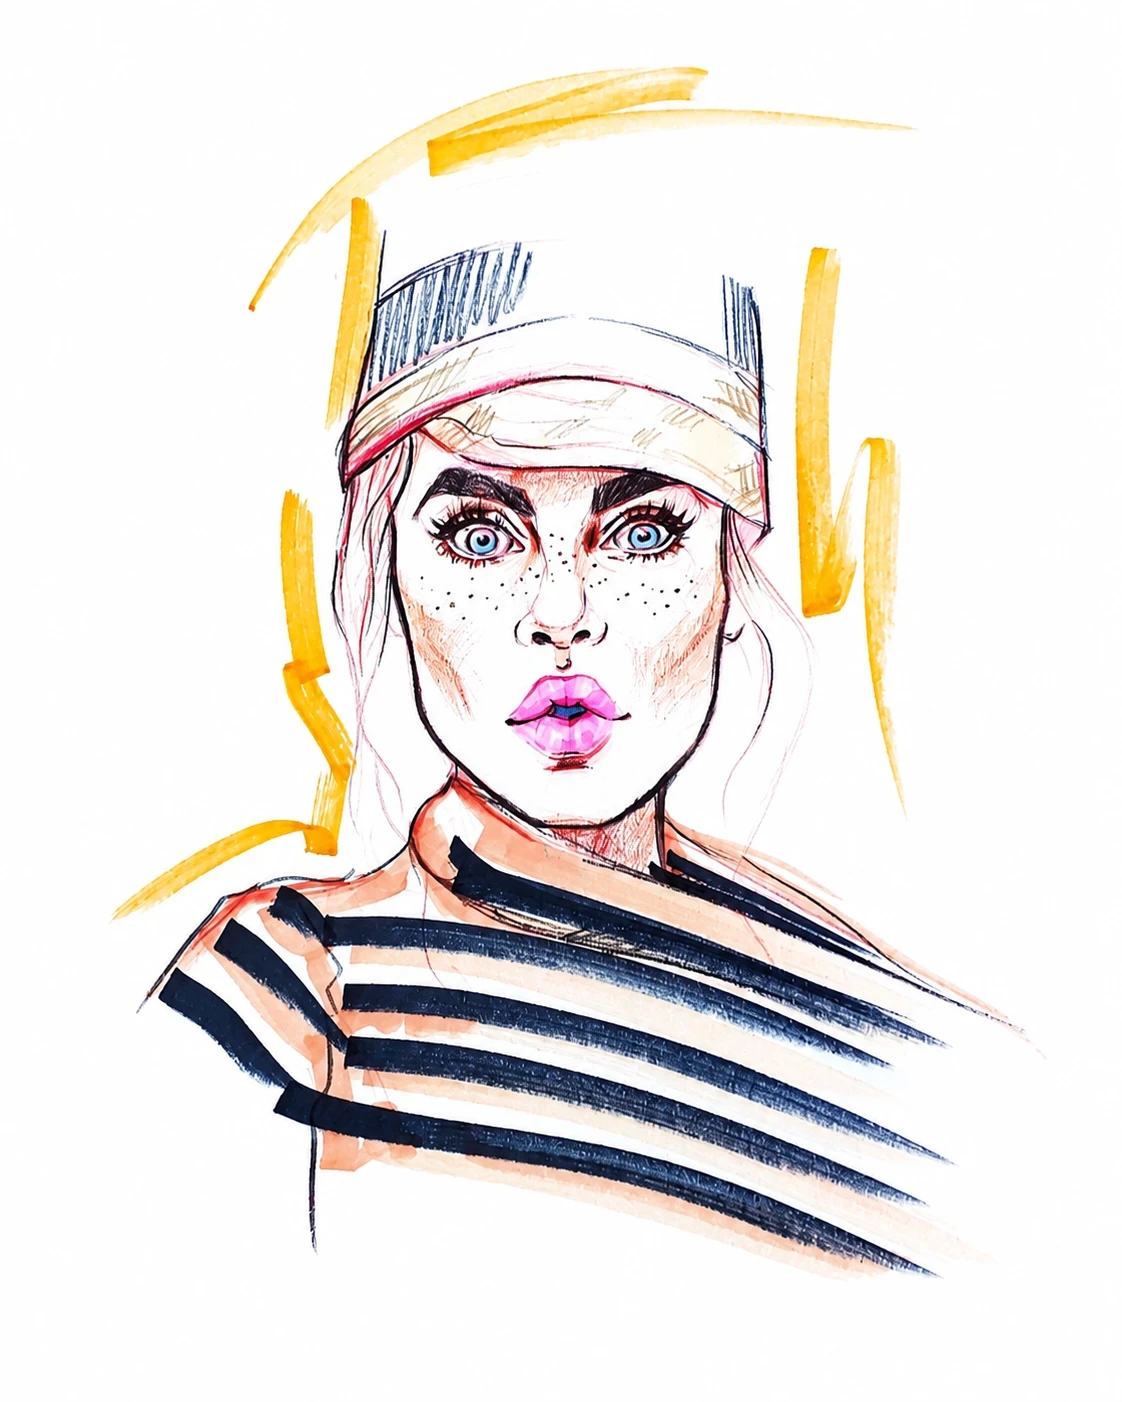
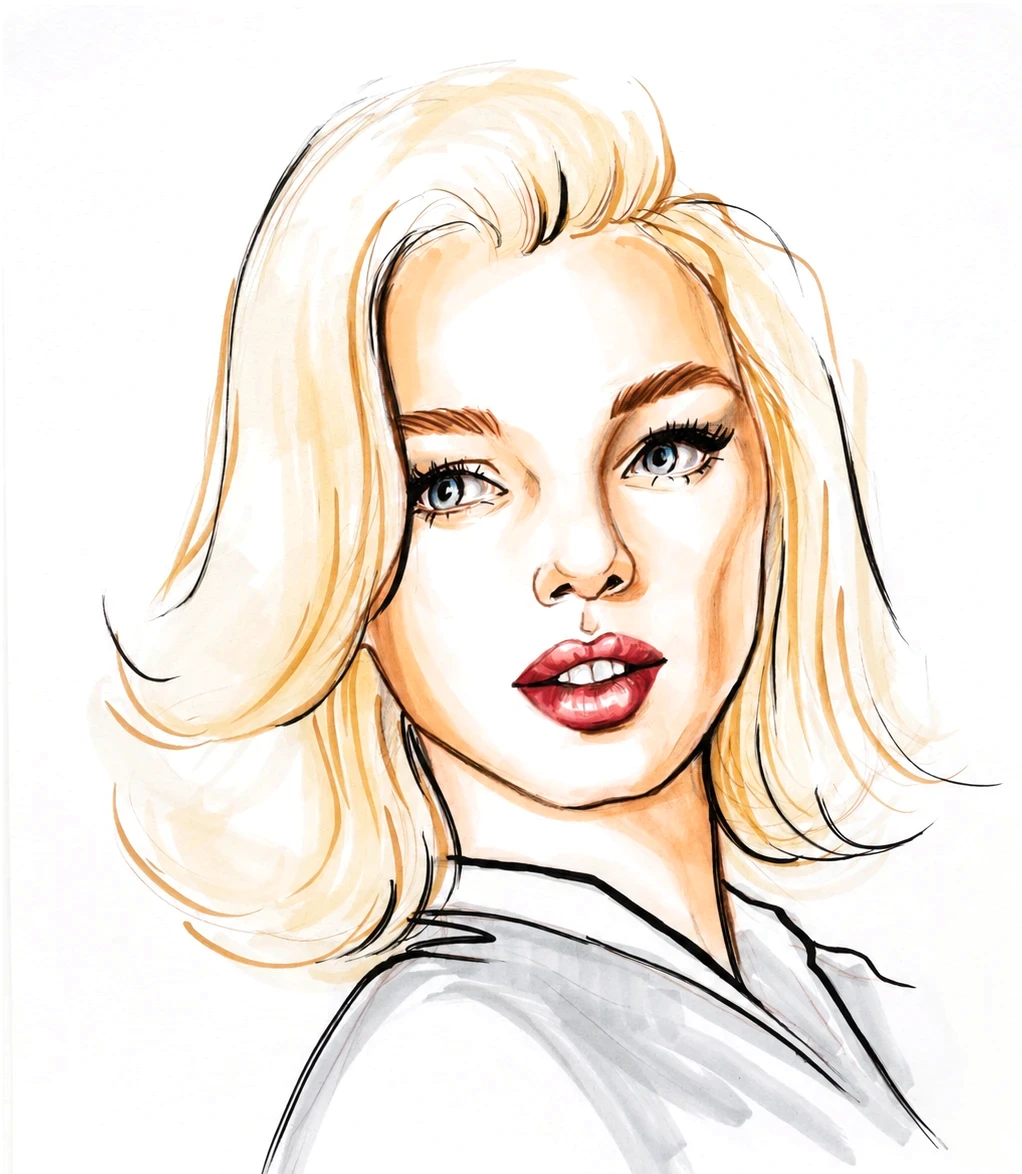
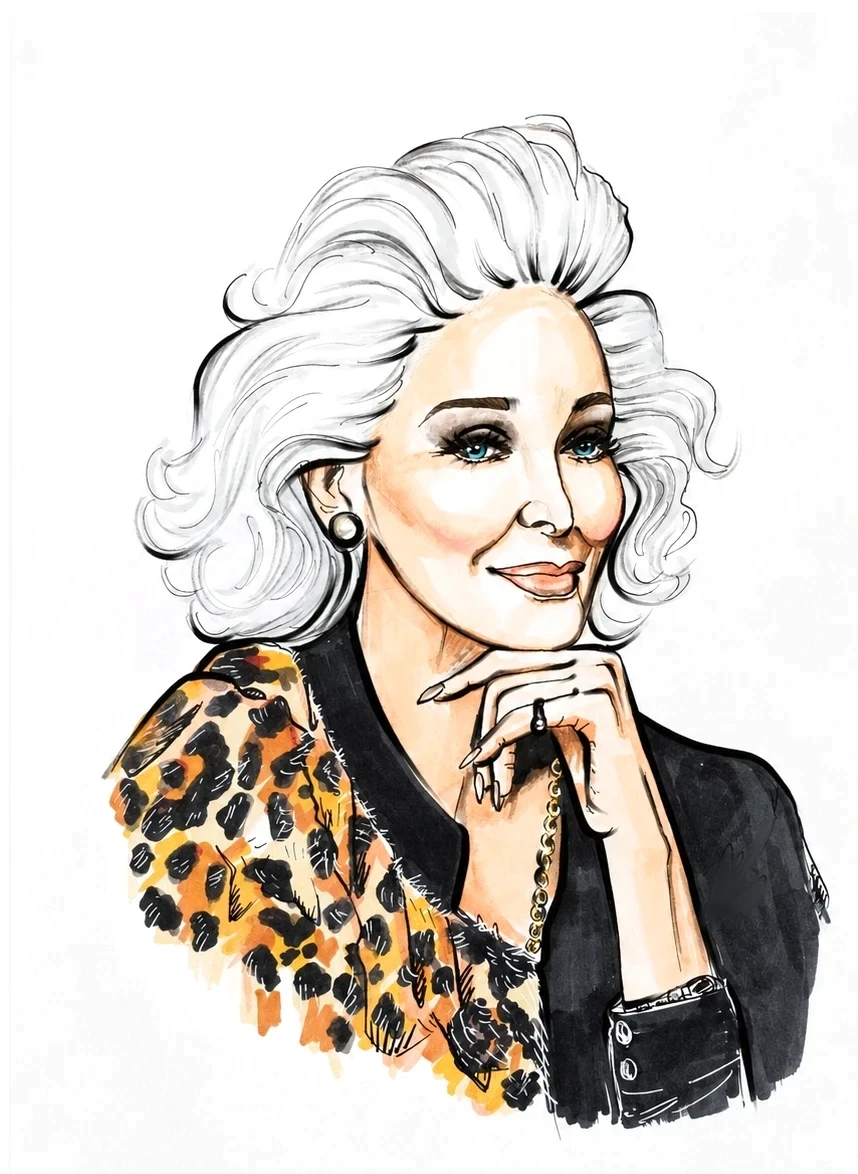
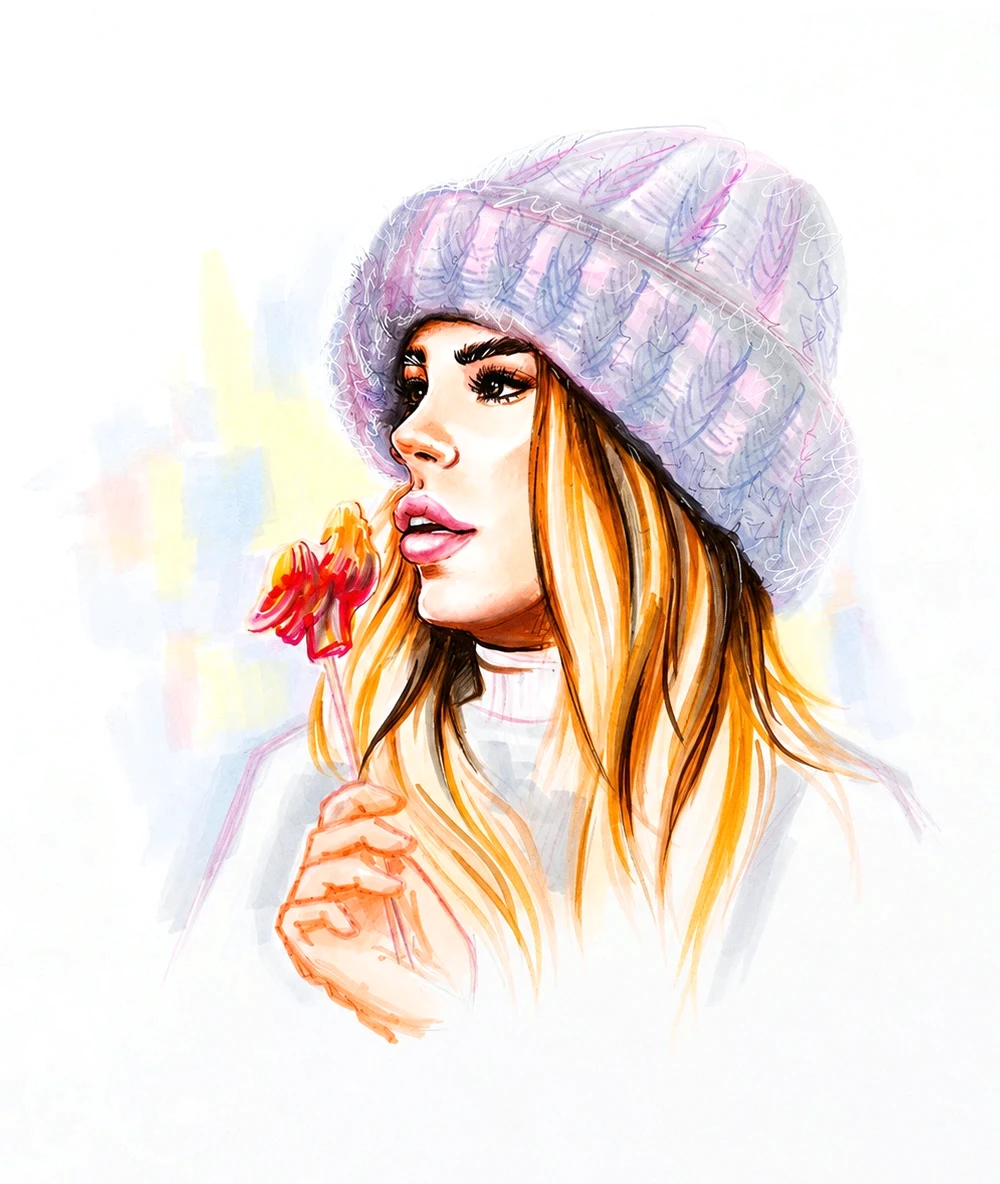

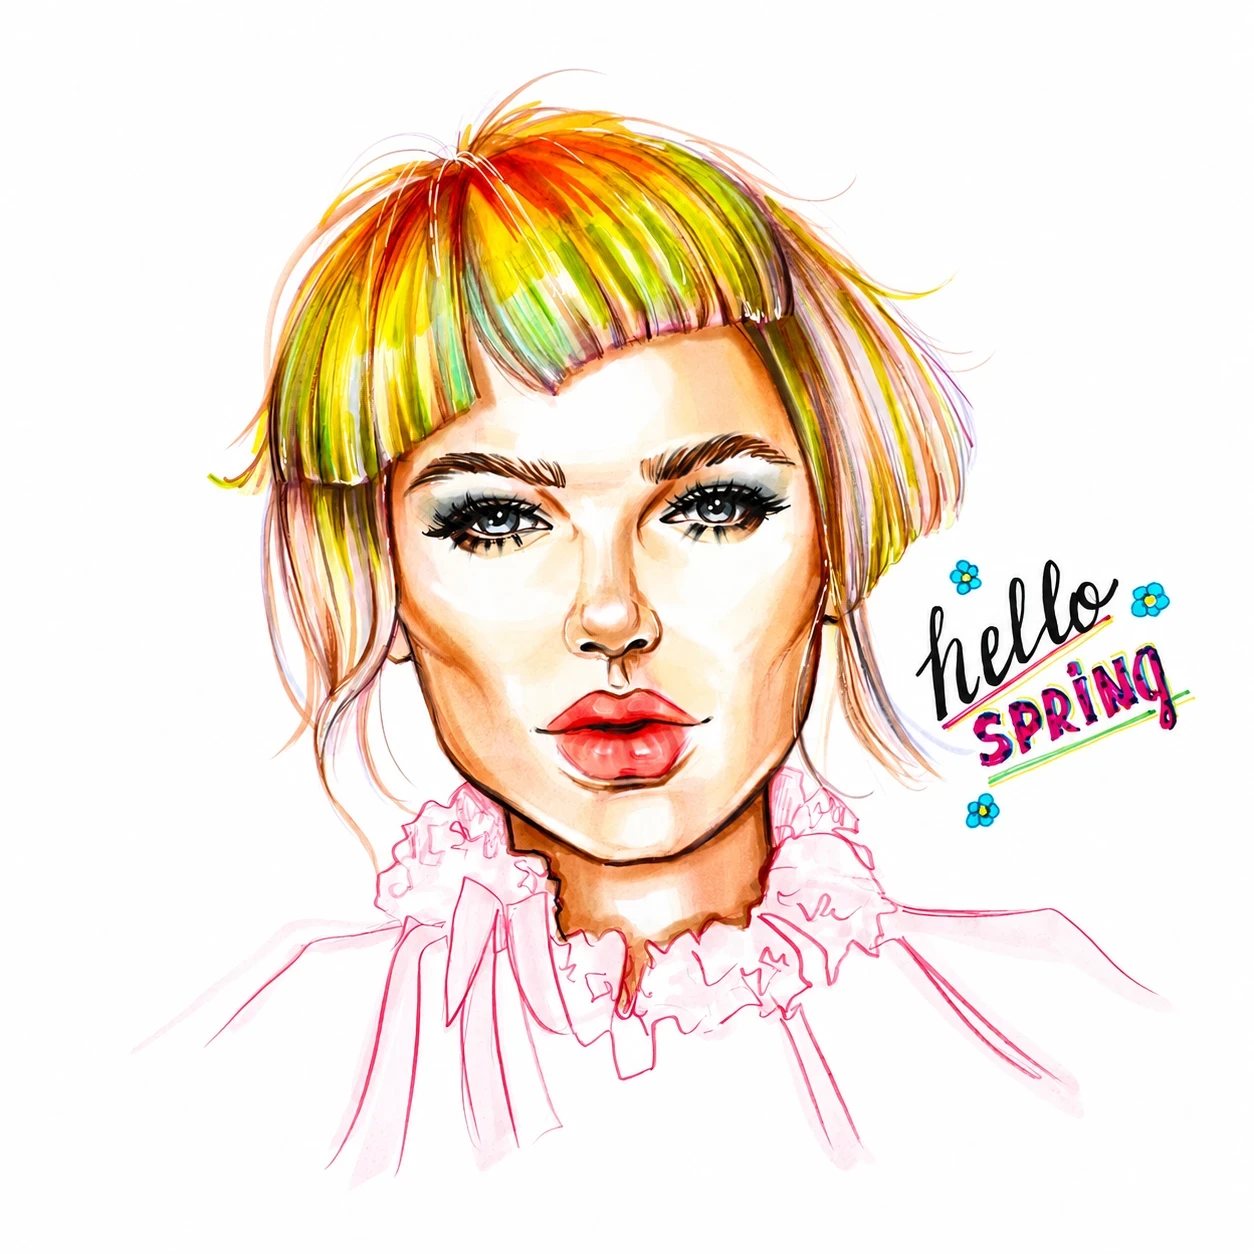
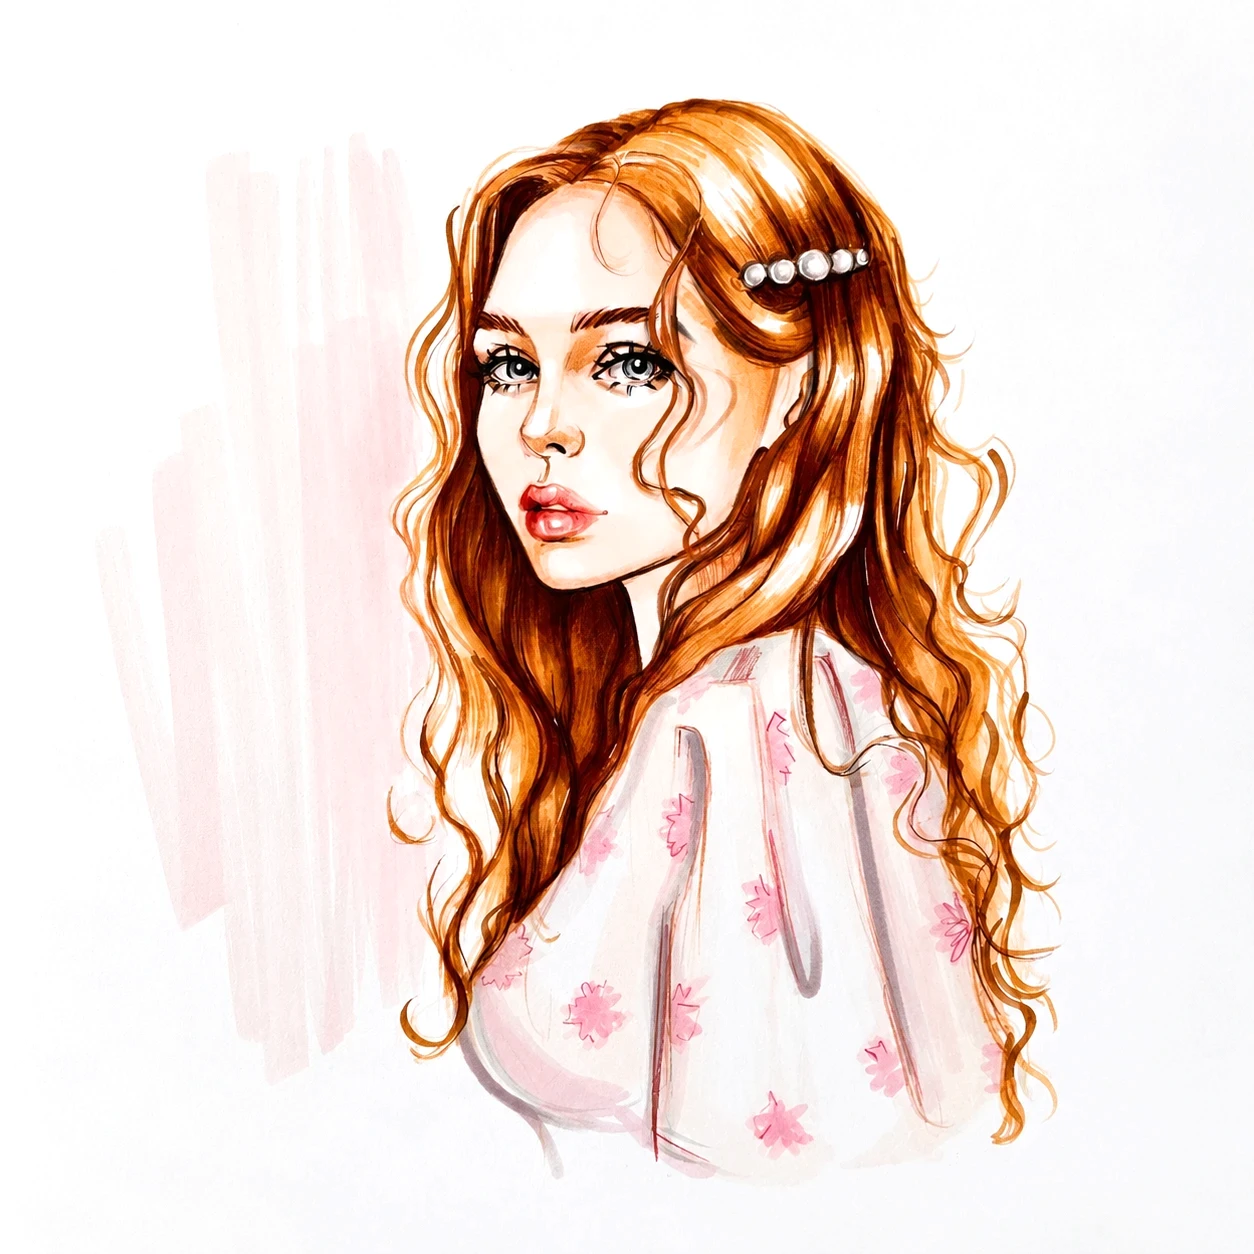
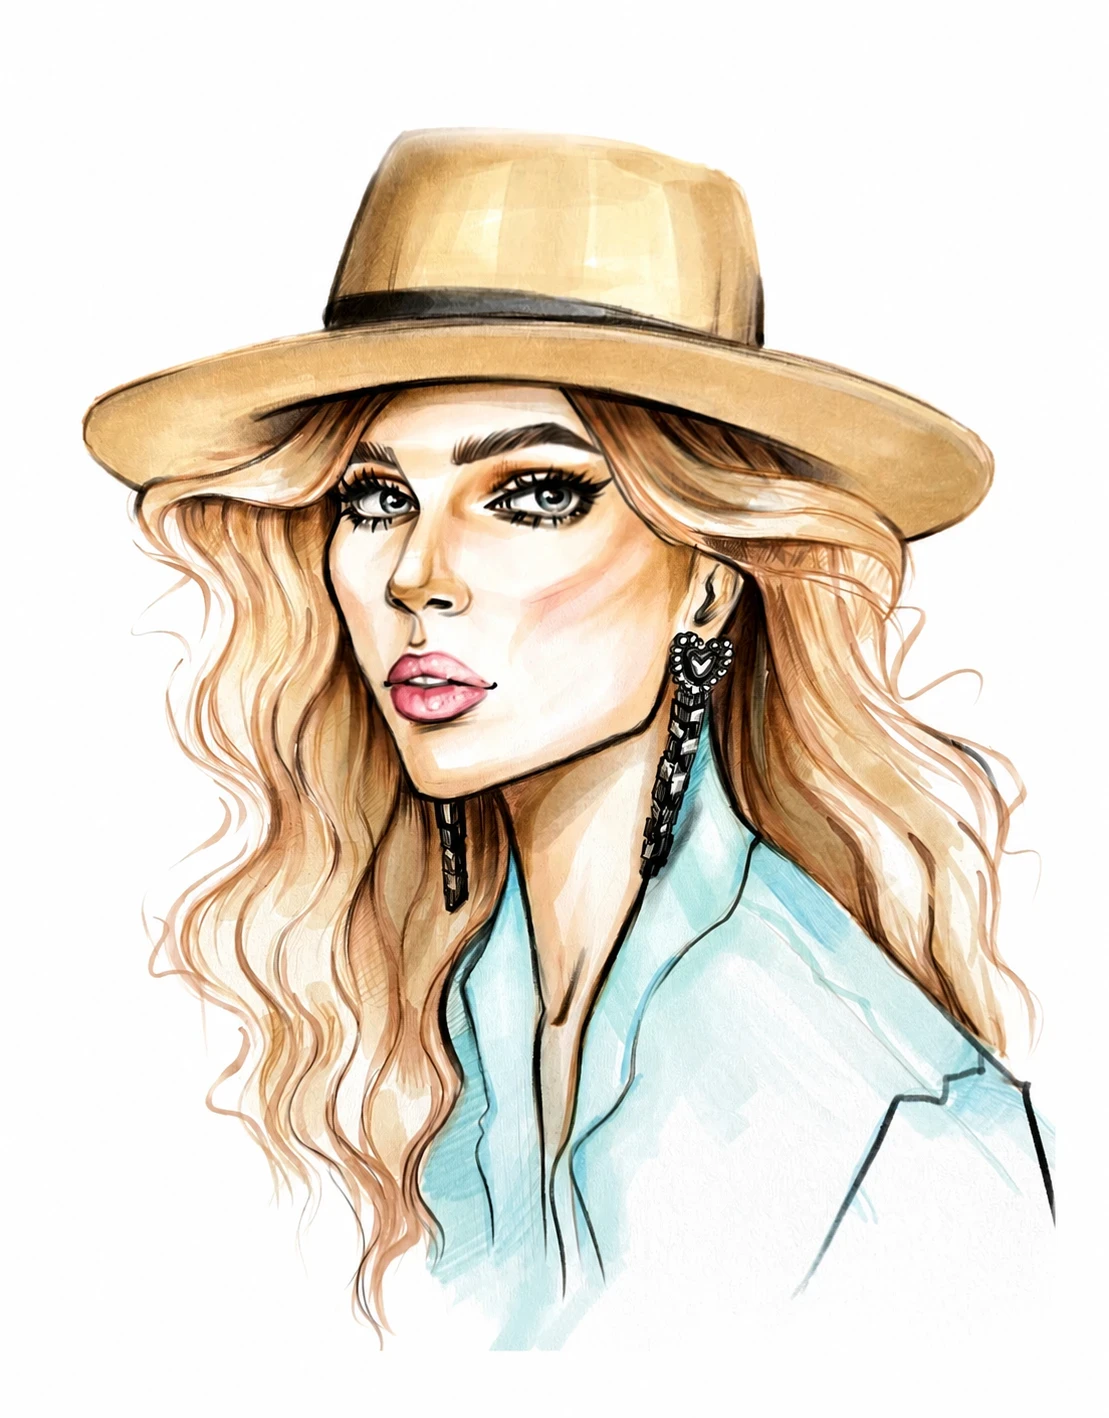
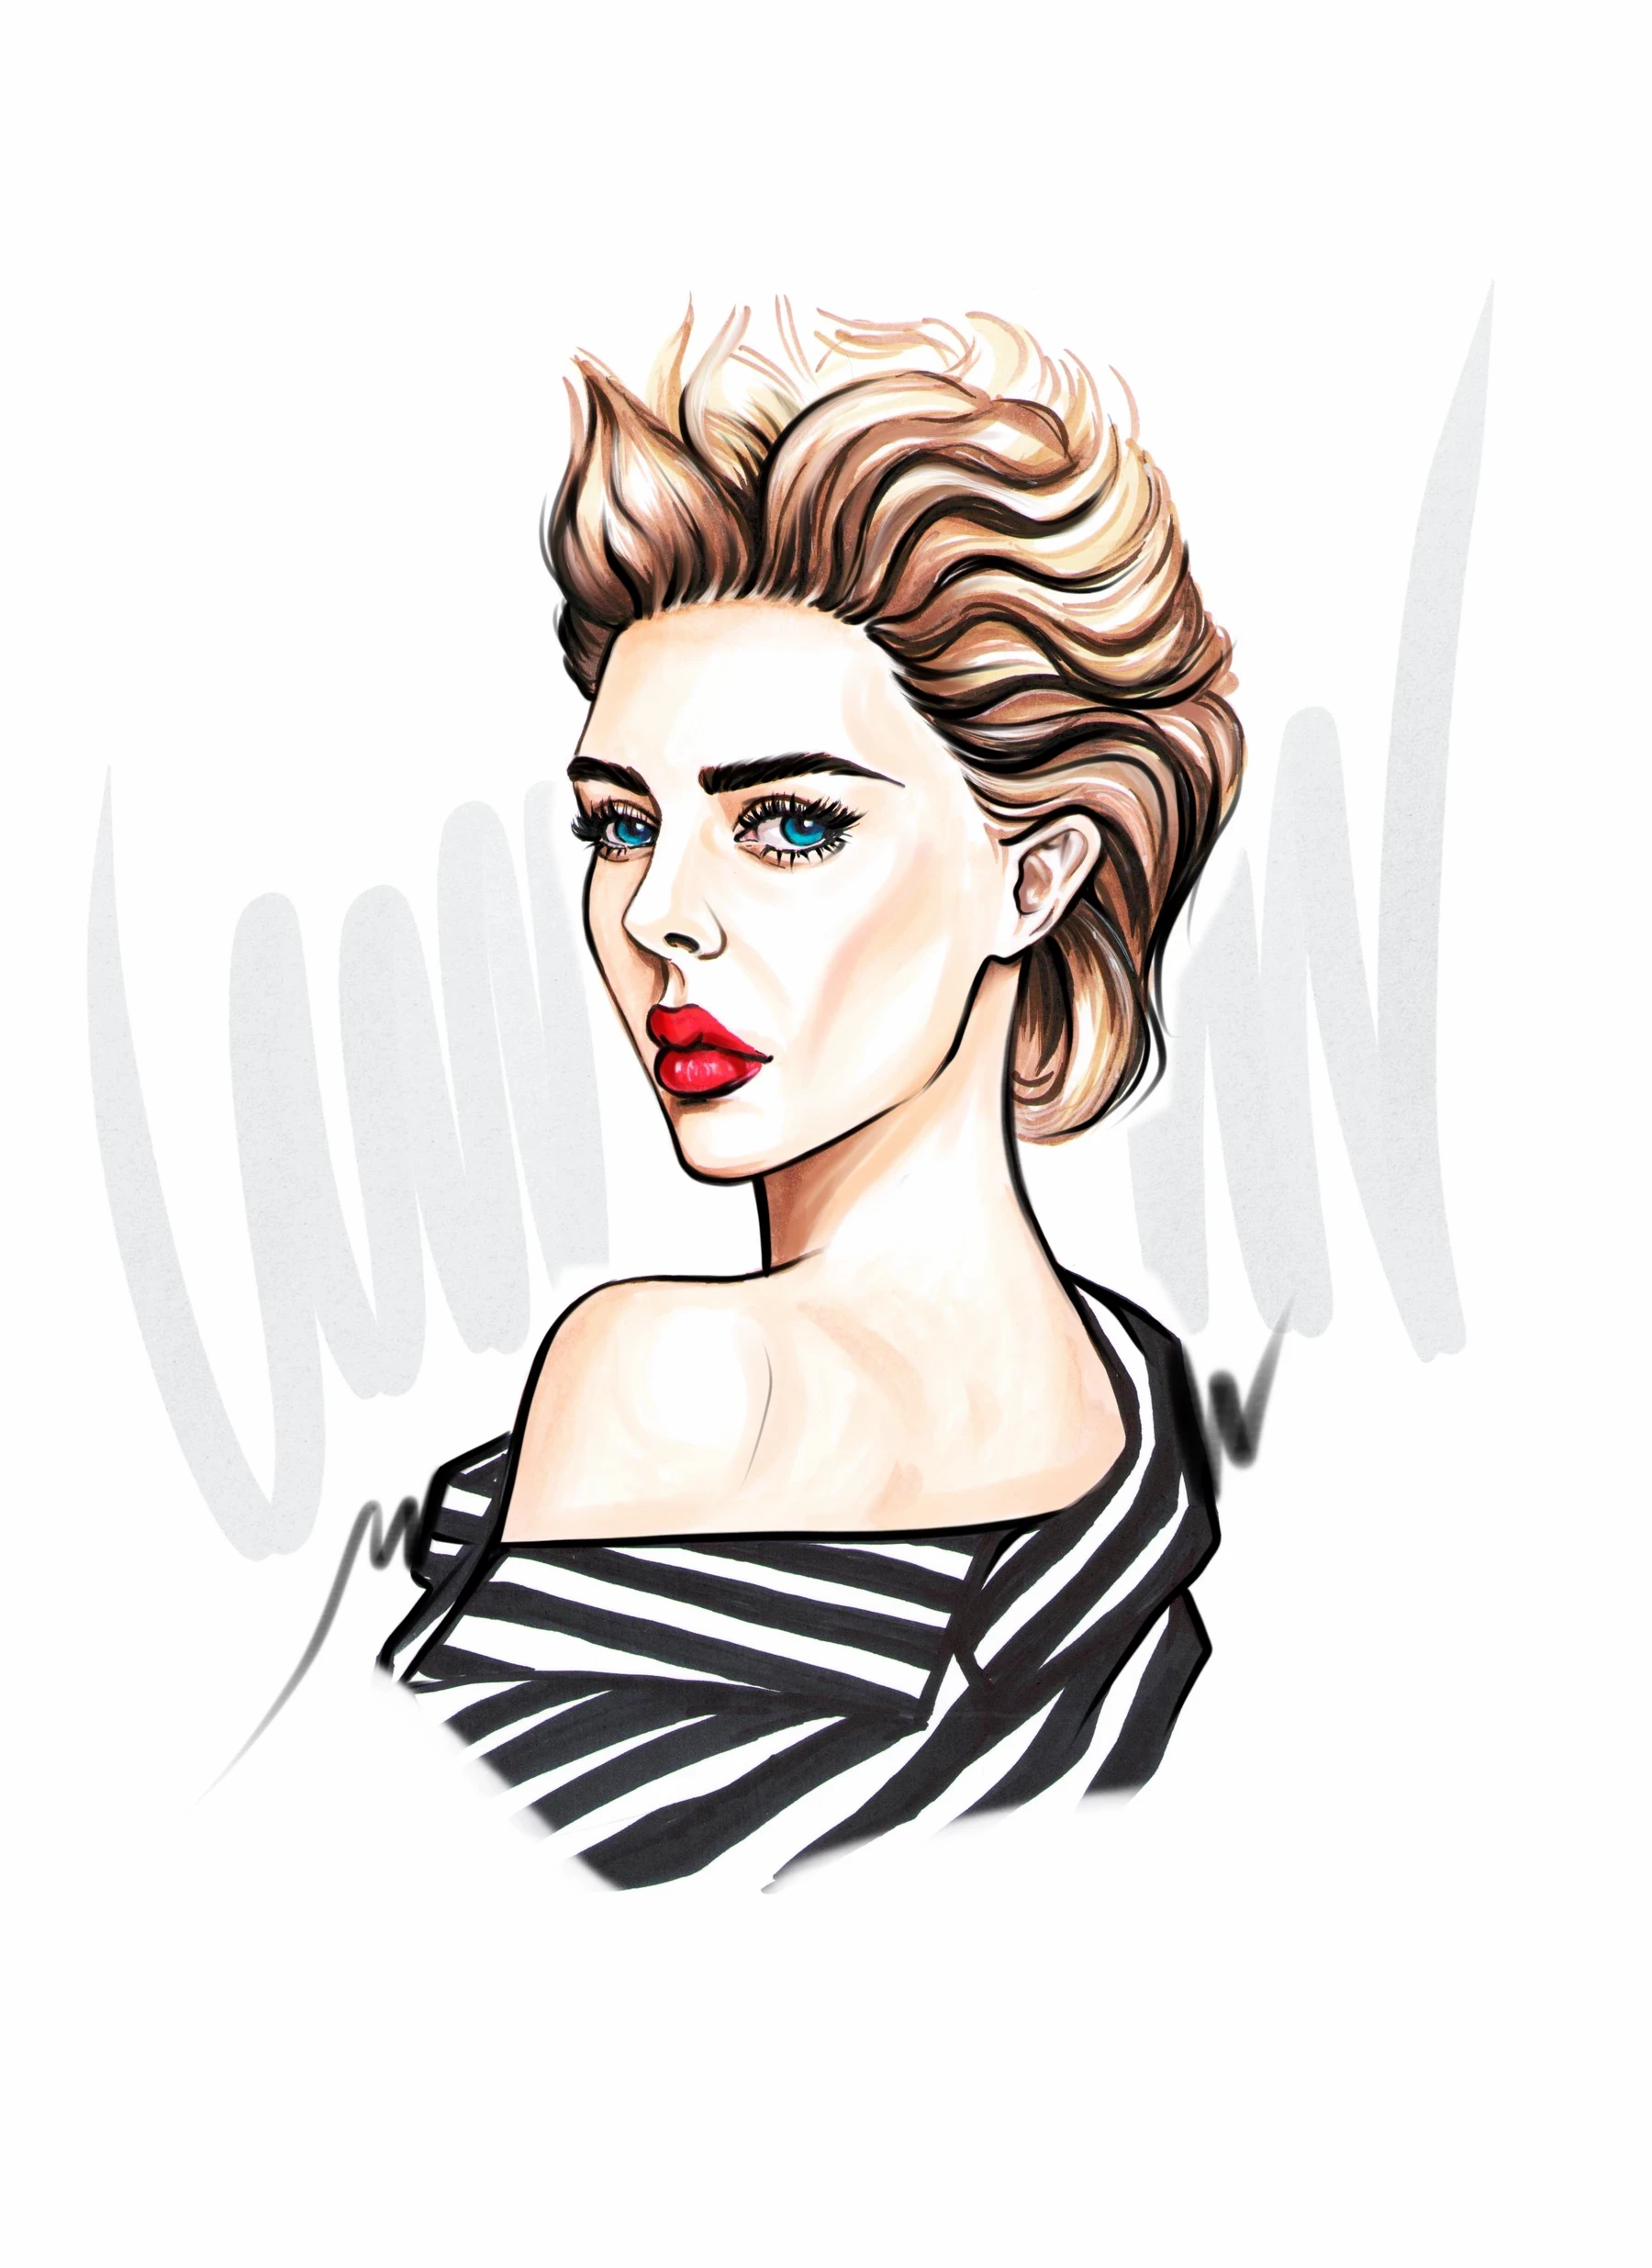
Course materials
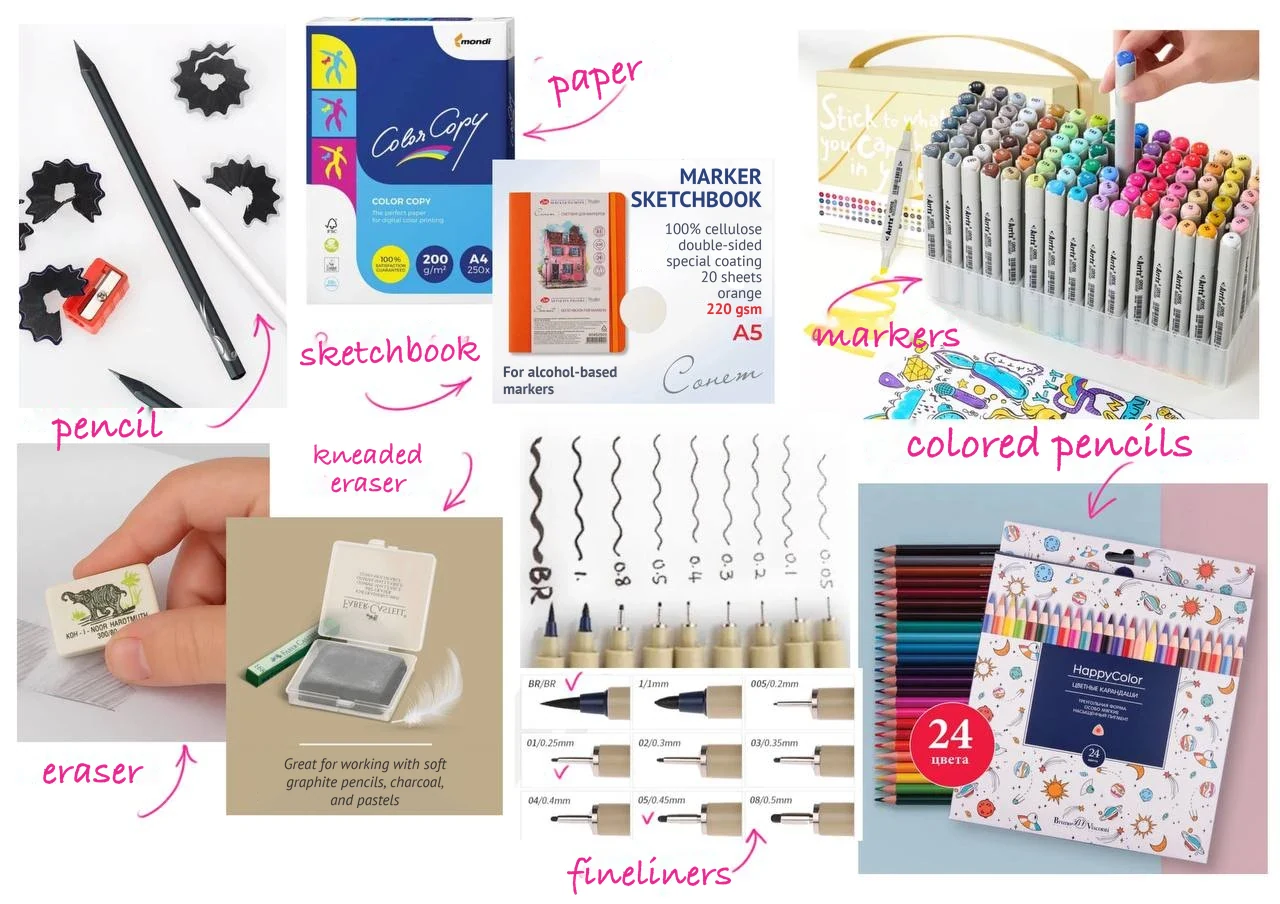
Paper
- Marker paper: coated, 160–200 gsm (59–74 lb cover), A4 (8.3×11.7 in). You can also use a sketchbook with special marker paper in whatever size is comfortable for you; larger formats are better.
Markers
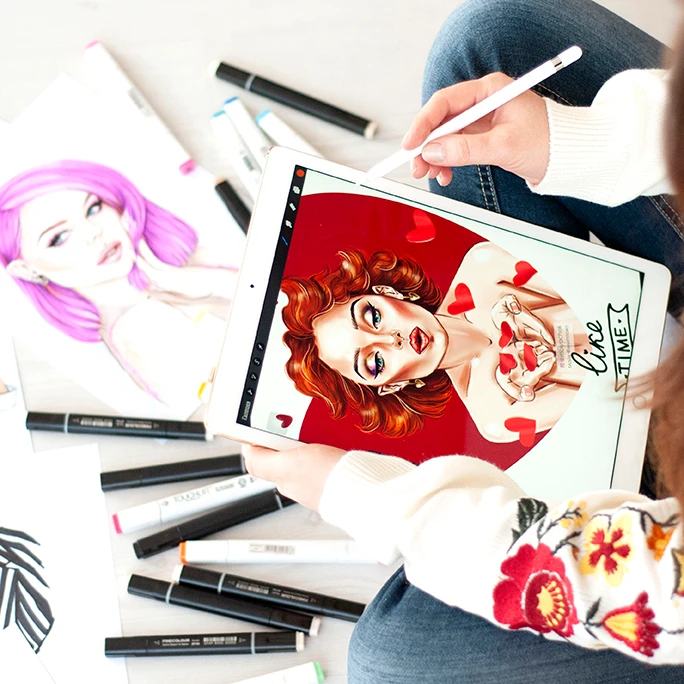
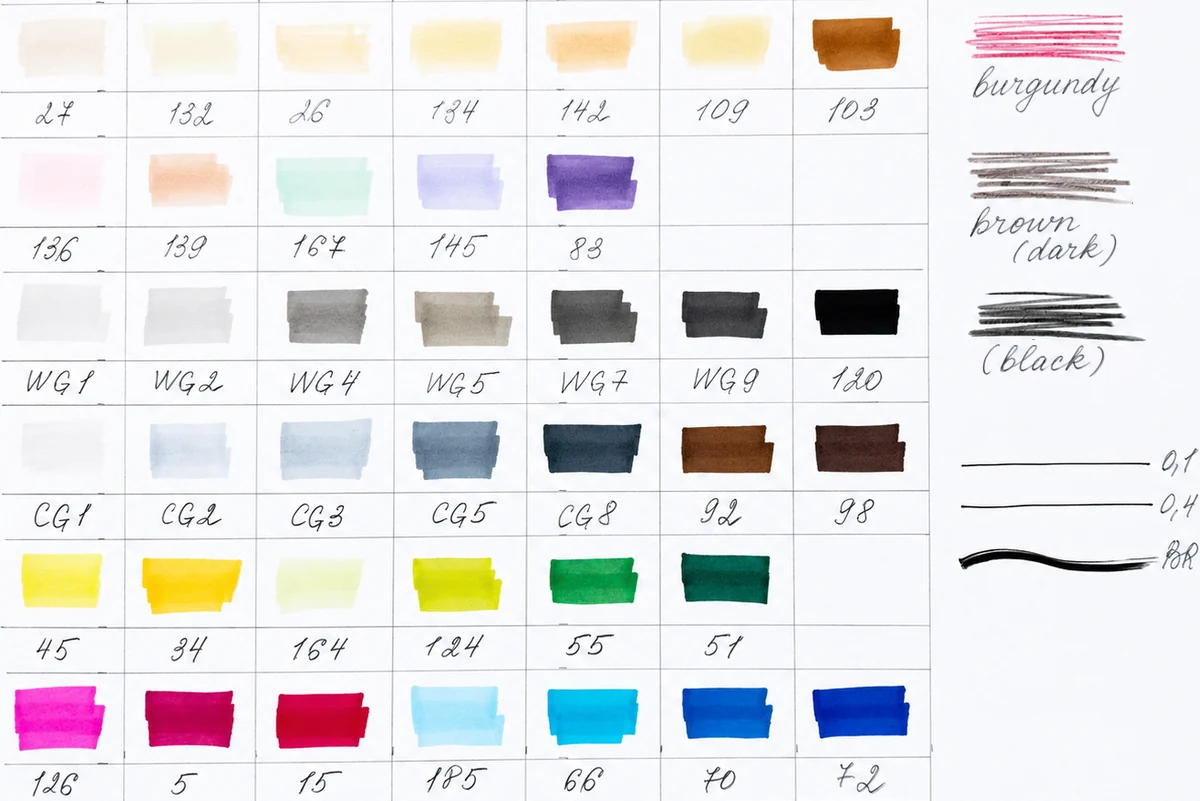
The course uses the Arrtx set (90 colors), but any other brand works, for example: Sketchmarker, Finecolour, Copic, Touch. You can even use the most basic markers from AliExpress.
- Skin-tone markers for rendering skin
- Colored markers with an extended palette
- Colorless blender marker
Fineliners and pencils
- Fineliners: thin 0.1 mm (0.004 in), medium 0.5 mm (0.02 in), thick BR brush nib
- HB graphite pencil
- Soft colored pencils (HappyColor 36 colors or similar)
- White gel pen
Extras
- Kneaded eraser or a regular eraser
Choose your plan
- 8 portraits in markers: from gentle summer romance to bold, expressive looks
- 13 lessons: theory + practice + tips and tricks
- Machine translated subtitles: English, German, French, Italian, Spanish, Greek, Polish, Portuguese, Hungarian, Chinese, Indonesian
- «Course Unfreeze» - the chance to start learning at a convenient time
- The opportunity to watch artworks analysis of other participants
- Lifetime access to course materials
- Review of your work and answers to your questions in the comments for 60 days from the moment you start the course
- Personal one-hour online consultation with the course expert
- +20 bonus dollars! Can be used when purchasing a course at the next marathon. Valid for 3 months
- 8 portraits in markers: from gentle summer romance to bold, expressive looks
- 13 lessons: theory + practice + tips and tricks
- Machine translated subtitles: English, German, French, Italian, Spanish, Greek, Polish, Portuguese, Hungarian, Chinese, Indonesian
- «Course Unfreeze» - the chance to start learning at a convenient time
- The opportunity to watch artworks analysis of other participants
- Lifetime access to course materials
- Review of your work and answers to your questions in the comments for 60 days from the moment you start the course
- Personal one-hour online consultation with the course expert
- +20 bonus dollars! Can be used when purchasing a course at the next marathon. Valid for 3 months
- 8 portraits in markers: from gentle summer romance to bold, expressive looks
- 13 lessons: theory + practice + tips and tricks
- Machine translated subtitles: English, German, French, Italian, Spanish, Greek, Polish, Portuguese, Hungarian, Chinese, Indonesian
- «Course Unfreeze» - the chance to start learning at a convenient time
- The opportunity to watch artworks analysis of other participants
- Lifetime access to course materials
- Review of your work and answers to your questions in the comments for 60 days from the moment you start the course
- Personal one-hour online consultation with the course expert
- +20 bonus dollars! Can be used when purchasing a course at the next marathon. Valid for 3 months
Frequently asked questions
Absolutely! Anyone can draw! It's simply a skill you build with practice. Our course goes from simple to complex, so anyone can complete it, even with no experience at all. As you create the course portraits, you'll gradually build your skills through practice and learn to draw.
At the end of the lesson, you'll upload a photo of your work. The instructor will be able to leave a text comment, a graphic comment (notes drawn directly on your drawing), or an audio comment.
At the bottom of the final lesson there will be a comments section where you can ask any questions about the course.
If you're on a plan without feedback, it all depends on your own personal pace as you go through the lessons.
For plans with feedback, we actively go through lessons within two months from the moment you "unfreeze" the course.
In general, I recommend taking the course at a relaxed pace — enjoy the process as much as possible.
Yes, this course will be useful both for beginners and for those who already have some experience.
It's never too late to learn to draw. In our school, 30% of students are over 50. They draw with joy, develop their skills and creative thinking — and feel younger in spirit and mind!
