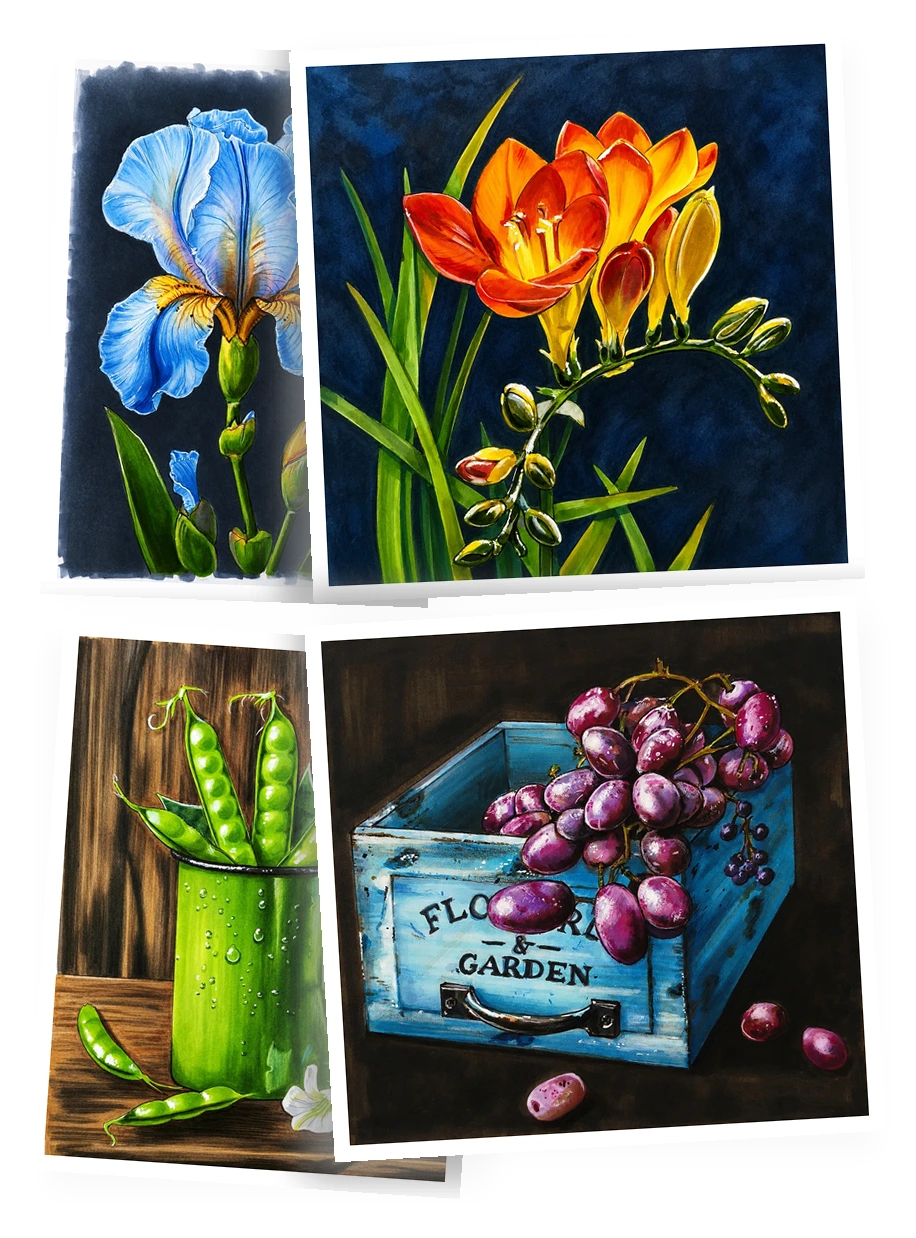
Juicy Botanicals a course with Poliksenia Chetin
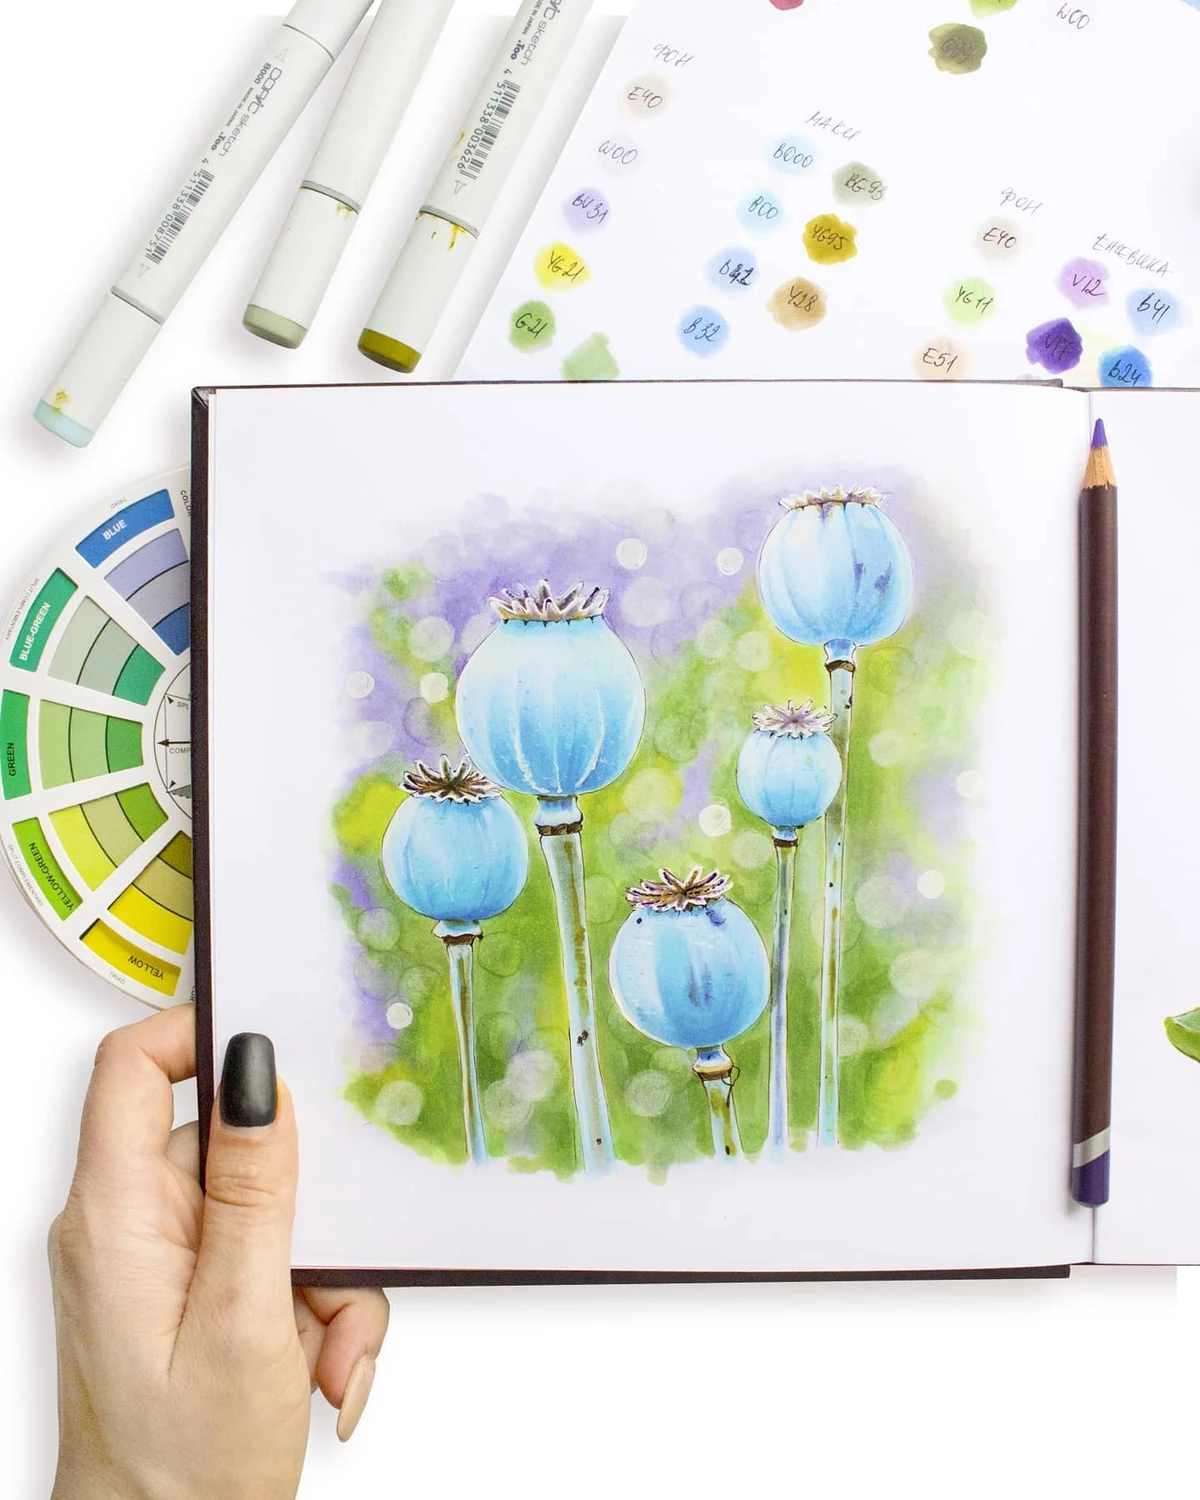
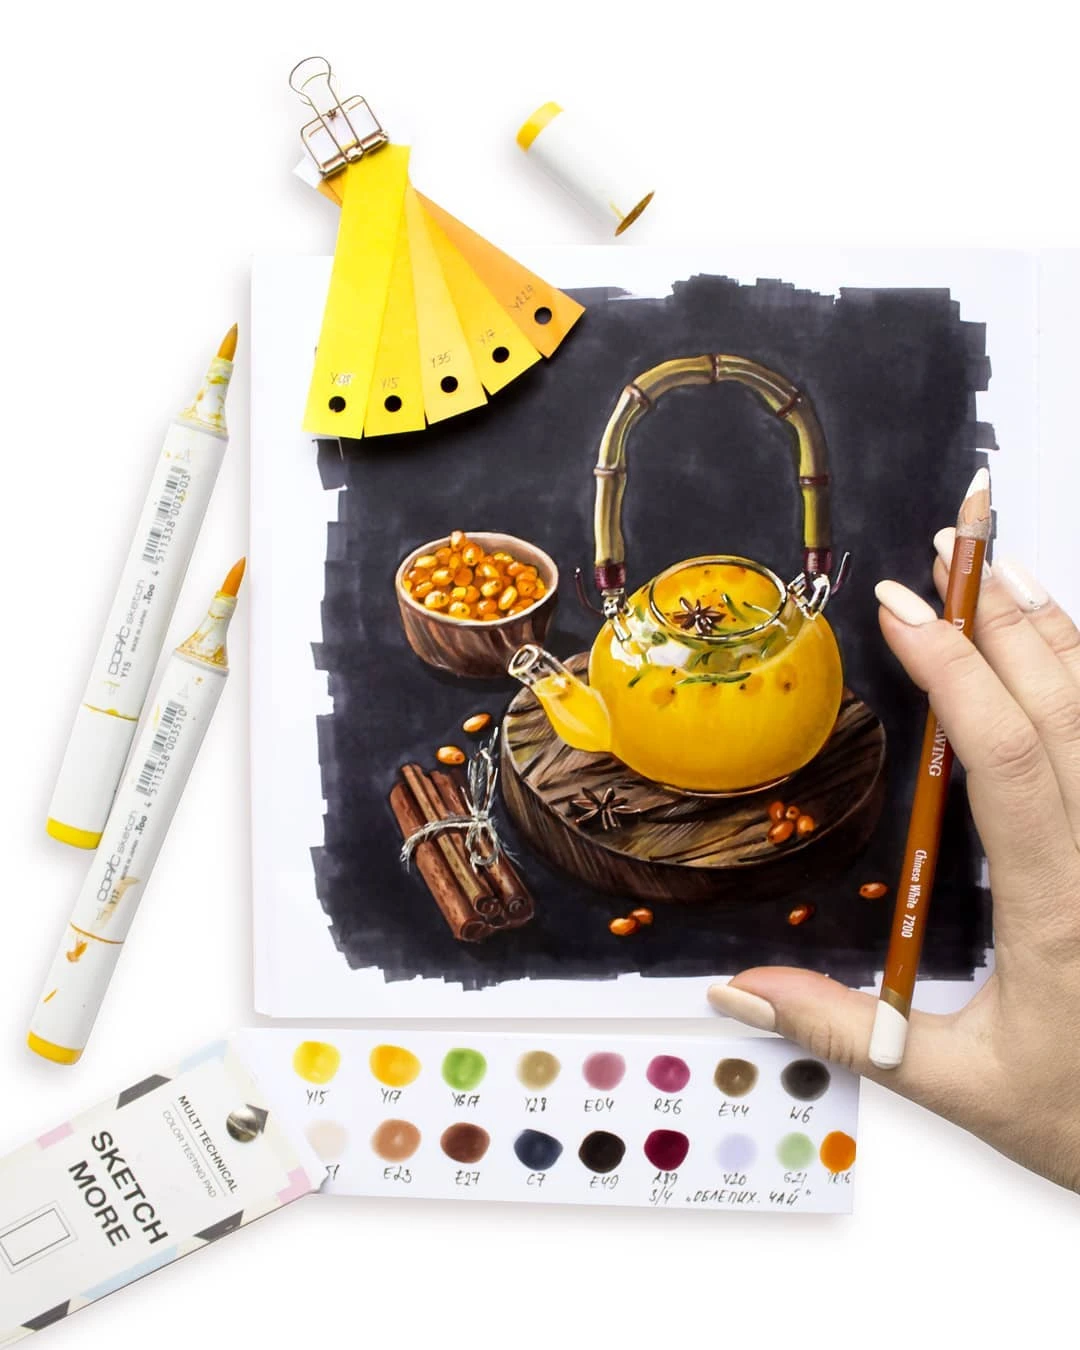
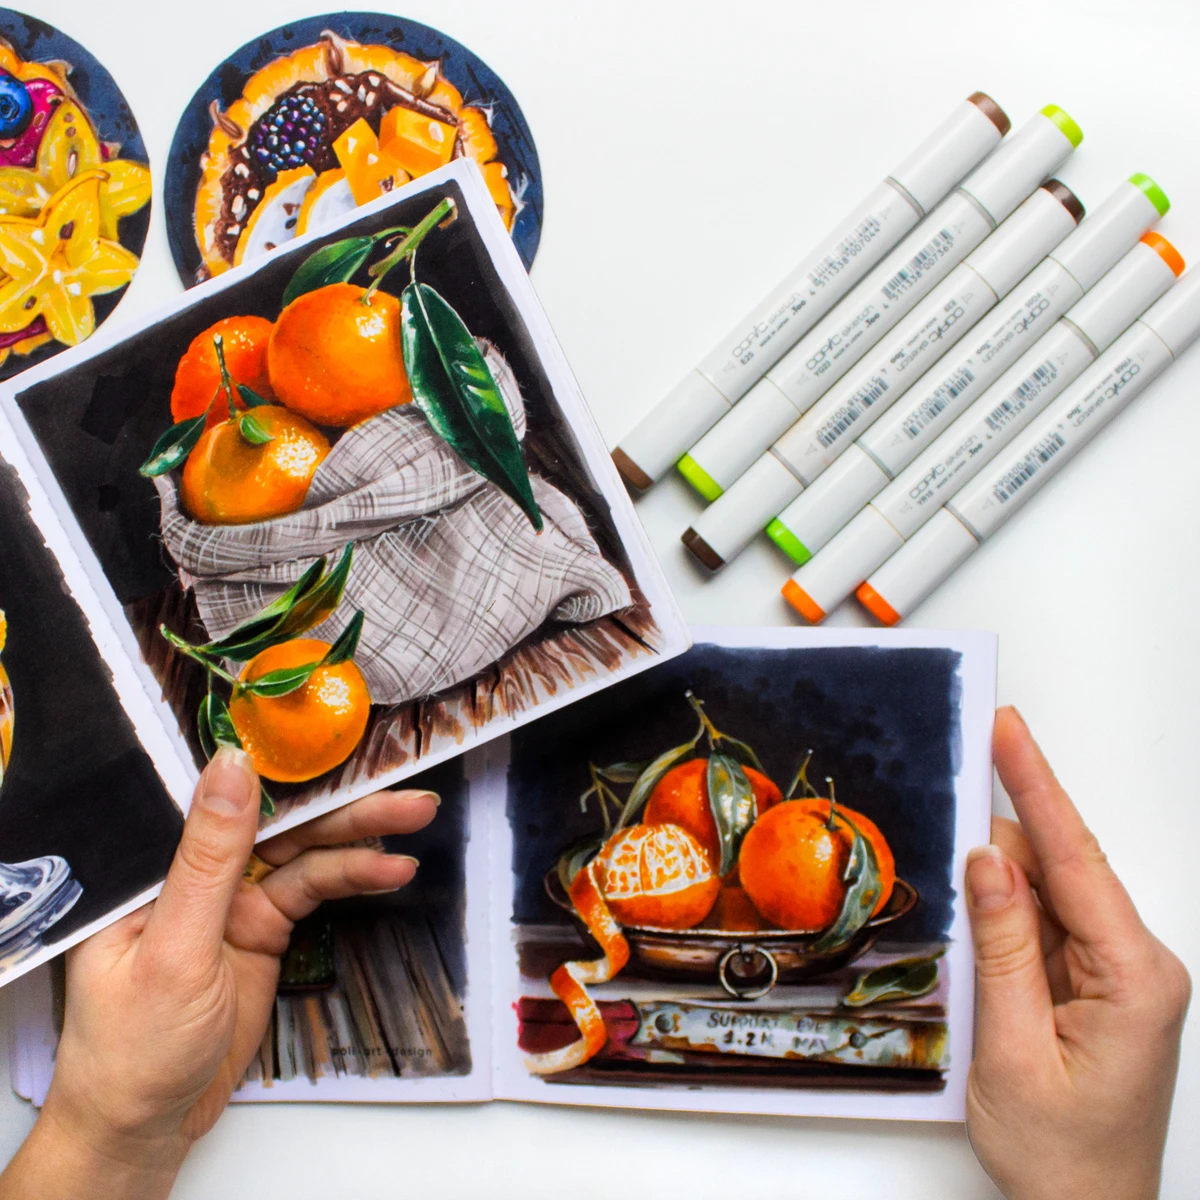
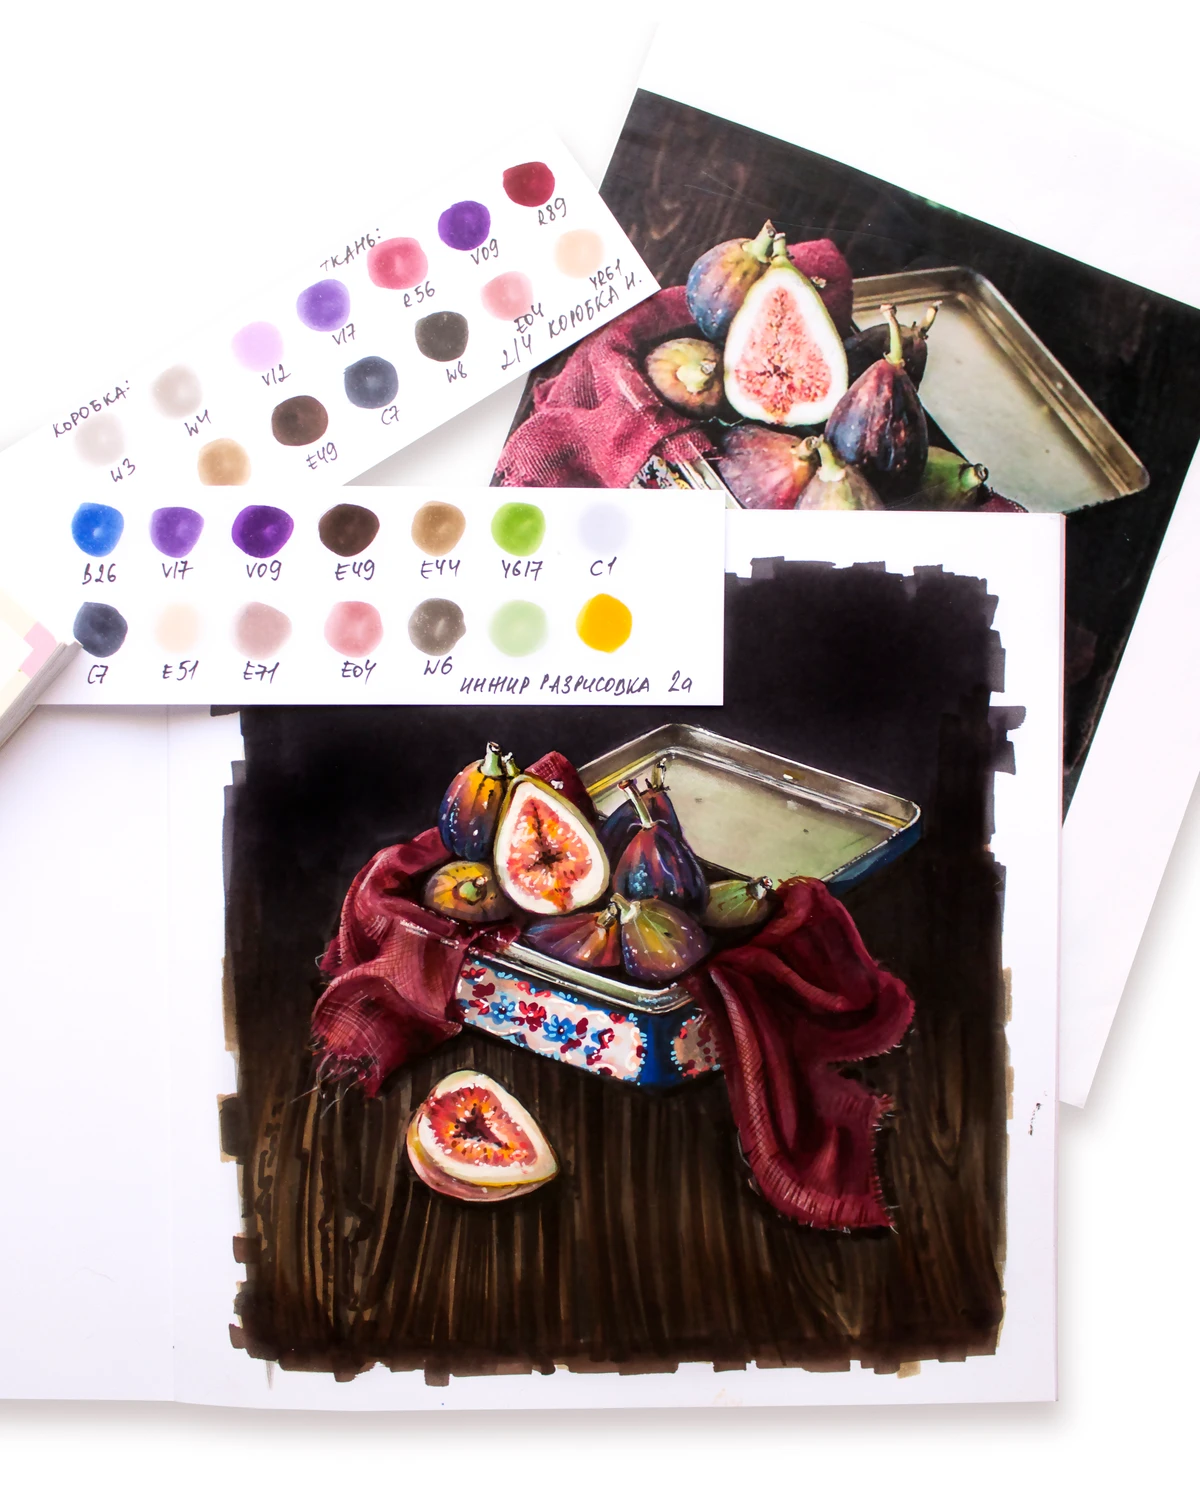
- Create 8 vibrant, highly detailed artworks featuring fruit and flowers
- Learn to capture light, form, and texture in plants using a realistic marker technique
- Develop the ability to see and accurately build proportions and colors in botanical subjects
What the course is about
For me, botany is an endless source of inspiration. Every petal, berry, or leaf holds dozens of shades, light effects, and tiny details. And that's exactly what I want to teach you in the course "Juicy Botanicals."
We won't just be coloring in drawings with markers. I'll show you how to build form, understand light and shadow, see color, and create convincing volume. You'll learn to work with alcohol-based markers the way realist artists do: with layering, clean color transitions, precise halftones, and attention to every detail.
Together we'll create a collection of vibrant botanical artworks: we'll draw juicy fruits and appetizing produce, capture the freshness of berries, the delicacy of flowering branches, and the beauty of large, expressive blooms. Each artwork will be a new step toward mastering realism and will help reinforce important artistic principles.
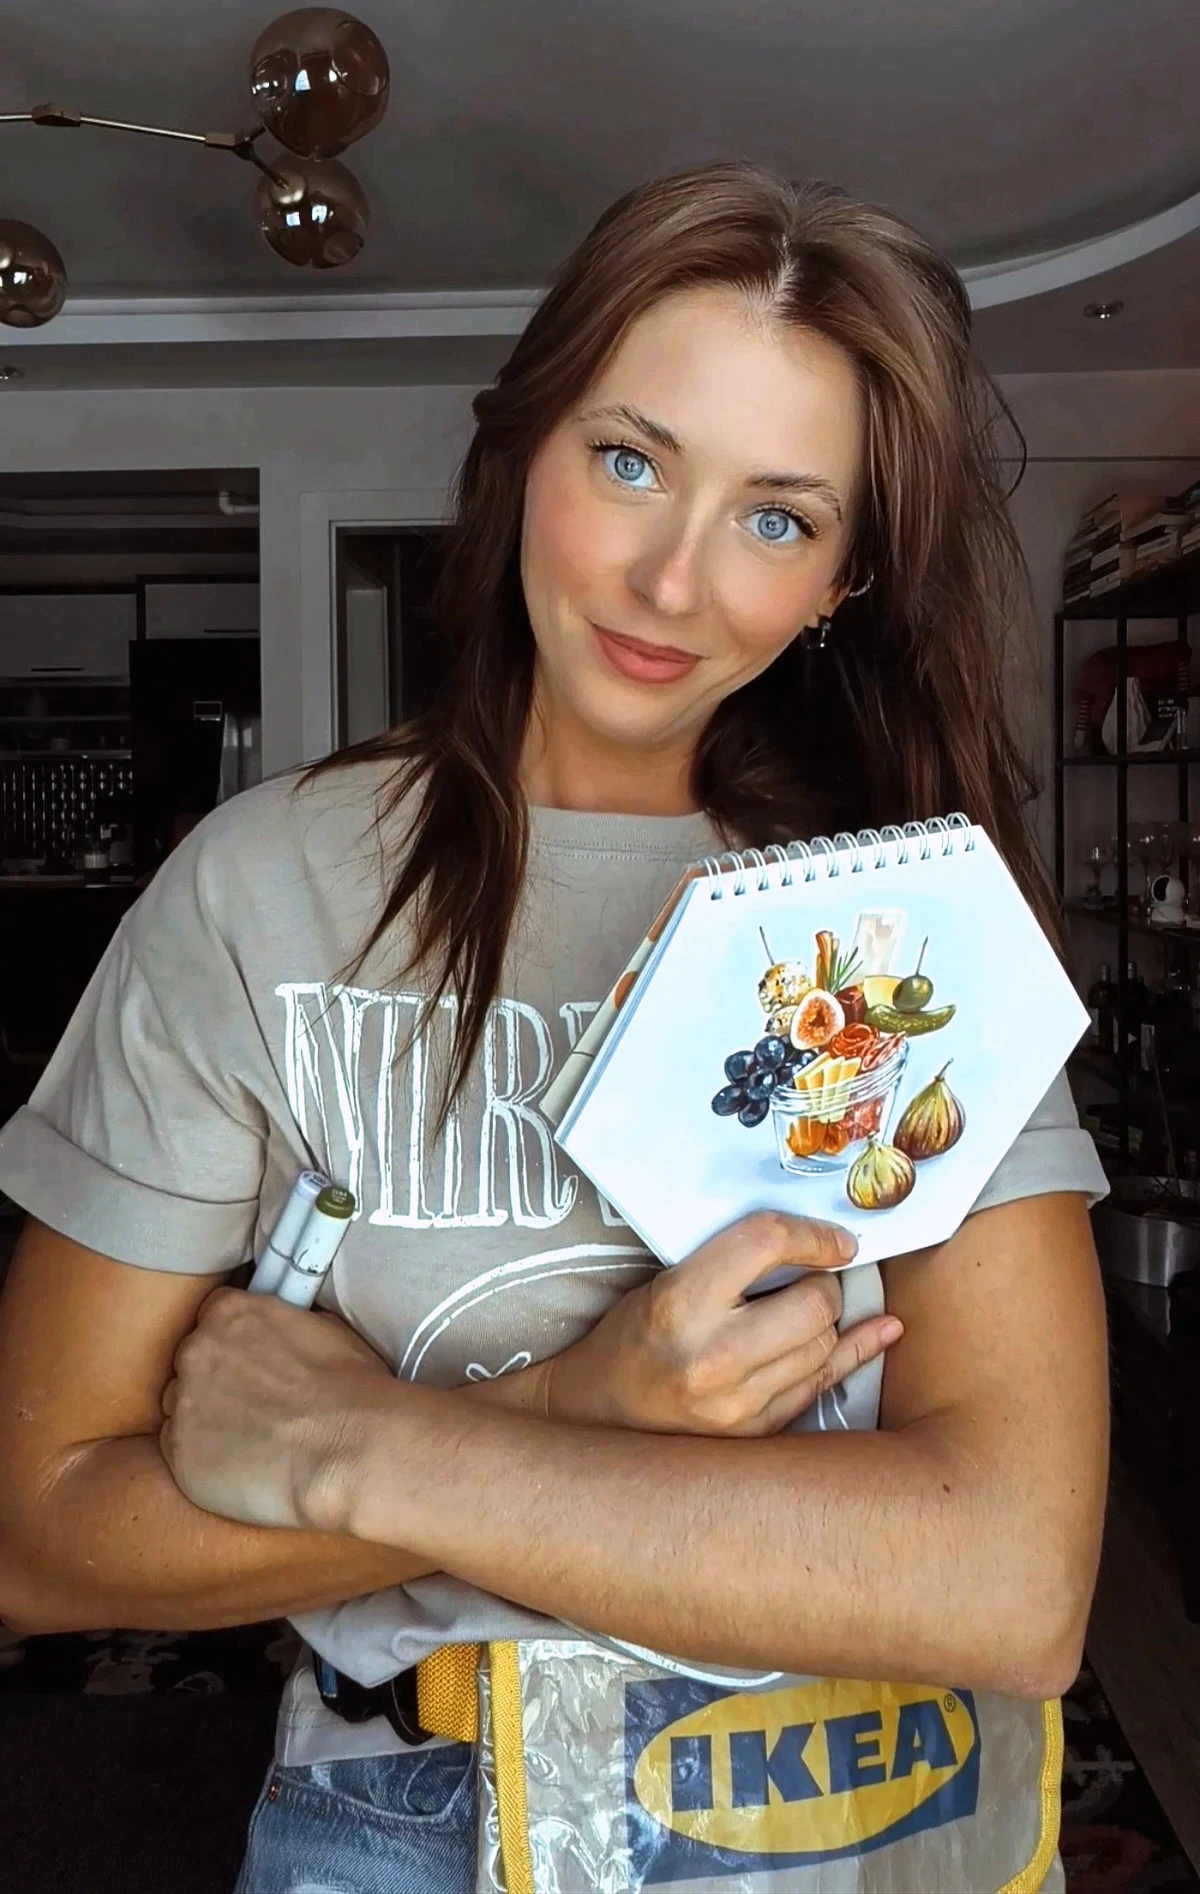
Who will benefit from this course
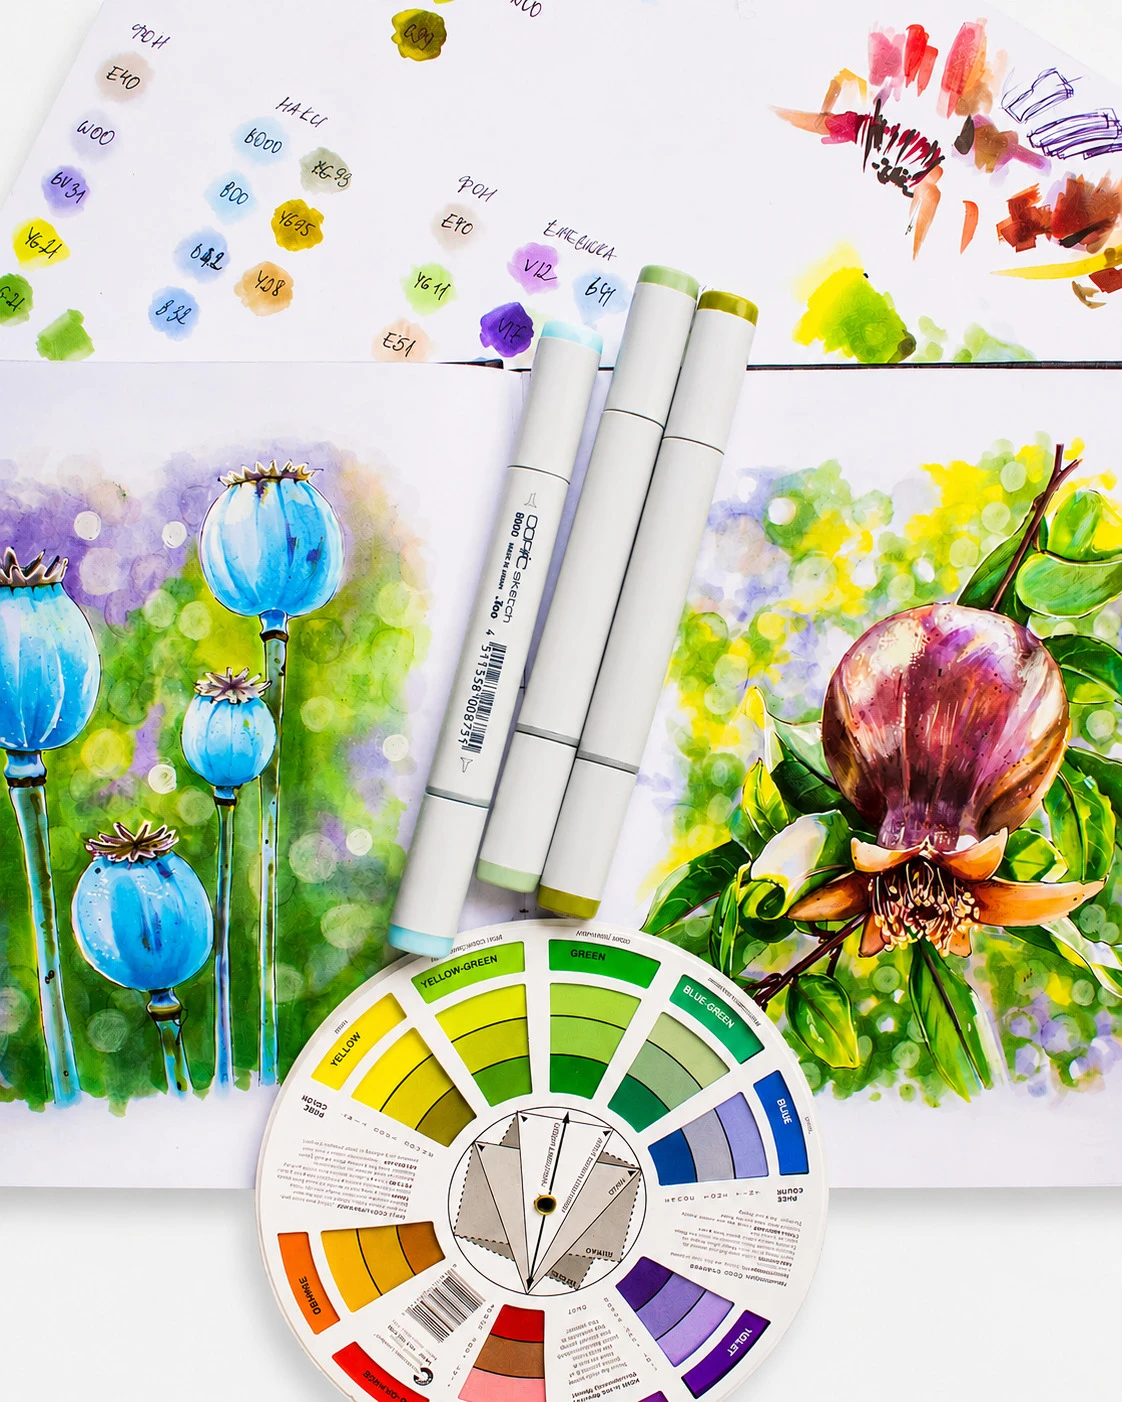
This course is designed for anyone who wants to learn how to create truly realistic artwork with alcohol-based markers.
If you already have experience working with markers, this course will help you organize your knowledge, explore the nuances of realism, and take the quality of your drawings to the next level.
If you draw well but are just getting started with markers, be ready for serious practice. It won't be easy — but that's exactly the kind of approach that delivers real growth.
Even if you feel like your drawing skills aren't quite there yet, we'll break down the fundamentals of form, light, tone, and volume, fill in the gaps, and learn to see objects through an artist's eyes.
Course Program
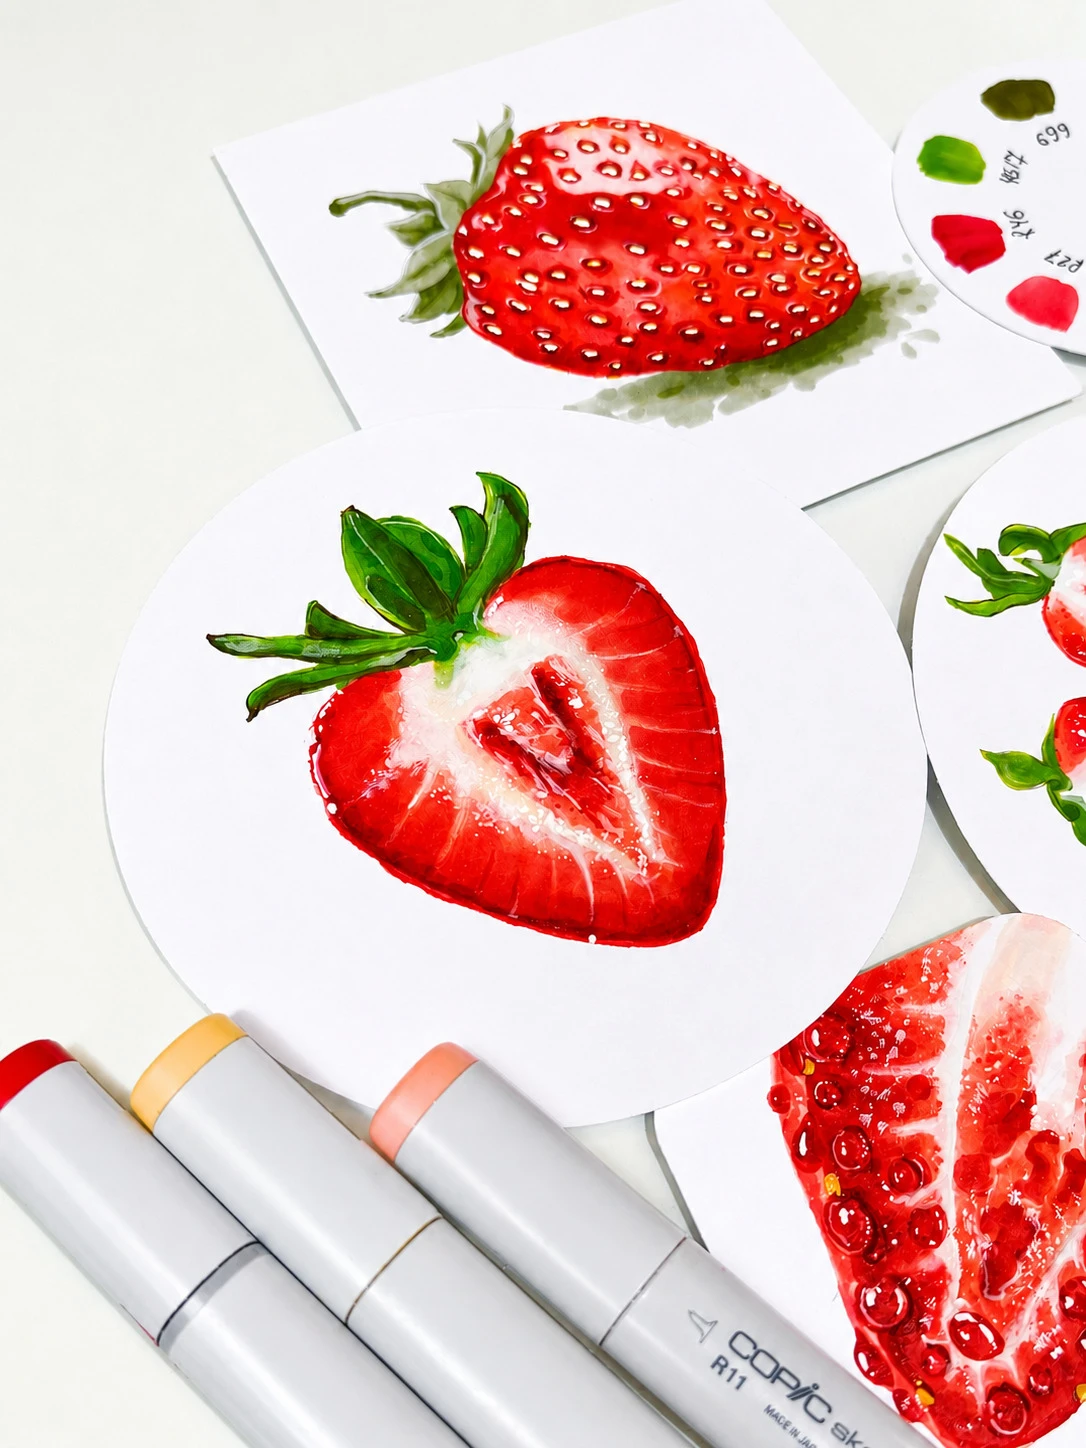
In this lesson, we will:
- we'll build the realism grid at different scales;
- we'll choose a marker palette to match the reference;
- we'll construct the object's shape using the grid;
- we'll master a multi-layered technique for working with markers;
- we'll learn how to soften dark shades with a light marker;
- we'll create a radial gradient on the strawberry cross-section;
- we'll place expressive highlights using white materials.
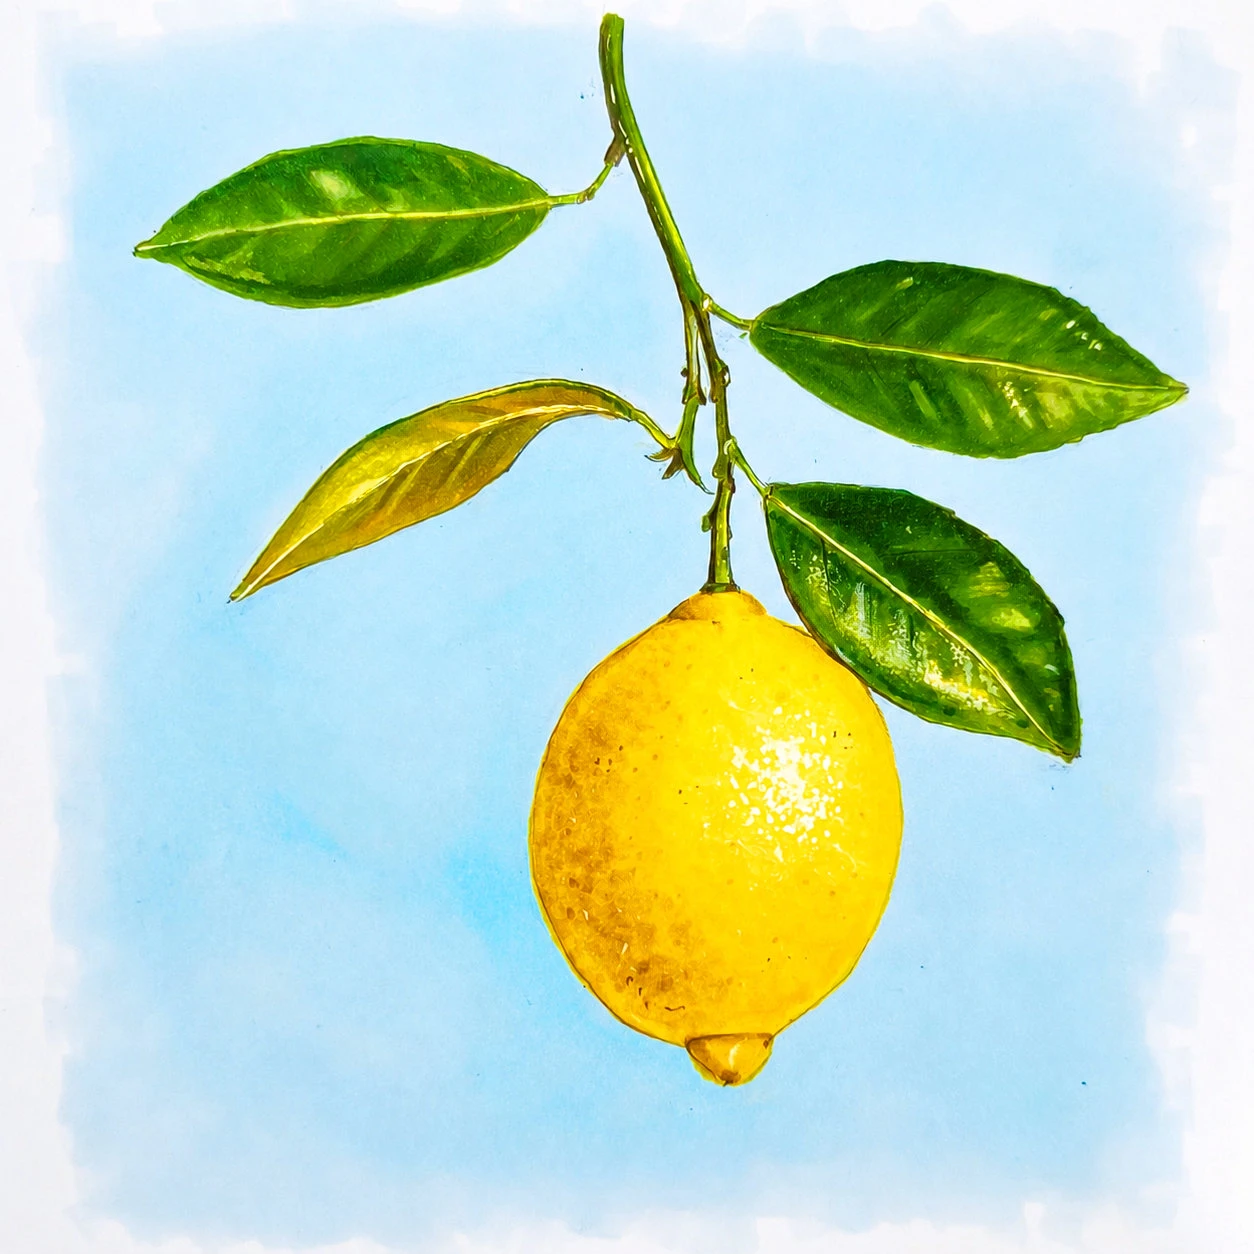
In this lesson, we will:
- we'll create a harmonious asymmetric composition;
- we'll construct the object using the realism grid;
- we'll master a multi-layered working technique;
- we'll capture the texture of citrus peel with markers;
- we'll learn how to place matte highlights using white materials;
- we'll add details that bring the illustration to life and give it a finished feel.
In this lesson, we will:
- we'll build a complex composition using the realism grid;
- we'll master a multi-layered working technique;
- we'll learn how to mix base colors to achieve complex shades;
- we'll give the berries realistic volume;
- we'll create depth using three planes;
- we'll convey the effect of focus and soft blur;
- we'll add details that bring the illustration to life.
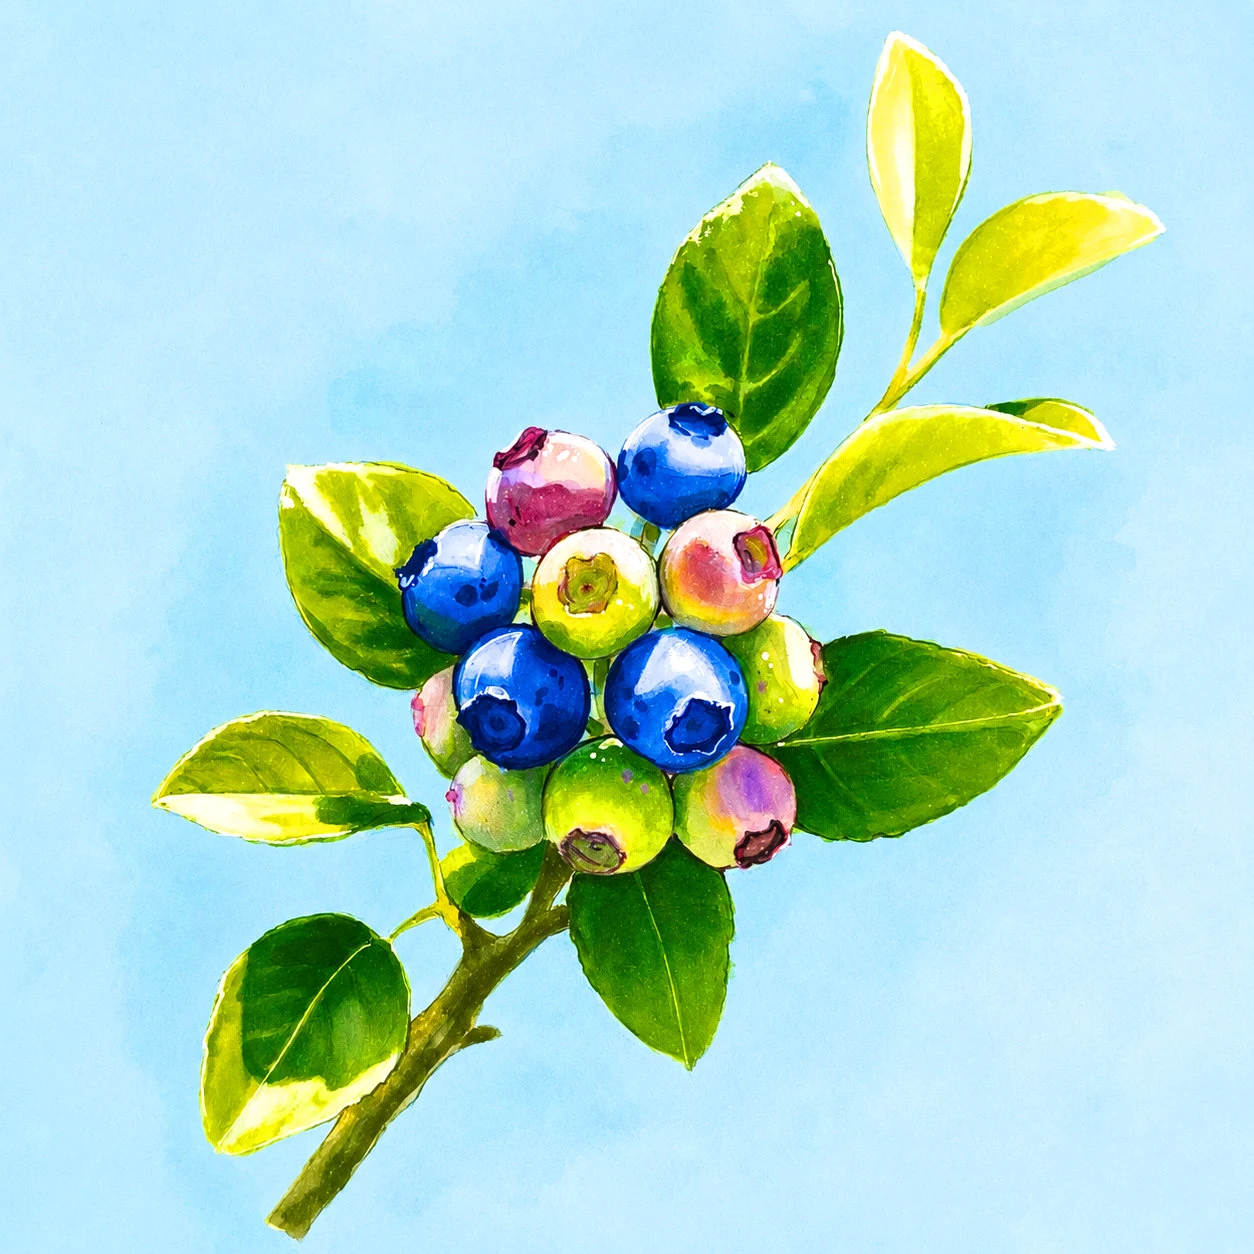
In this lesson, we will:
- we'll build a complex composition using the realism grid;
- we'll master a step-by-step, multi-layered approach to working with markers;
- we'll learn how to mix complex, lively shades;
- we'll convey the volume and glossy shine of rounded shapes;
- we'll create depth by working through all the planes;
- we'll achieve the effect of focus and soft blur;
- we'll add expressive details in the foreground.
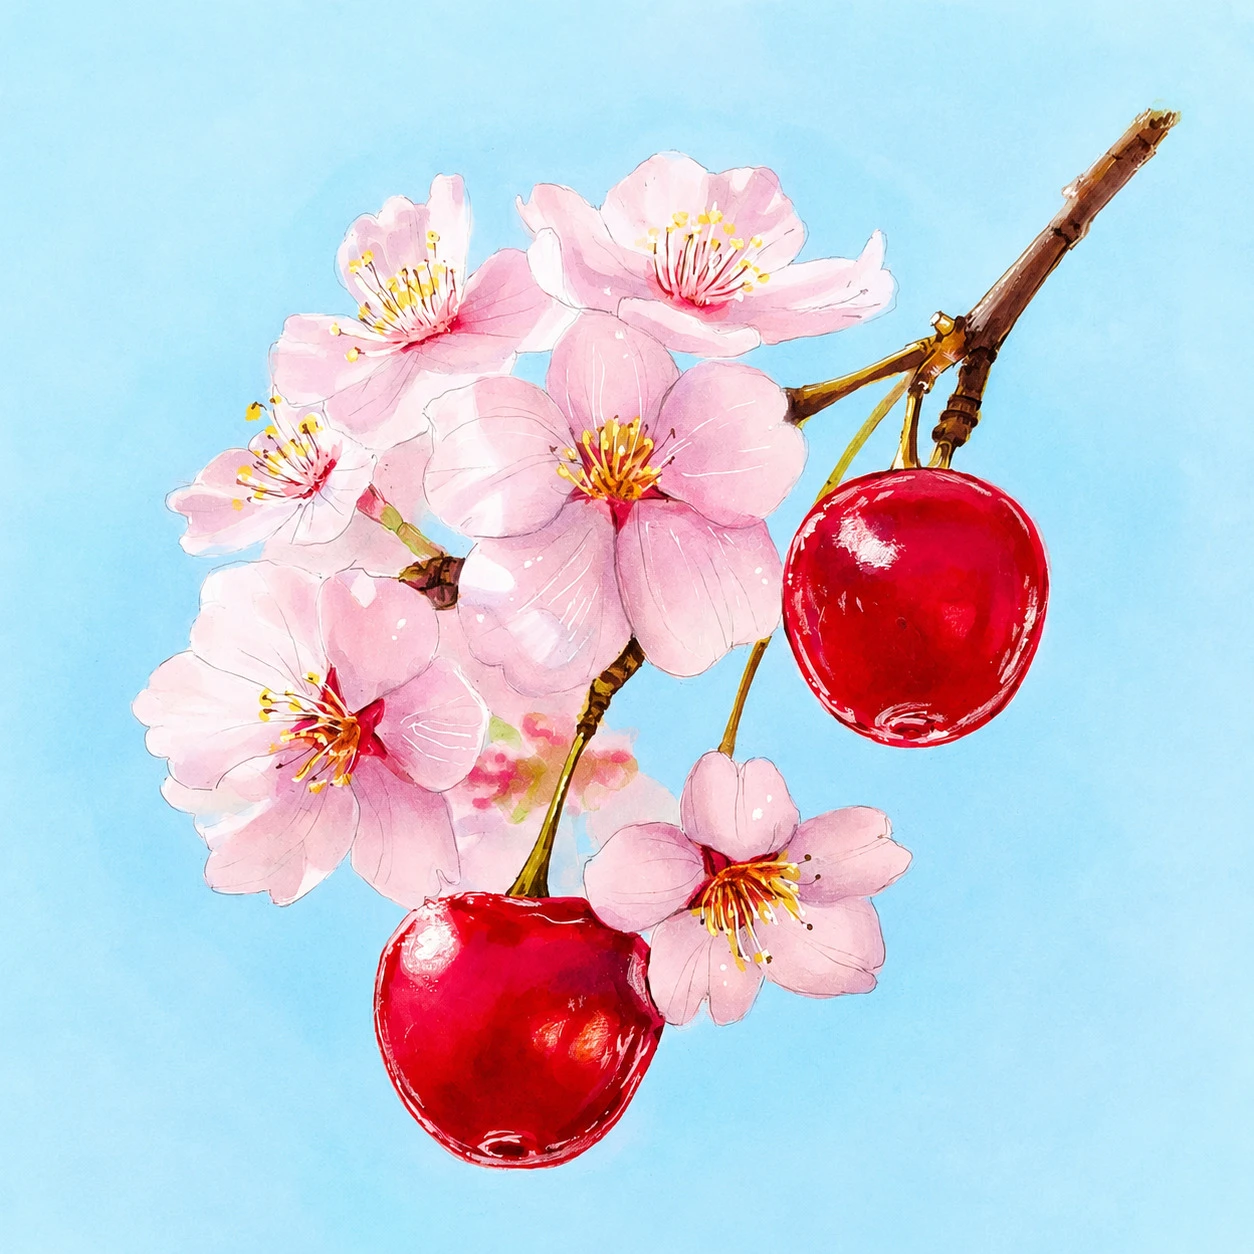
In this lesson, we will:
- we'll plan the composition and place every element thoughtfully;
- we'll transfer the drawing onto the sheet using the realism grid;
- we'll master layered, step-by-step work;
- we'll learn to mix complex, lively hues;
- we'll convey volume and a glossy texture through color;
- we'll work through light, shadows, and reflected lights;
- we'll place highlights and bring out the details;
- we'll create a sense of depth and give the fruit a solid, grounded presence on the surface.
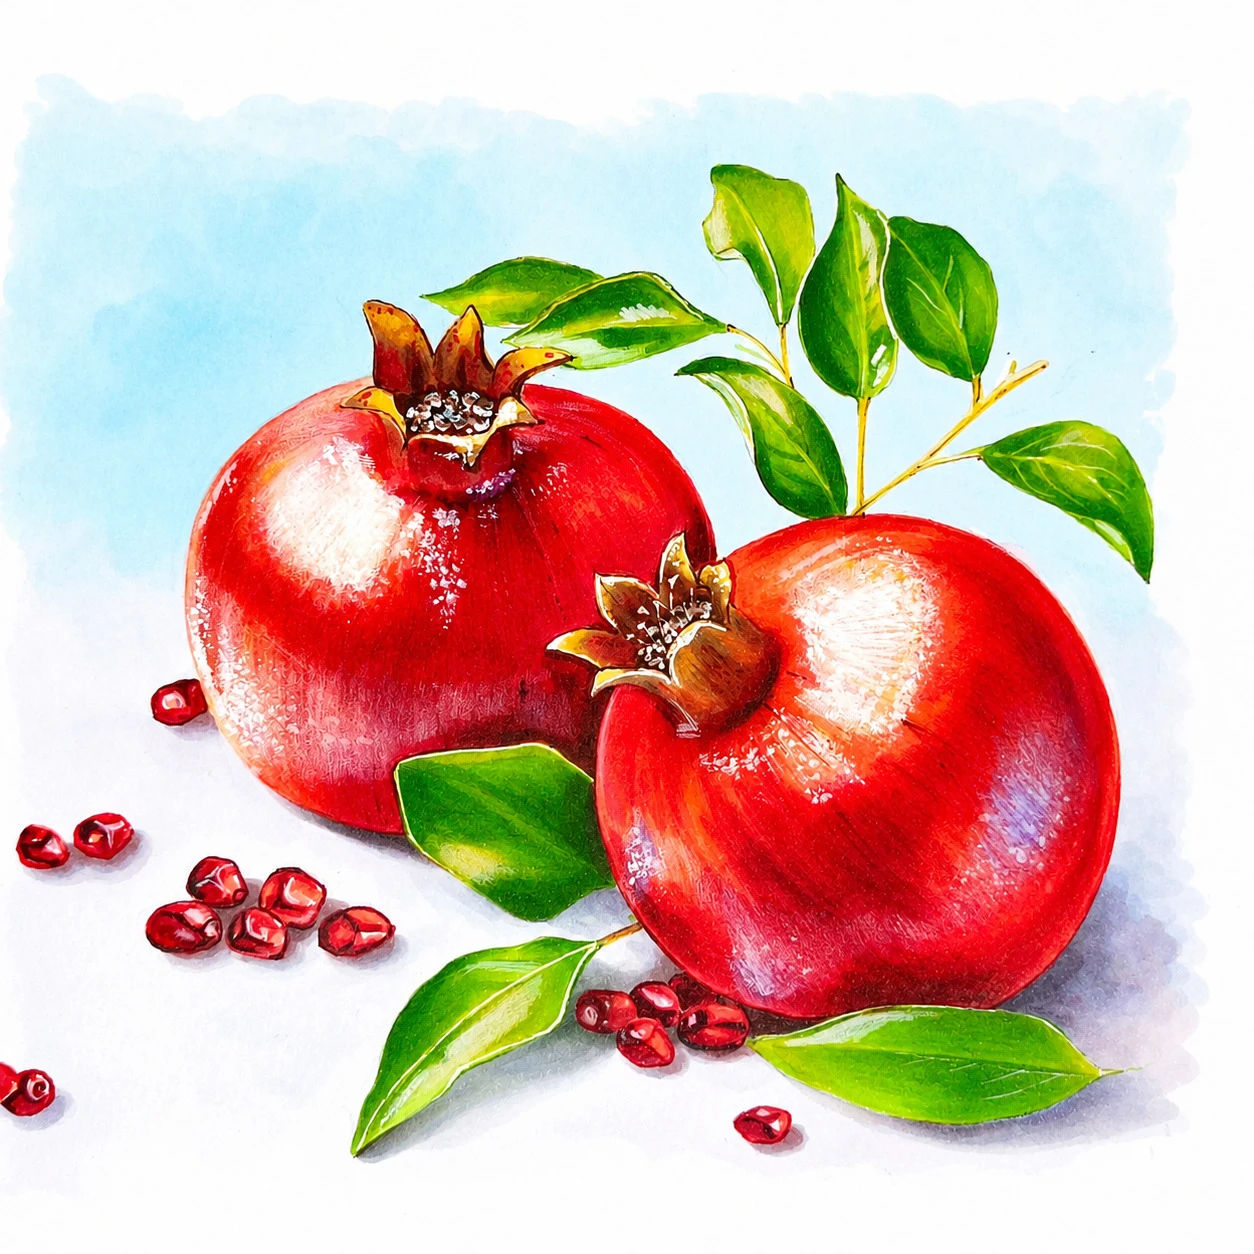
In this lesson, we will:
- we'll explore the qualities of a vertical composition;
- we'll build the drawing using the realism grid;
- we'll master layered, step-by-step work;
- we'll learn to convey soft light and the transparency of petals;
- we'll break down mixing complementary colors;
- we'll use a dark background to emphasize the flower's volume and expressiveness;
- we'll refine elegant details and the wavy edges of the petals.
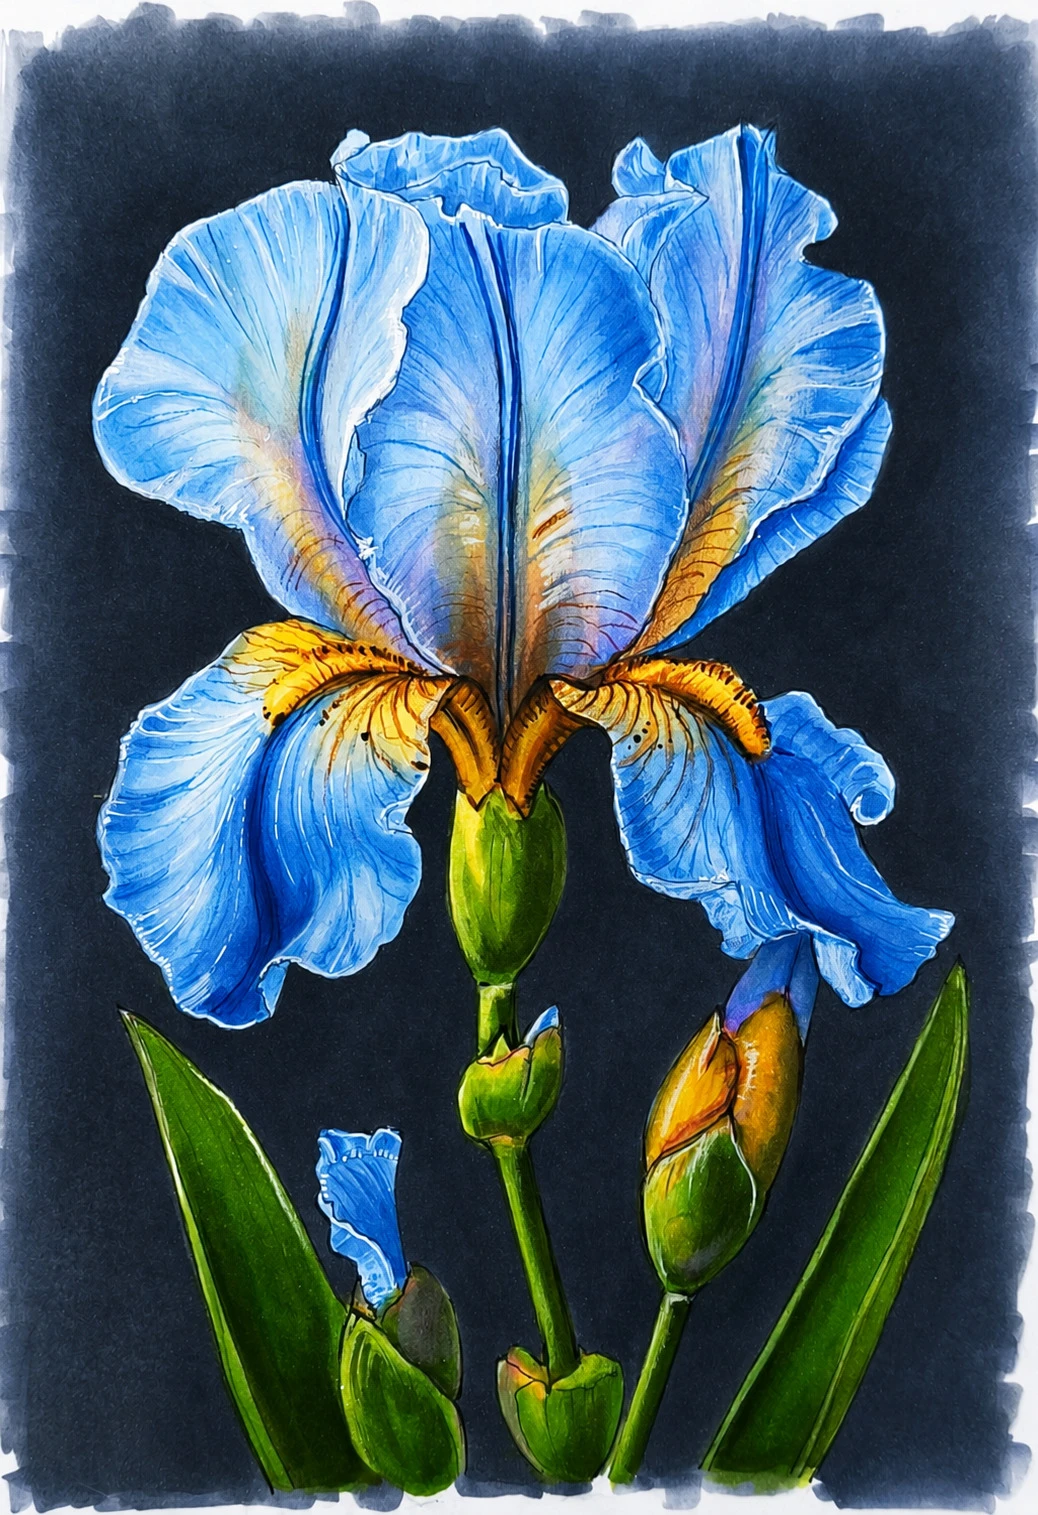
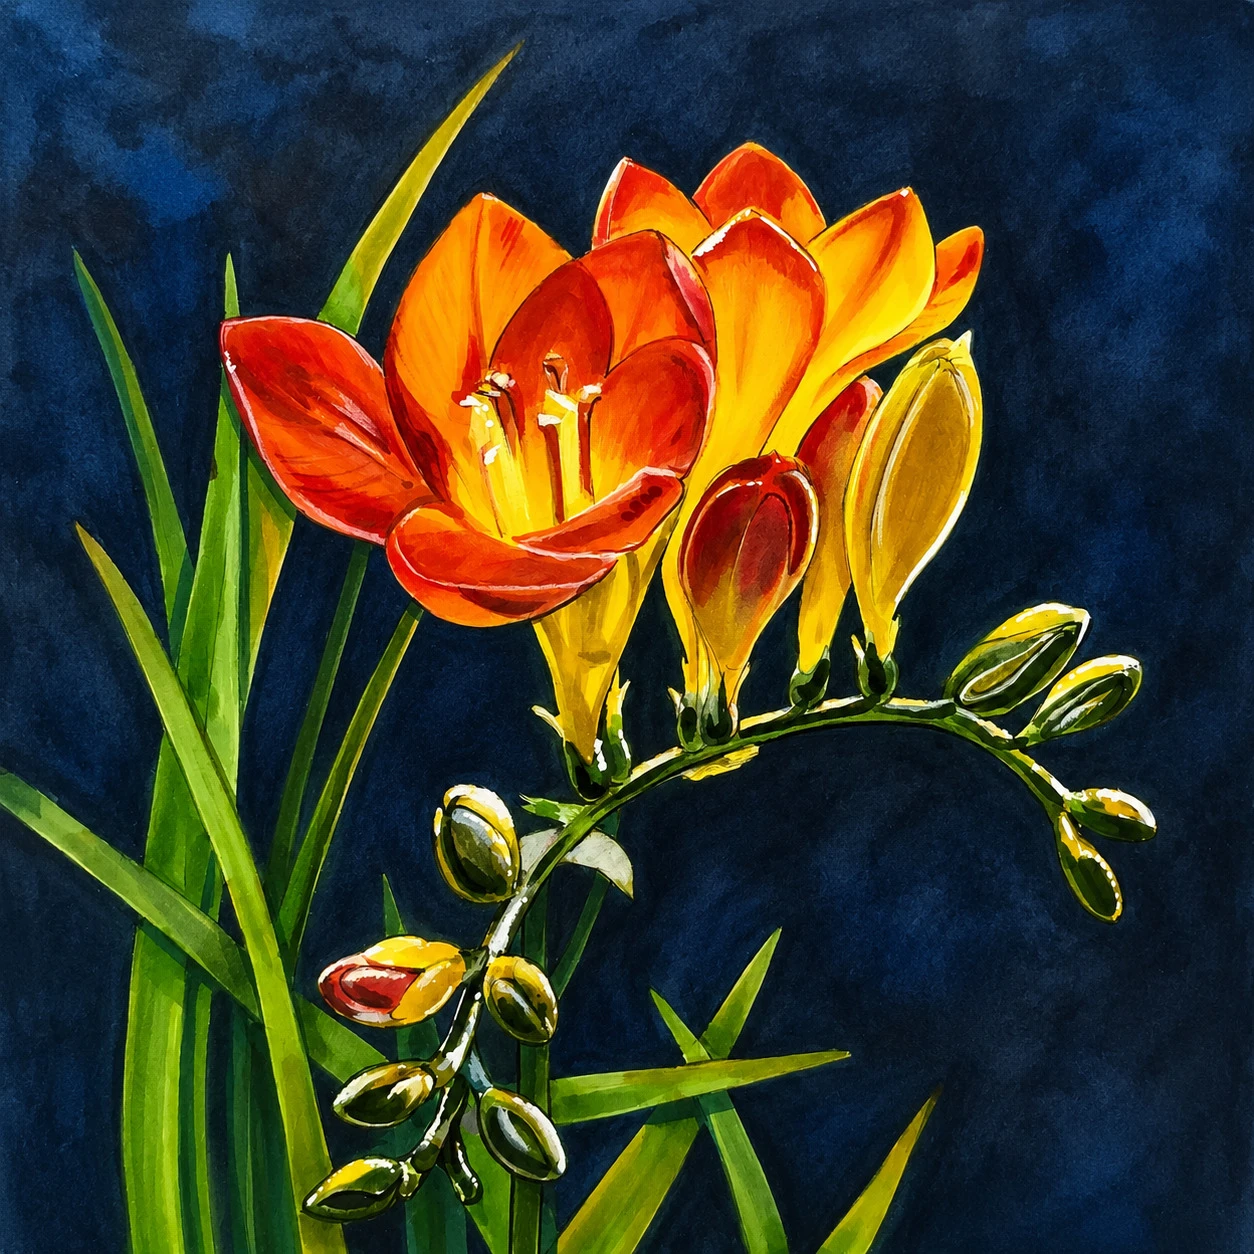
In this lesson, we will:
- we'll go over the principles of vertical composition;
- we'll build the drawing using the realism grid;
- we'll reinforce our layered, step-by-step working skills;
- we'll learn to convey the effect of backlighting;
- we'll show bright light and deep shadows while keeping color clean;
- we'll use a dark background to amplify the flower's glow;
- we'll refine the foreground details and create depth with soft blurring of the background buds.
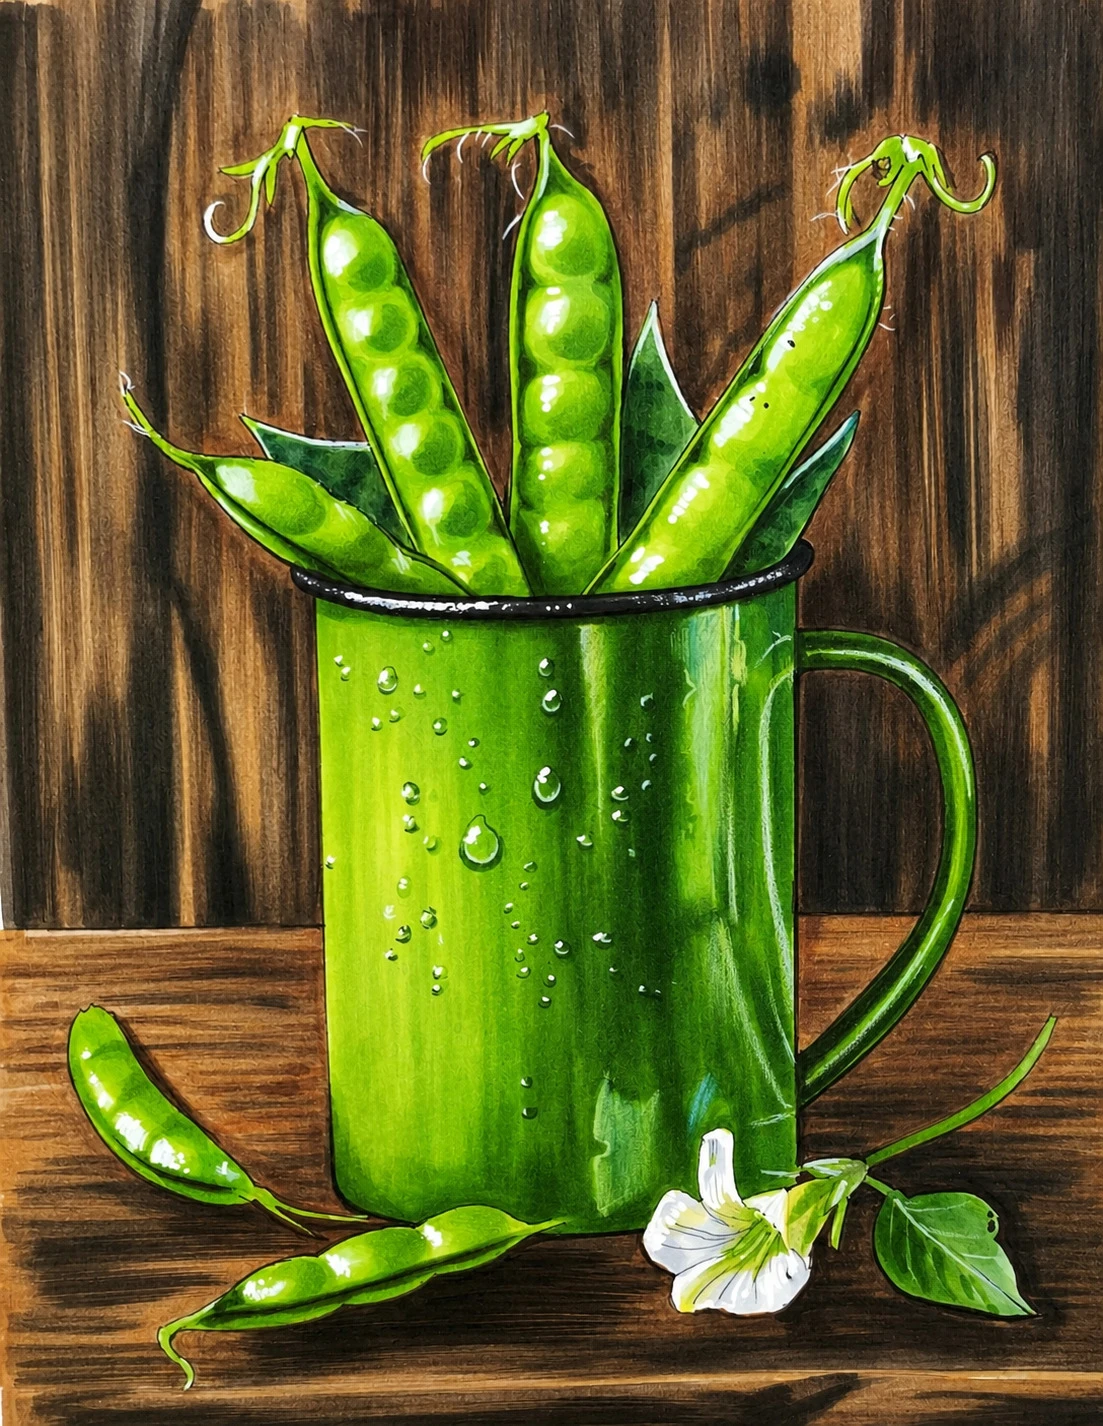
In this lesson, we will:
- we'll break down how to draw ellipses in perspective;
- we'll master working with a monochrome palette;
- we'll learn to build rich hues through layering;
- we'll capture the texture of old wood;
- we'll enhance the expressiveness of the artwork through contrast;
- we'll create depth by developing both the foreground and background;
- we'll show the sheen and texture of a metal surface;
- we'll draw three-dimensional water droplets with a wet effect.
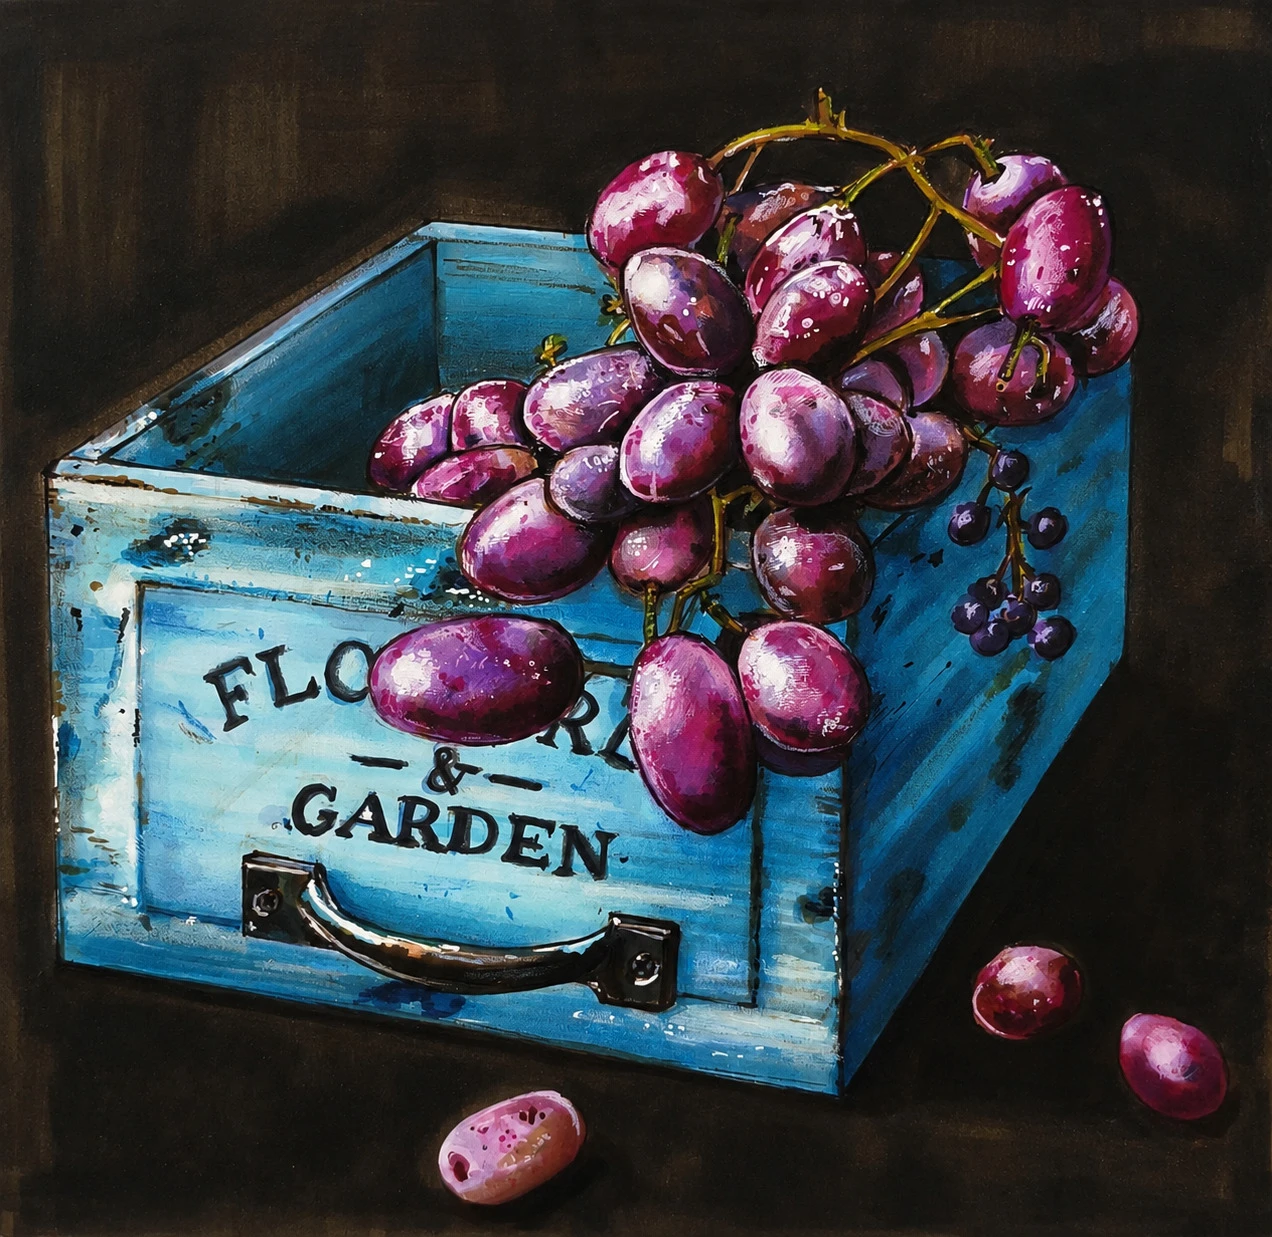
In this lesson, we will:
- we'll break down two-point angular perspective;
- we'll learn to construct the form and perspective of objects;
- we'll capture the texture of aged wood;
- we'll show the volume and matte surface of the berries;
- we'll create a harmony of warm and cool tones;
- we'll learn to work with soft transitions and crisp edges;
- we'll reinforce our layering skills, moving from broad areas of color to fine details.
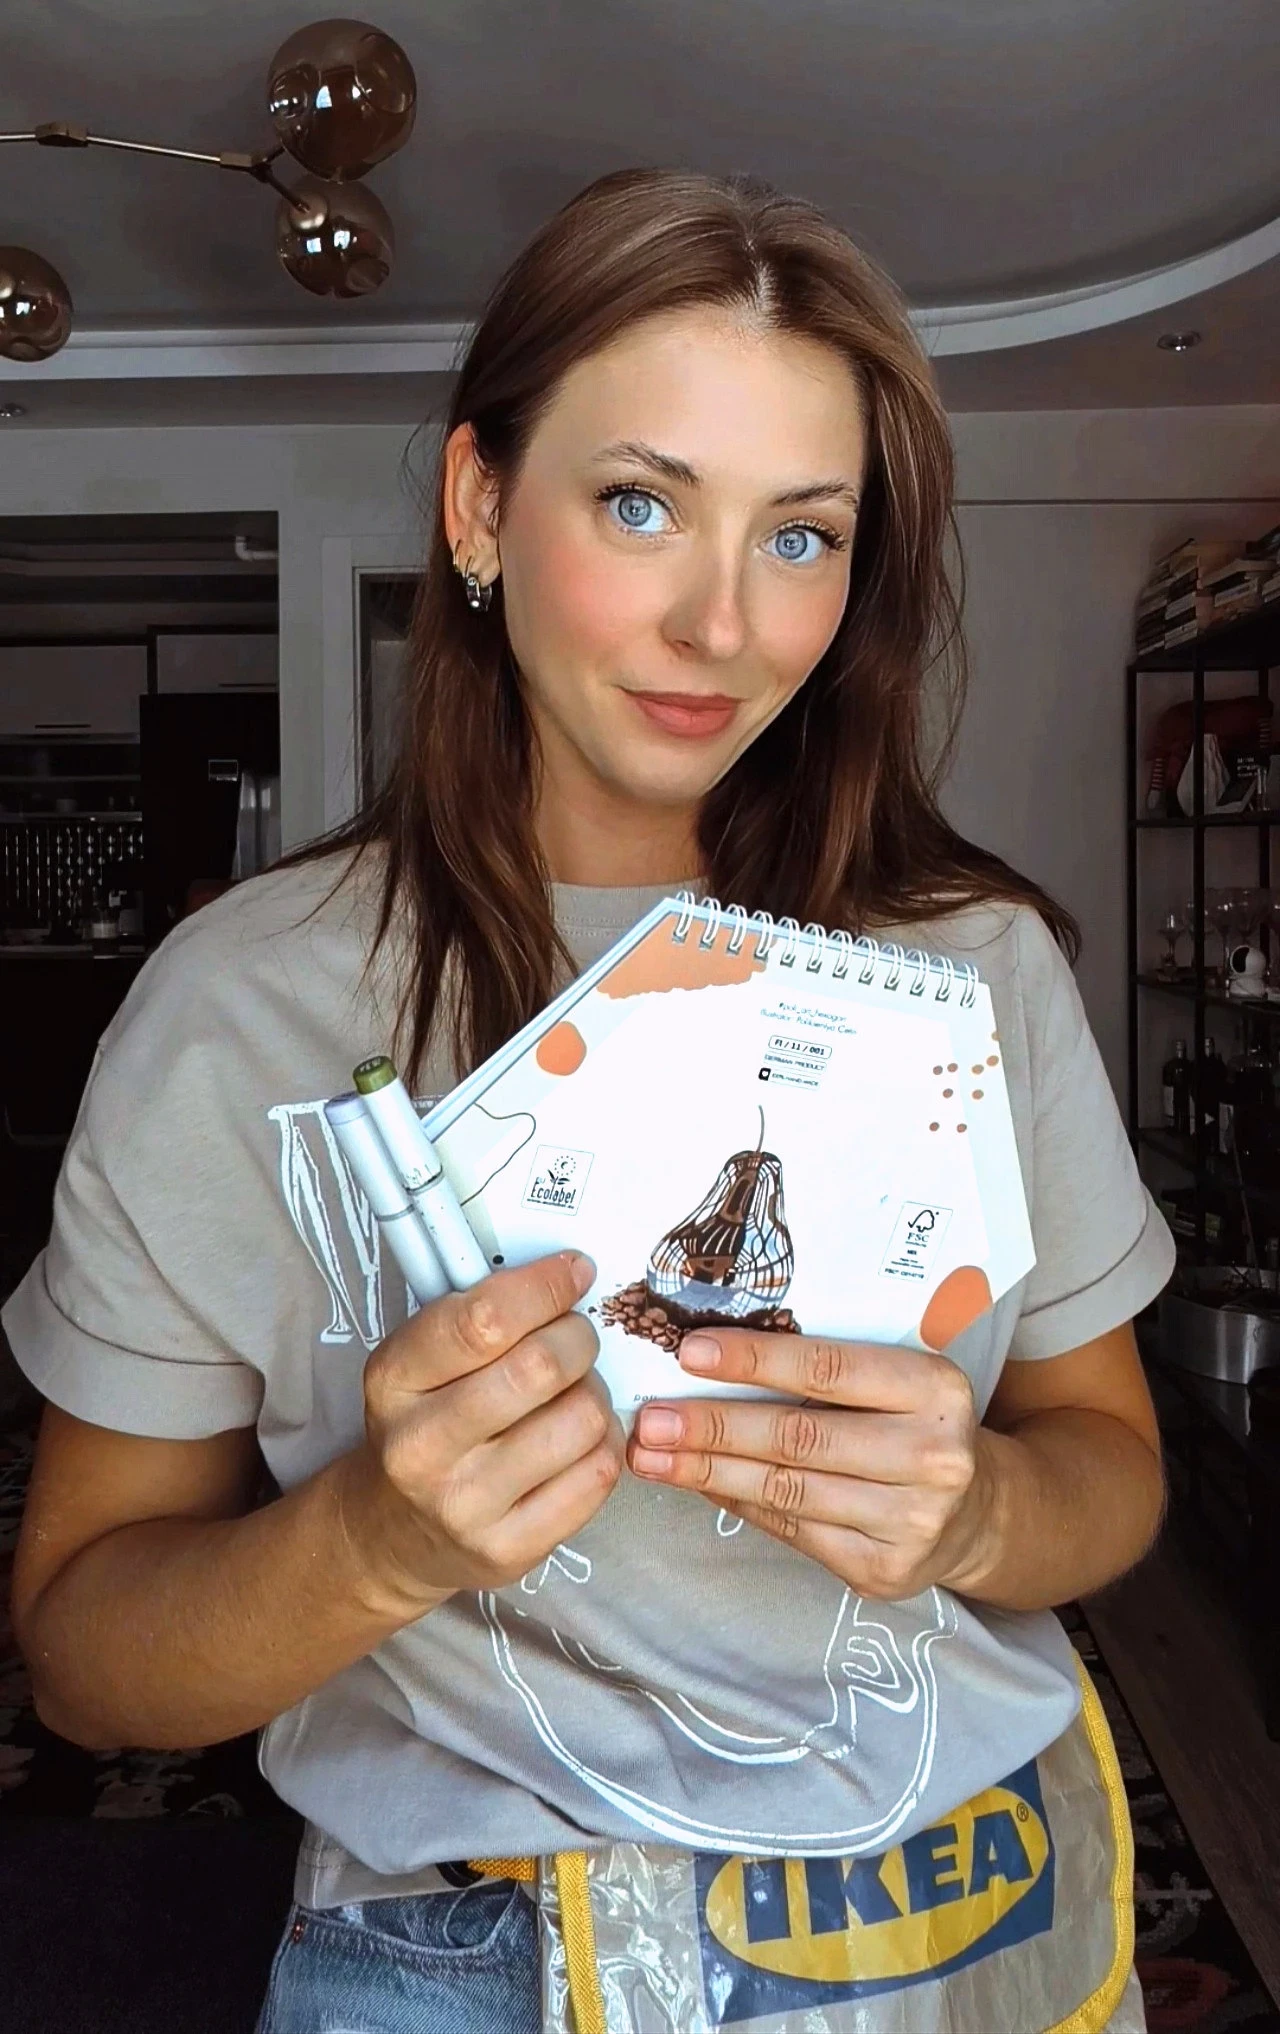
Course instructor

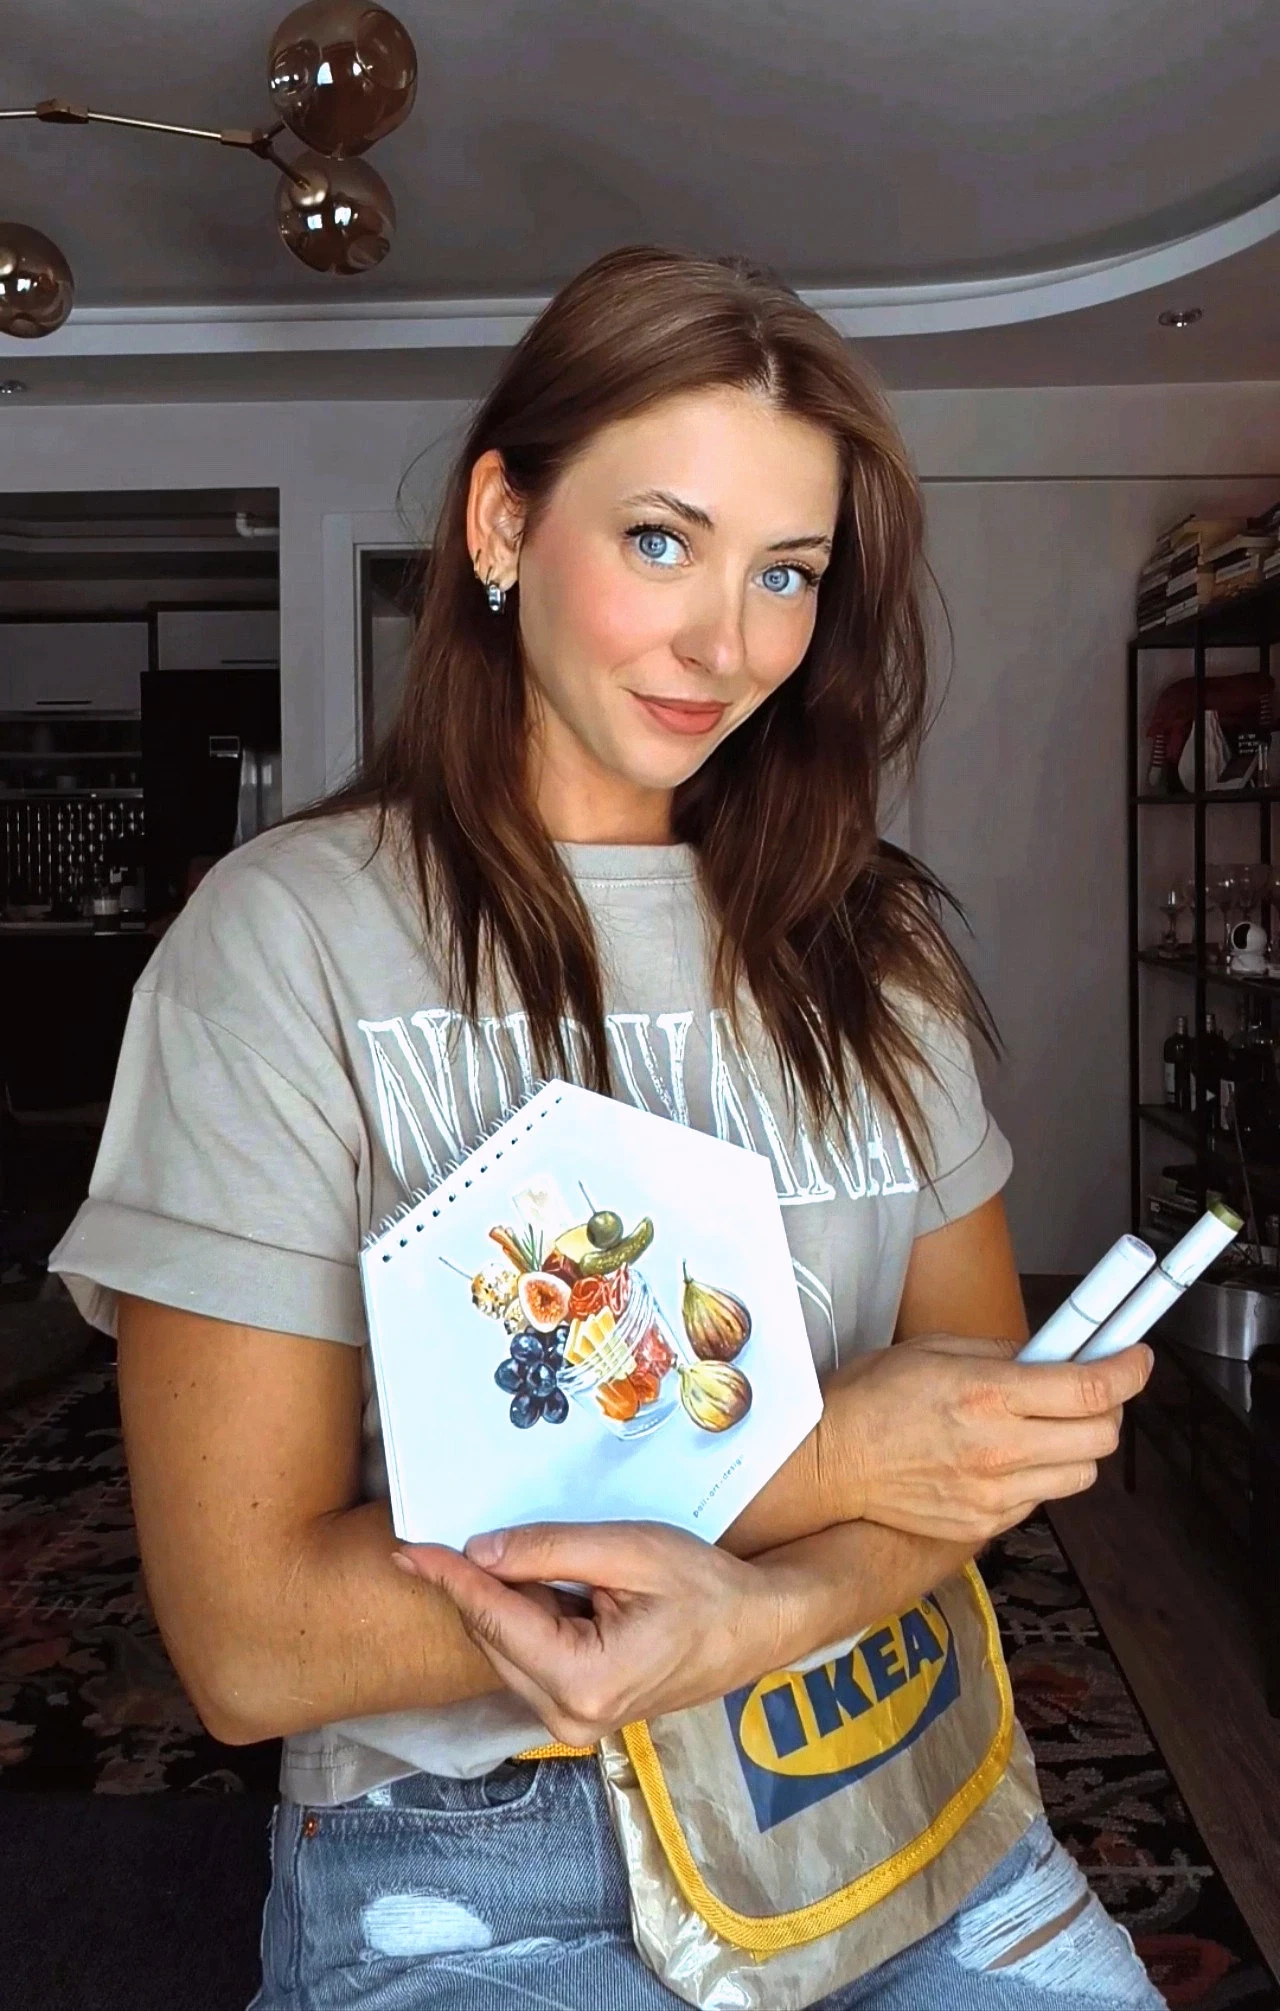
- My first degree is in architectural technology, and my second is in graphic design.
- I've been drawing with alcohol-based markers for over 8 years, specializing in marker realism.
- I founded the art supply brand Poliartdesign and have been growing it in the international market since 2018.
- I create courses, intensives, and marathons that have helped hundreds of artists master the technique of marker realism.
- My favorite subjects to draw are botanicals, architecture, food illustration, and capturing the beauty of all kinds of textures.
- In 2020, I won the "Artist of the Year by Audience Vote" award from Sketchmarker.
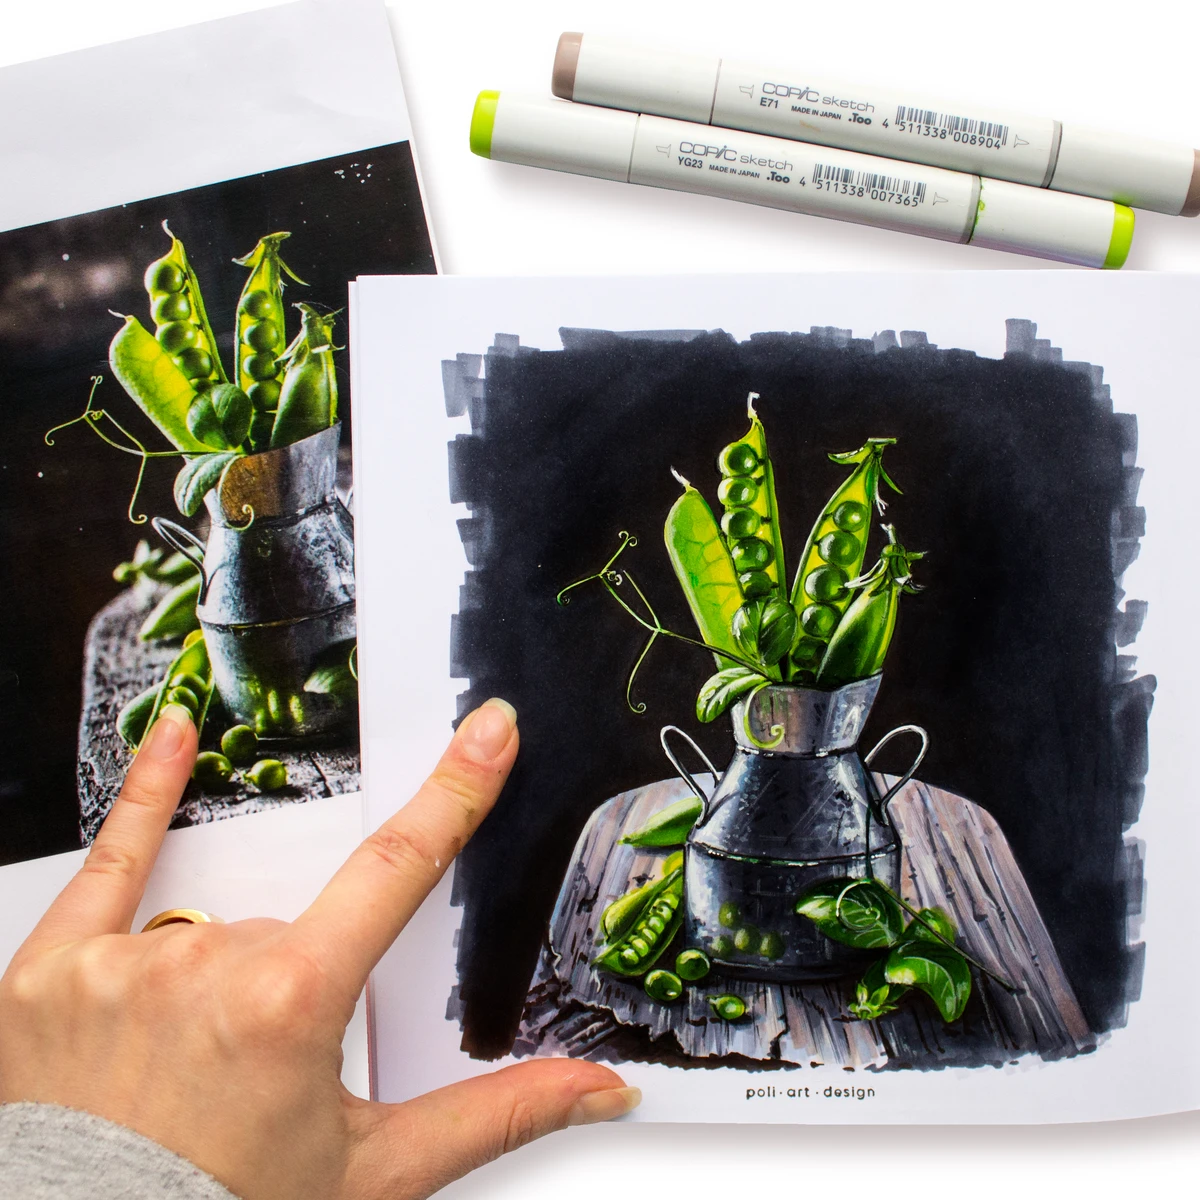
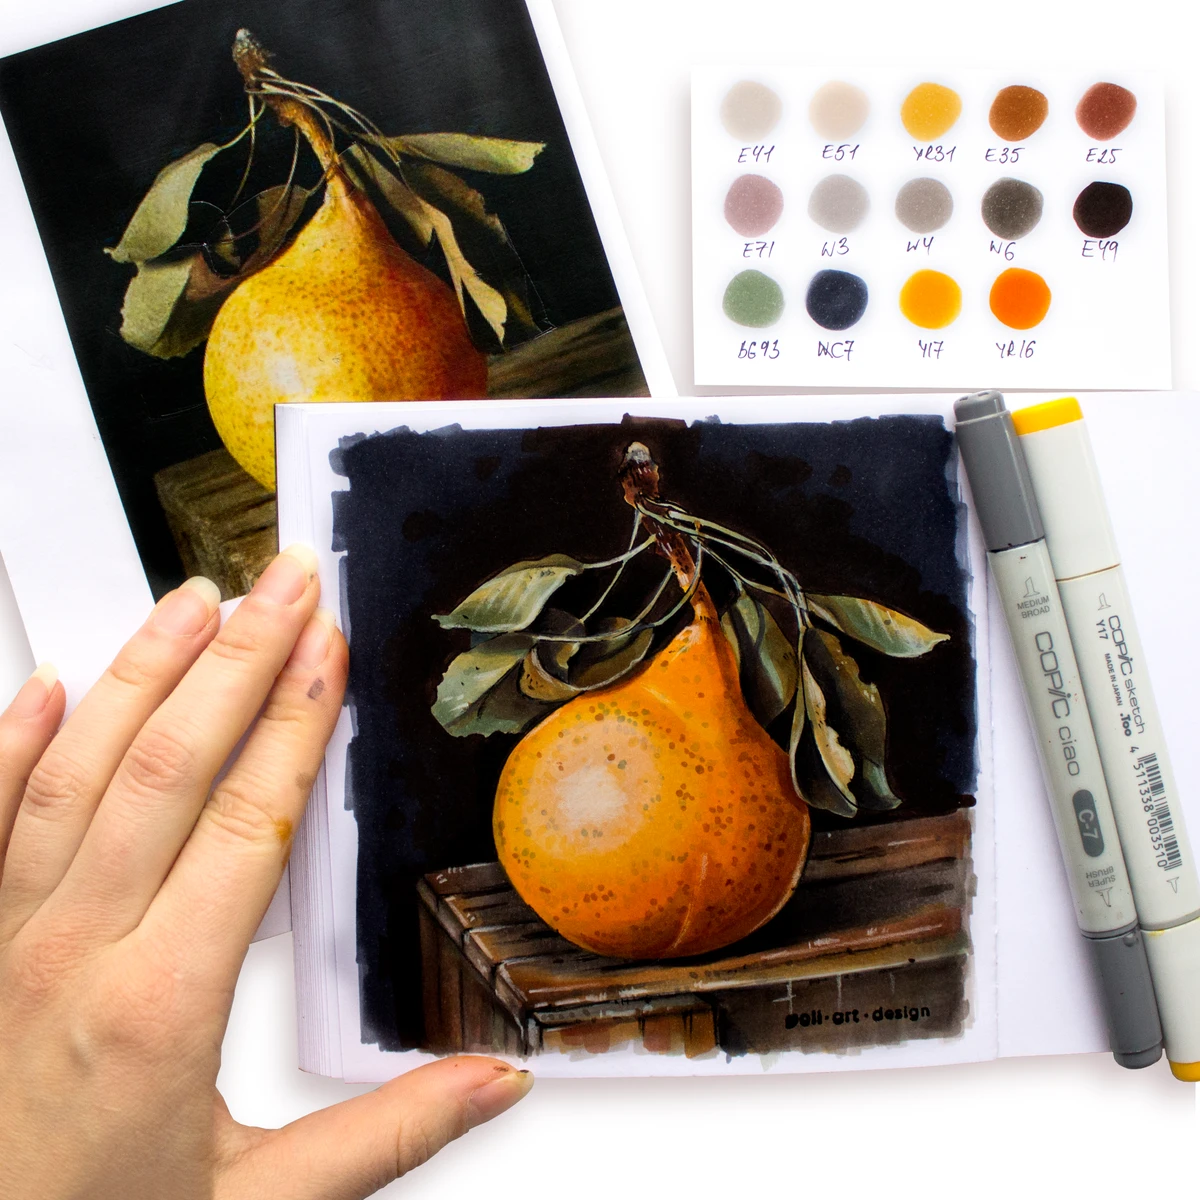
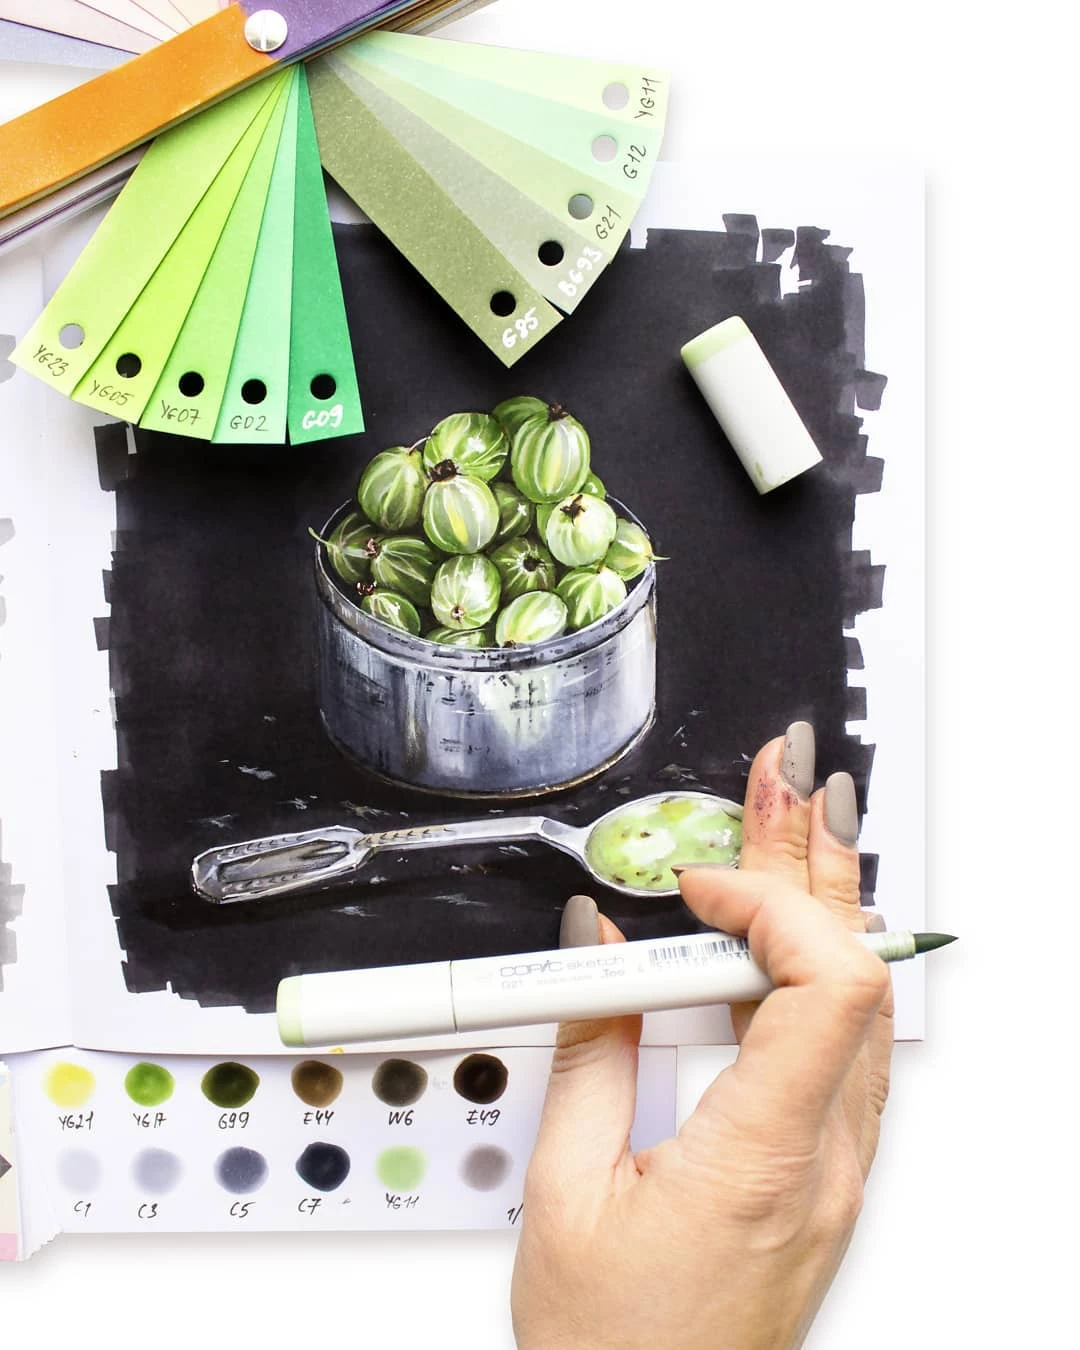
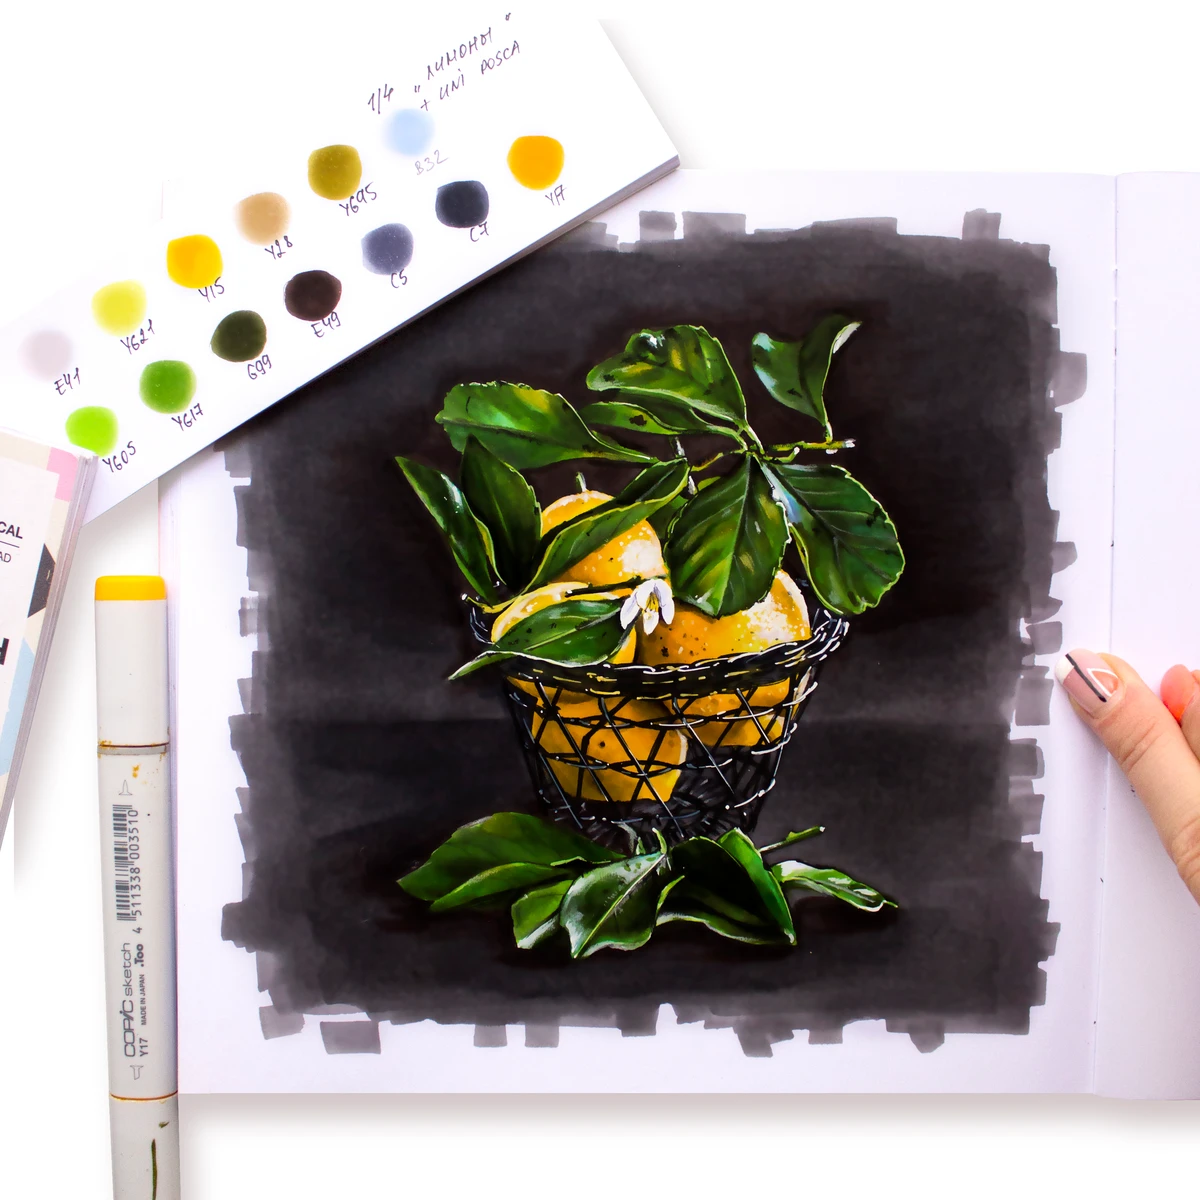
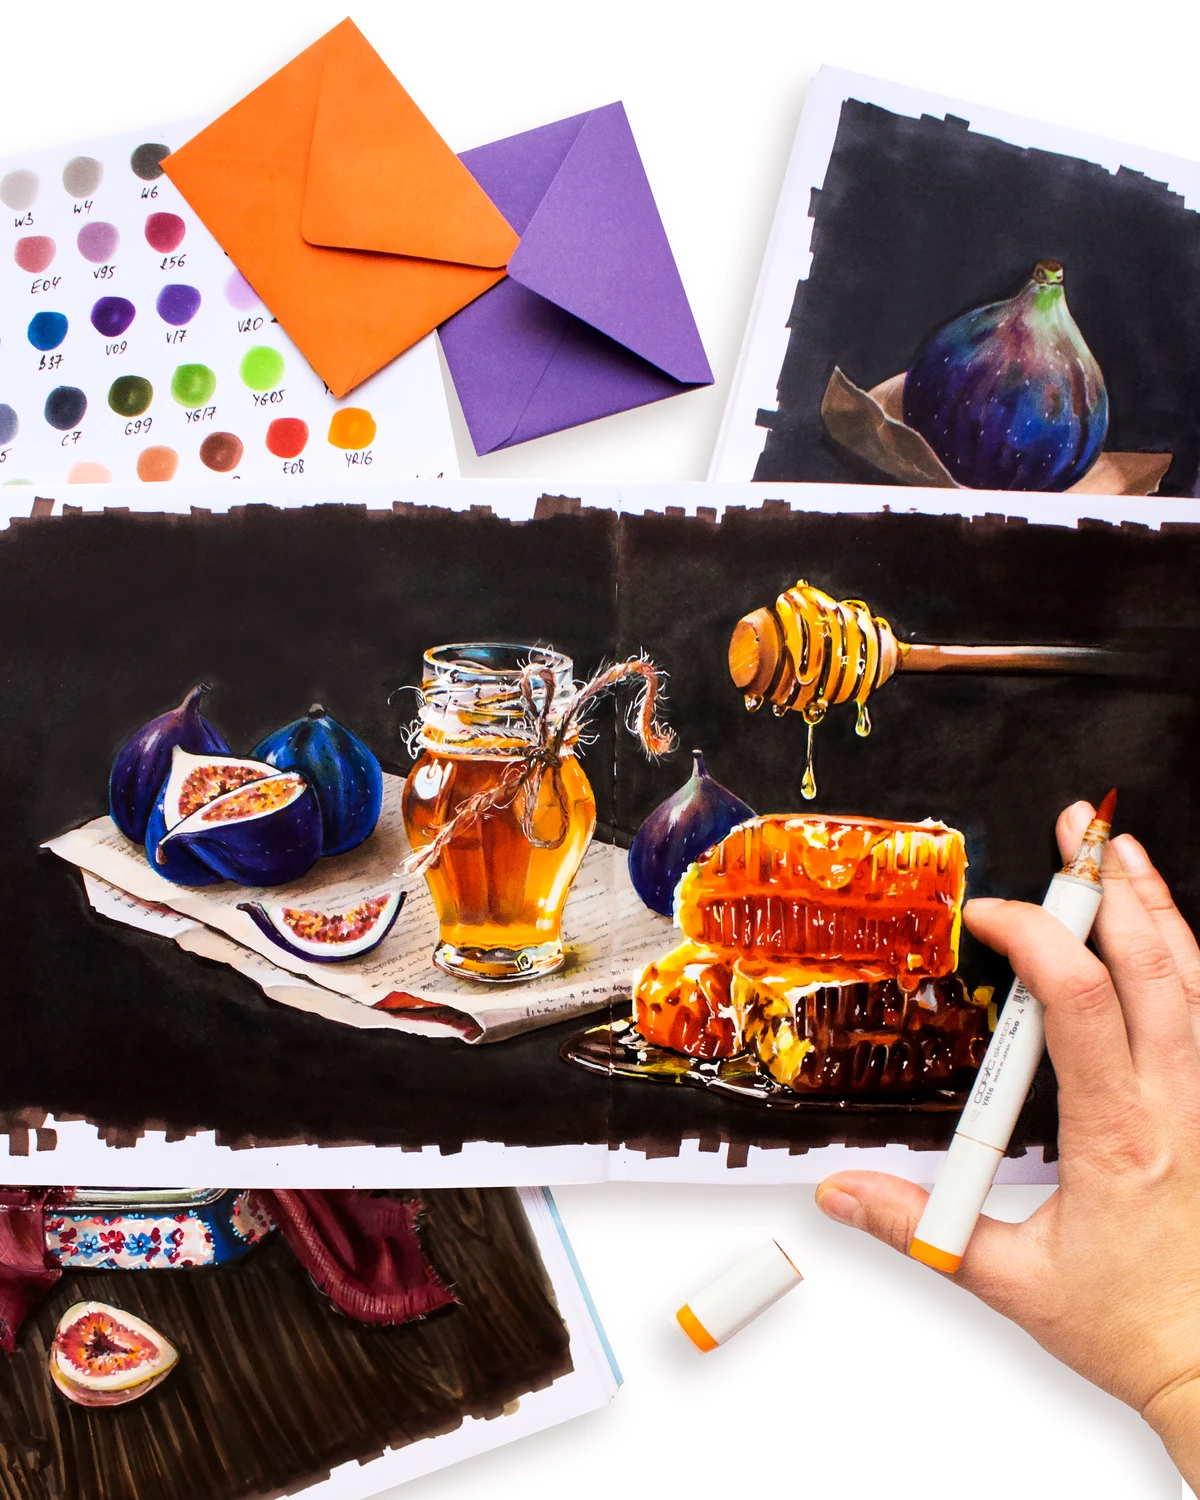
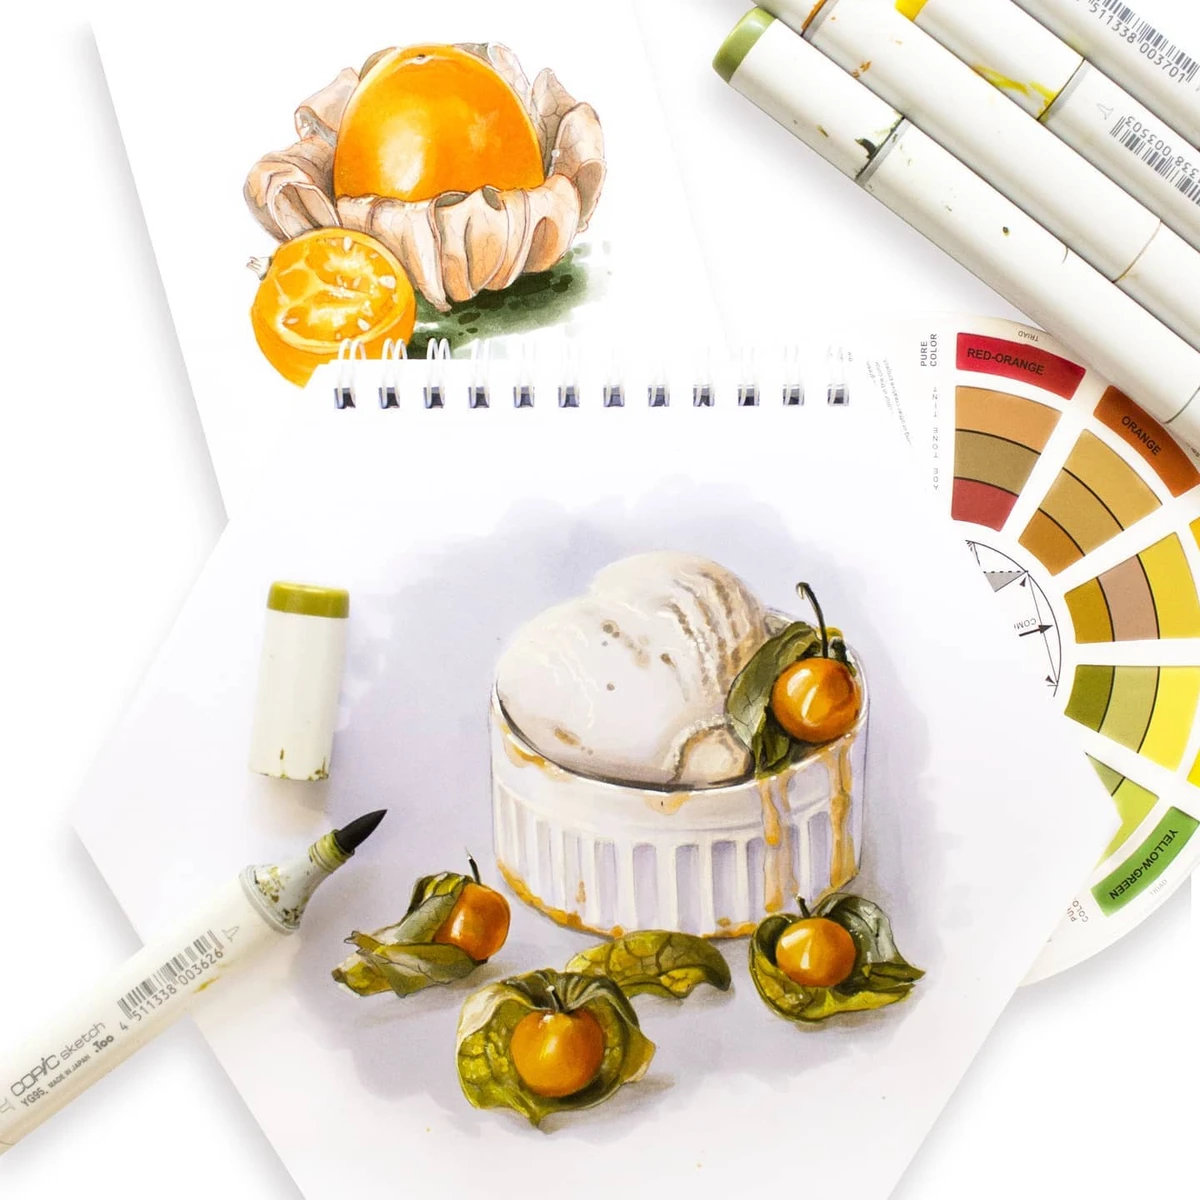
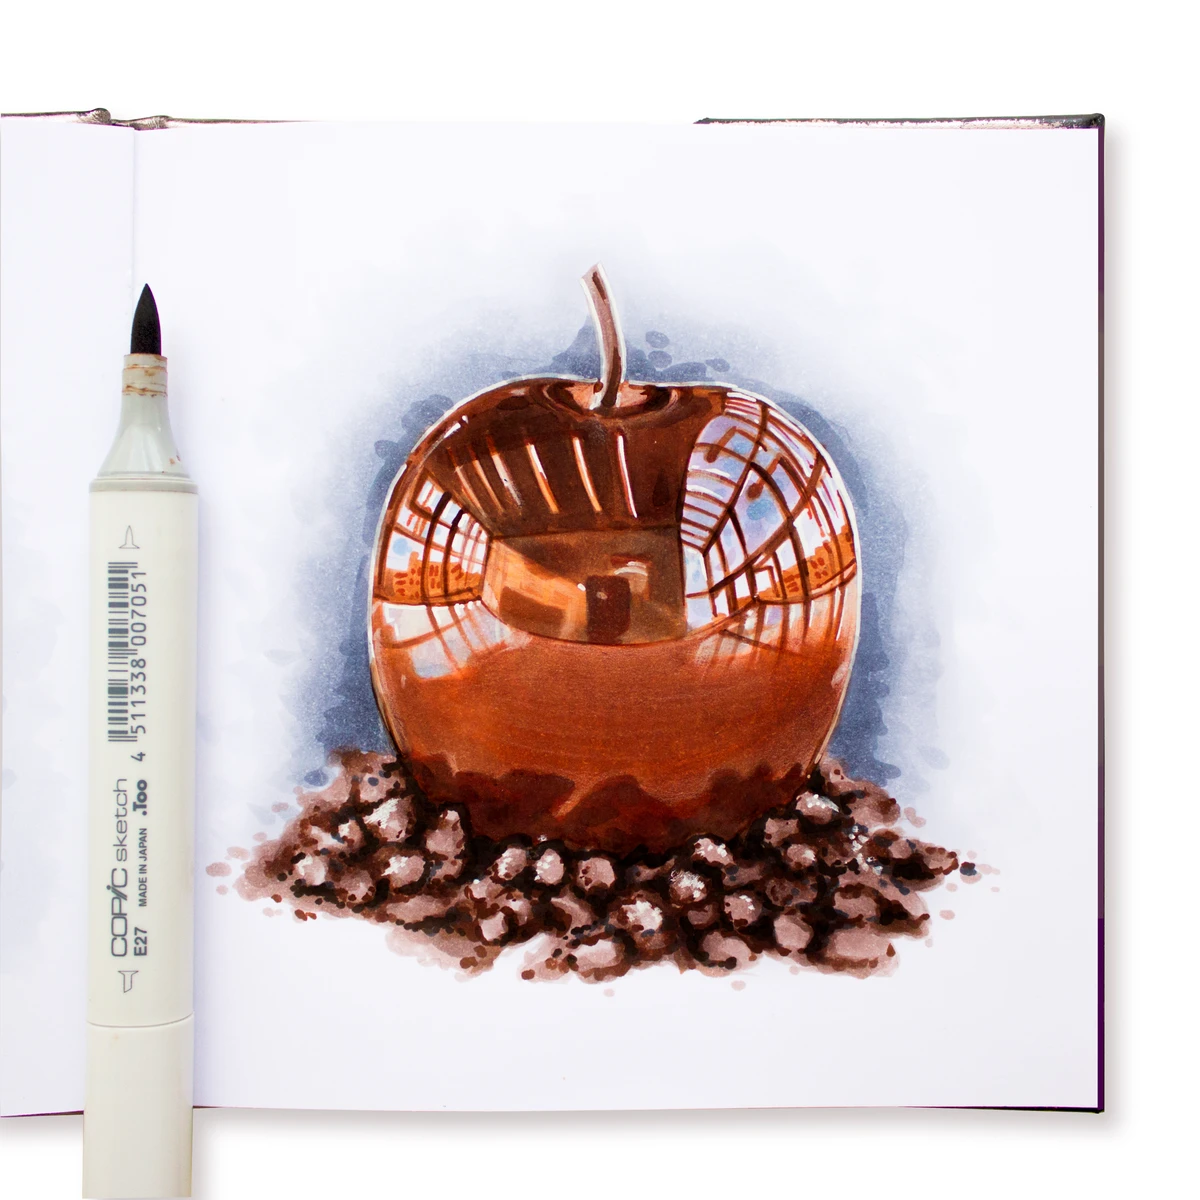
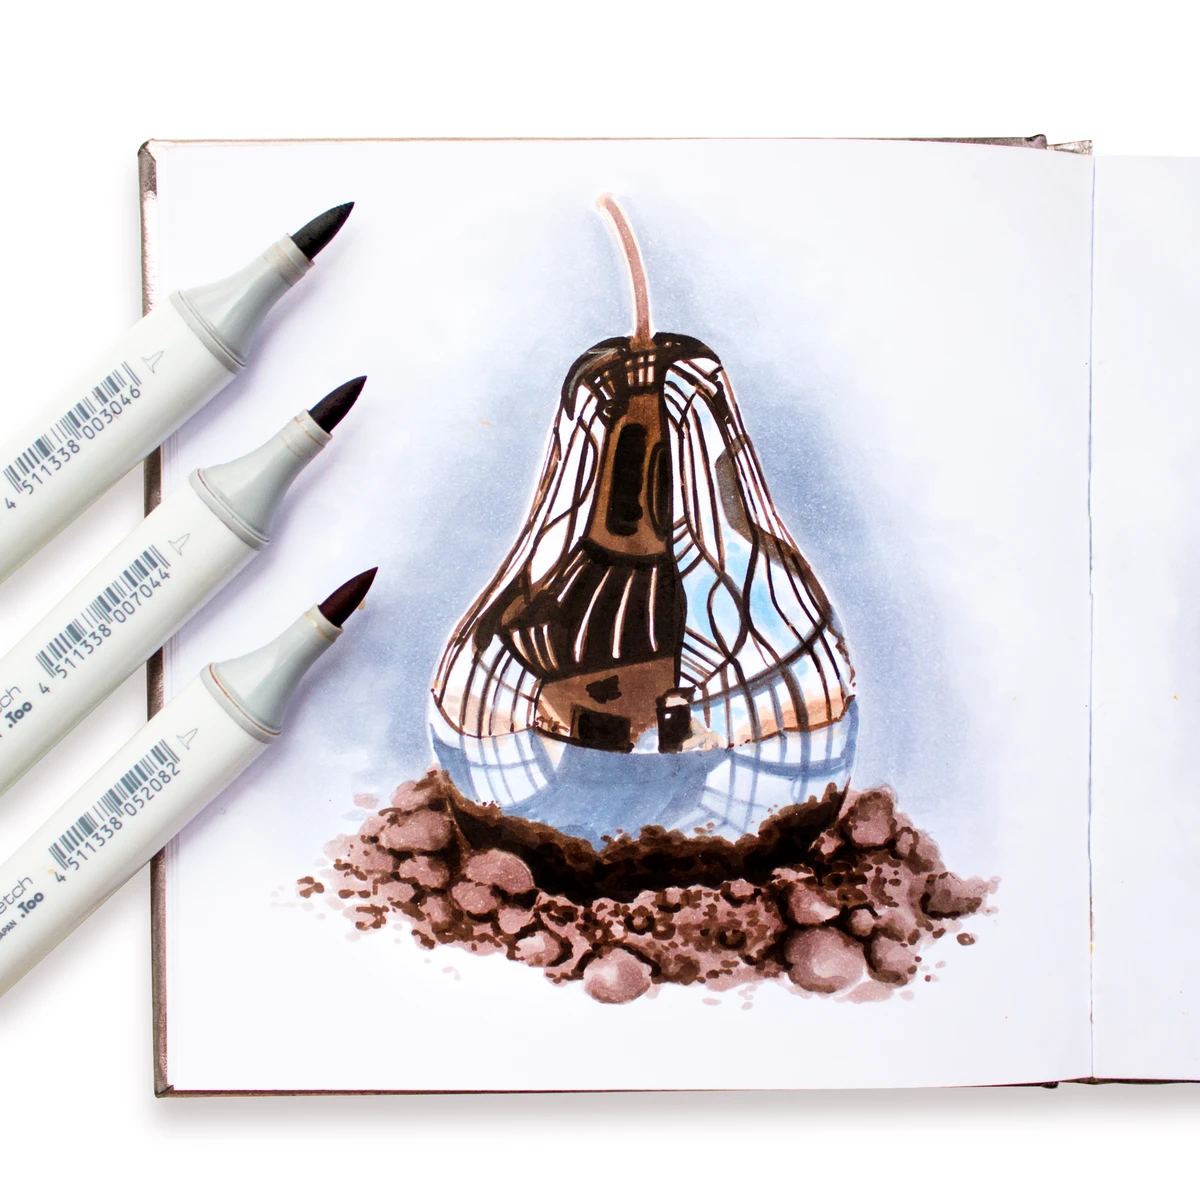
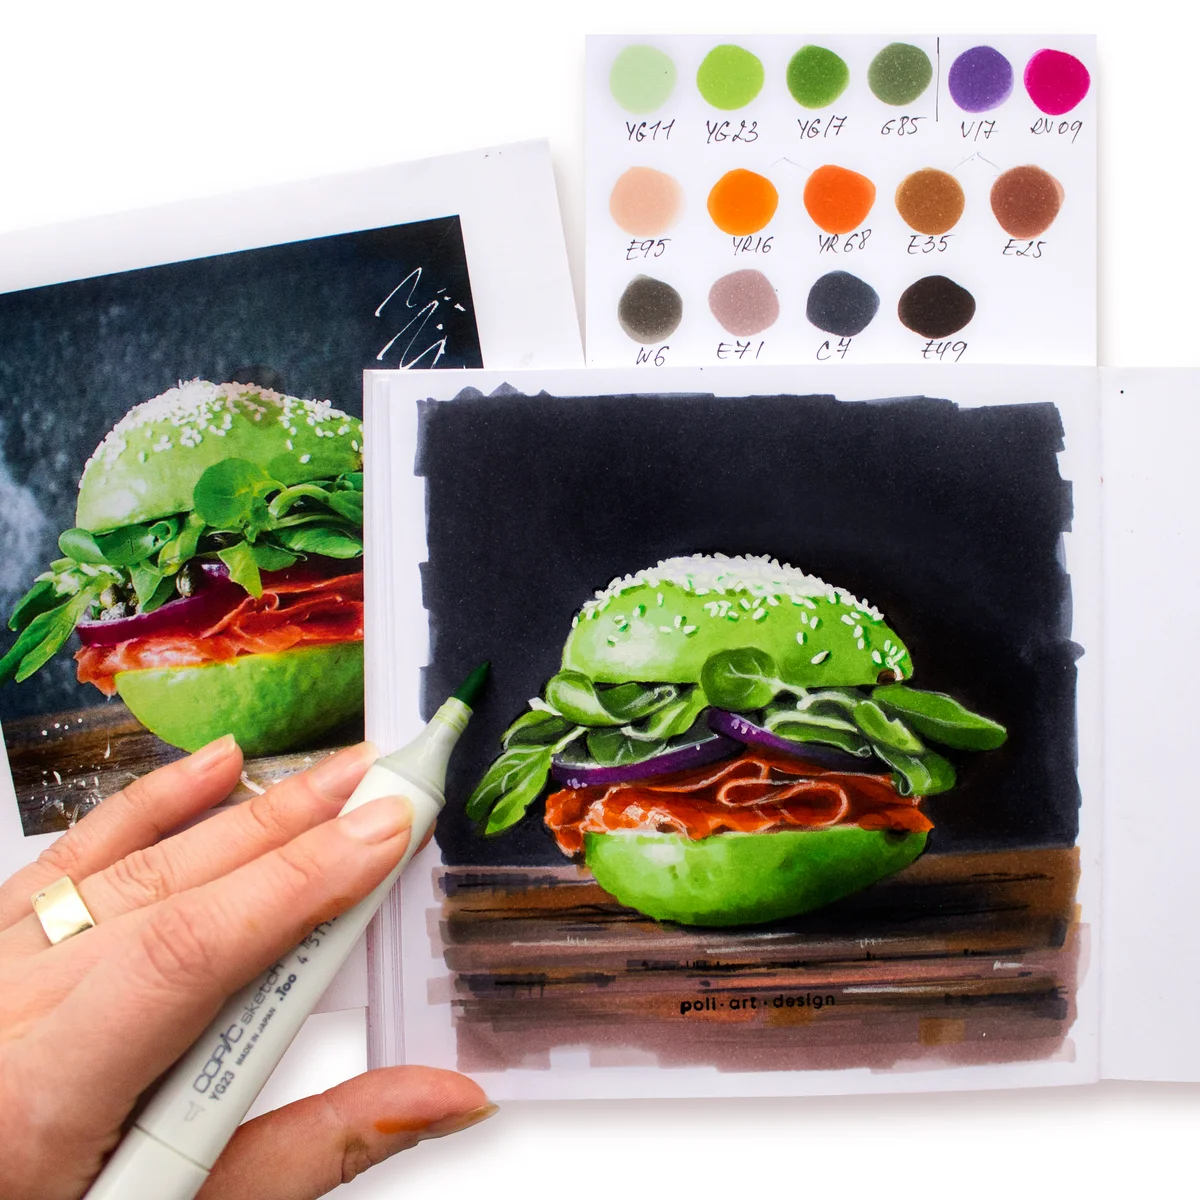
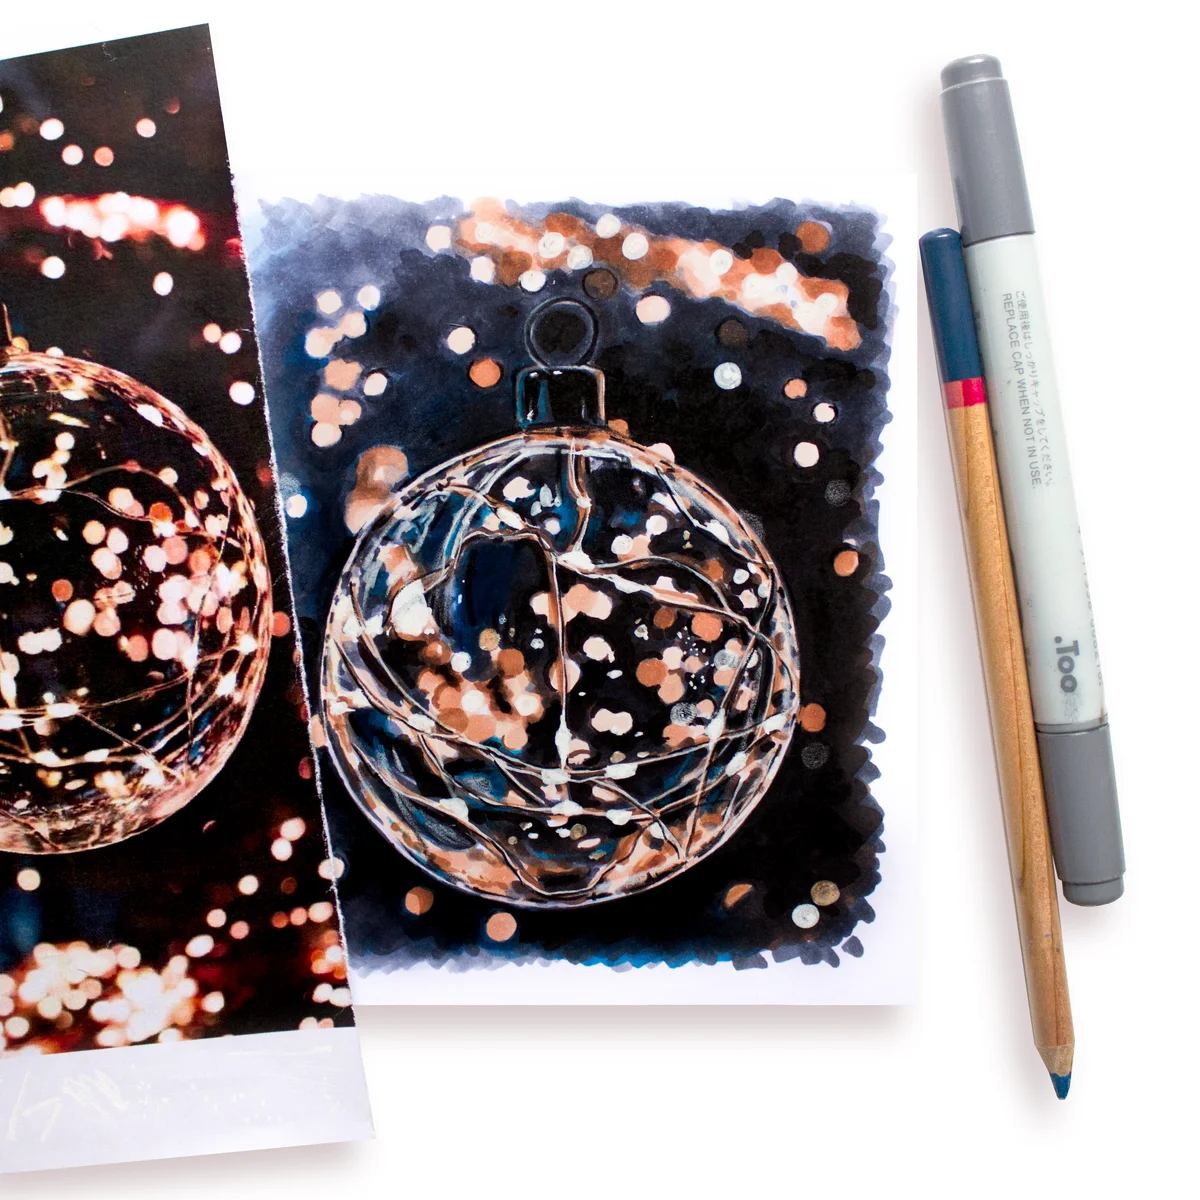
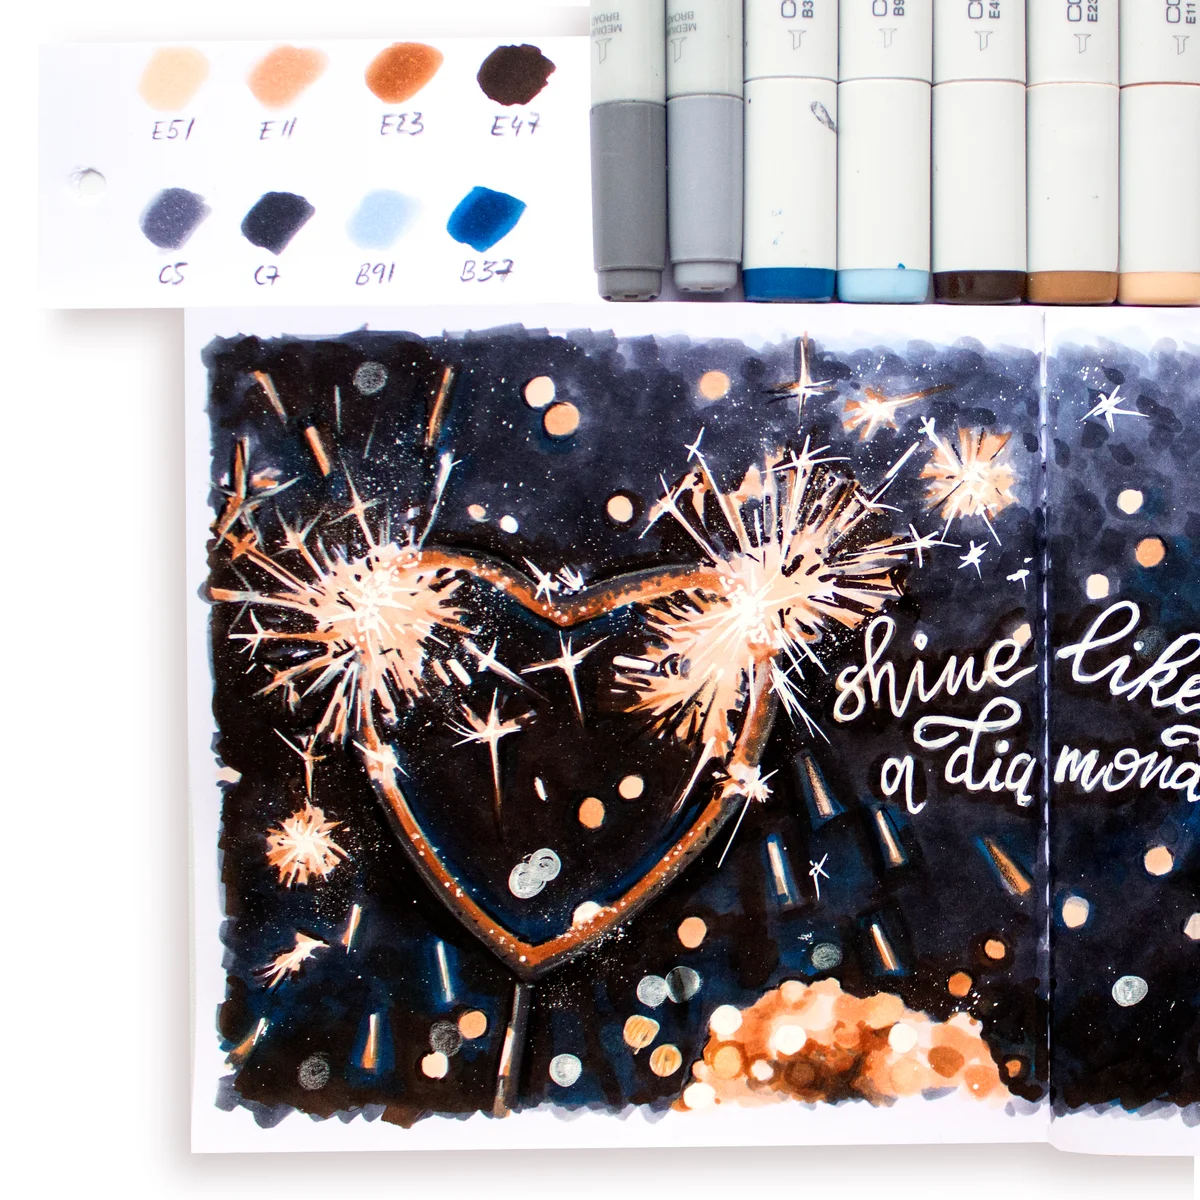
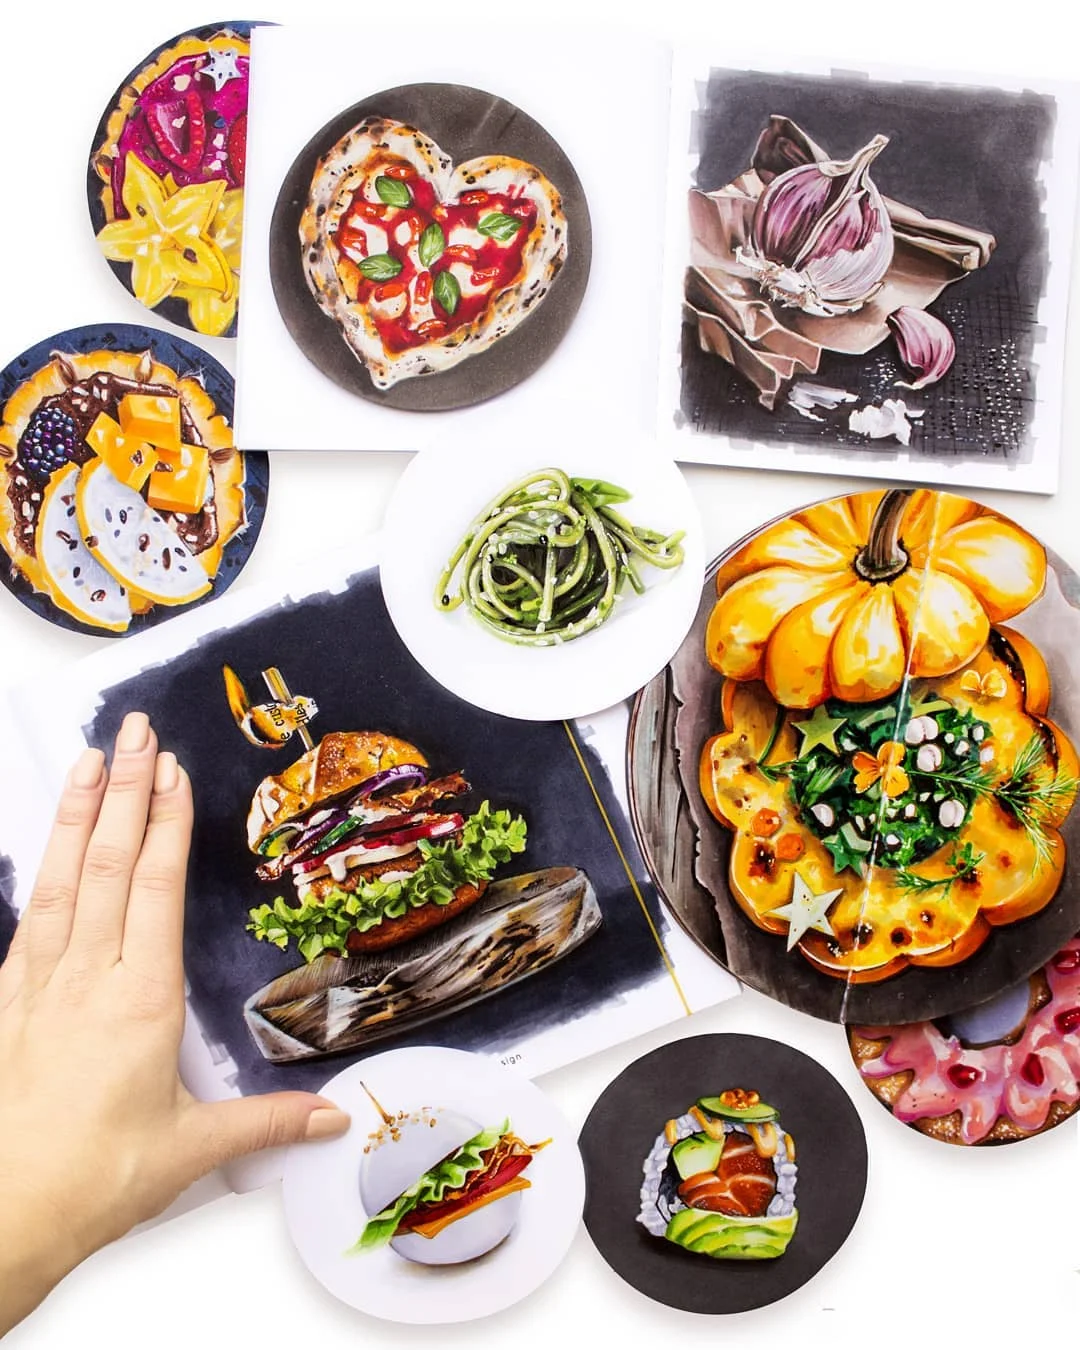
Poliksenia Chetin's artworks
Course materials
Paper
- Marker paper (single-sided preferred)
- Size: A5 (apx. 6" x 8"), A4 (apx. 8" x 12"), or a square from 15×15 cm (apx. 6" x 6")
Alcohol-based markers
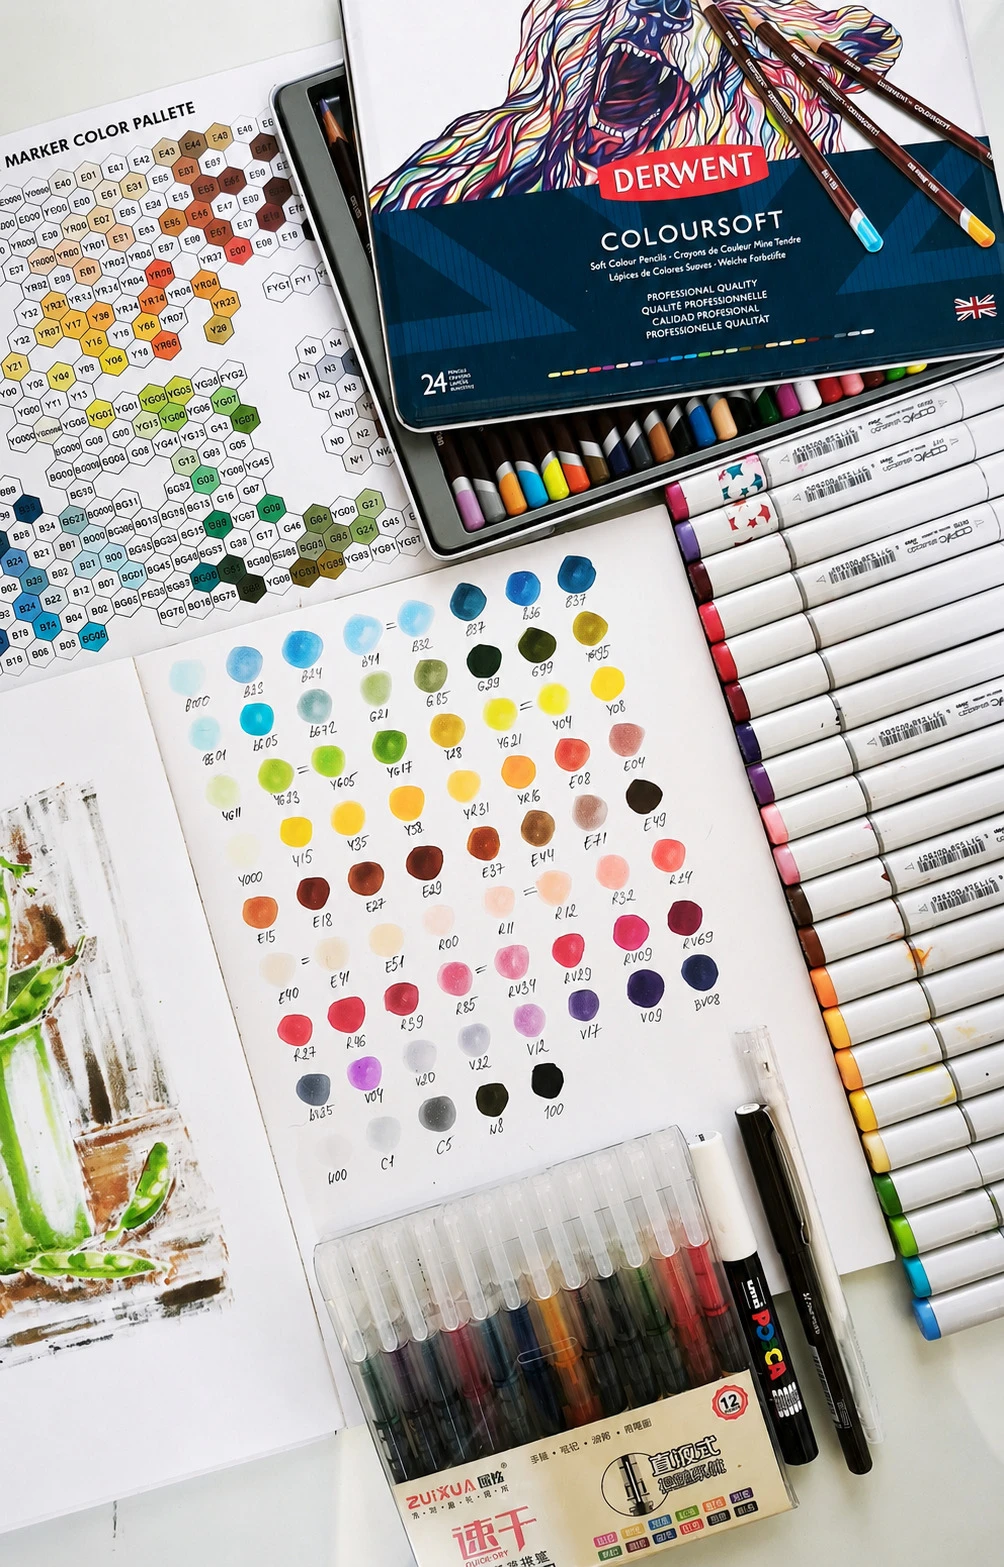
Copic, Sketchmarker, Sonnet, Marvy Le Plume, Touch, Winsor & Newton ProMarker, Finecolour, or other similar markers will work.
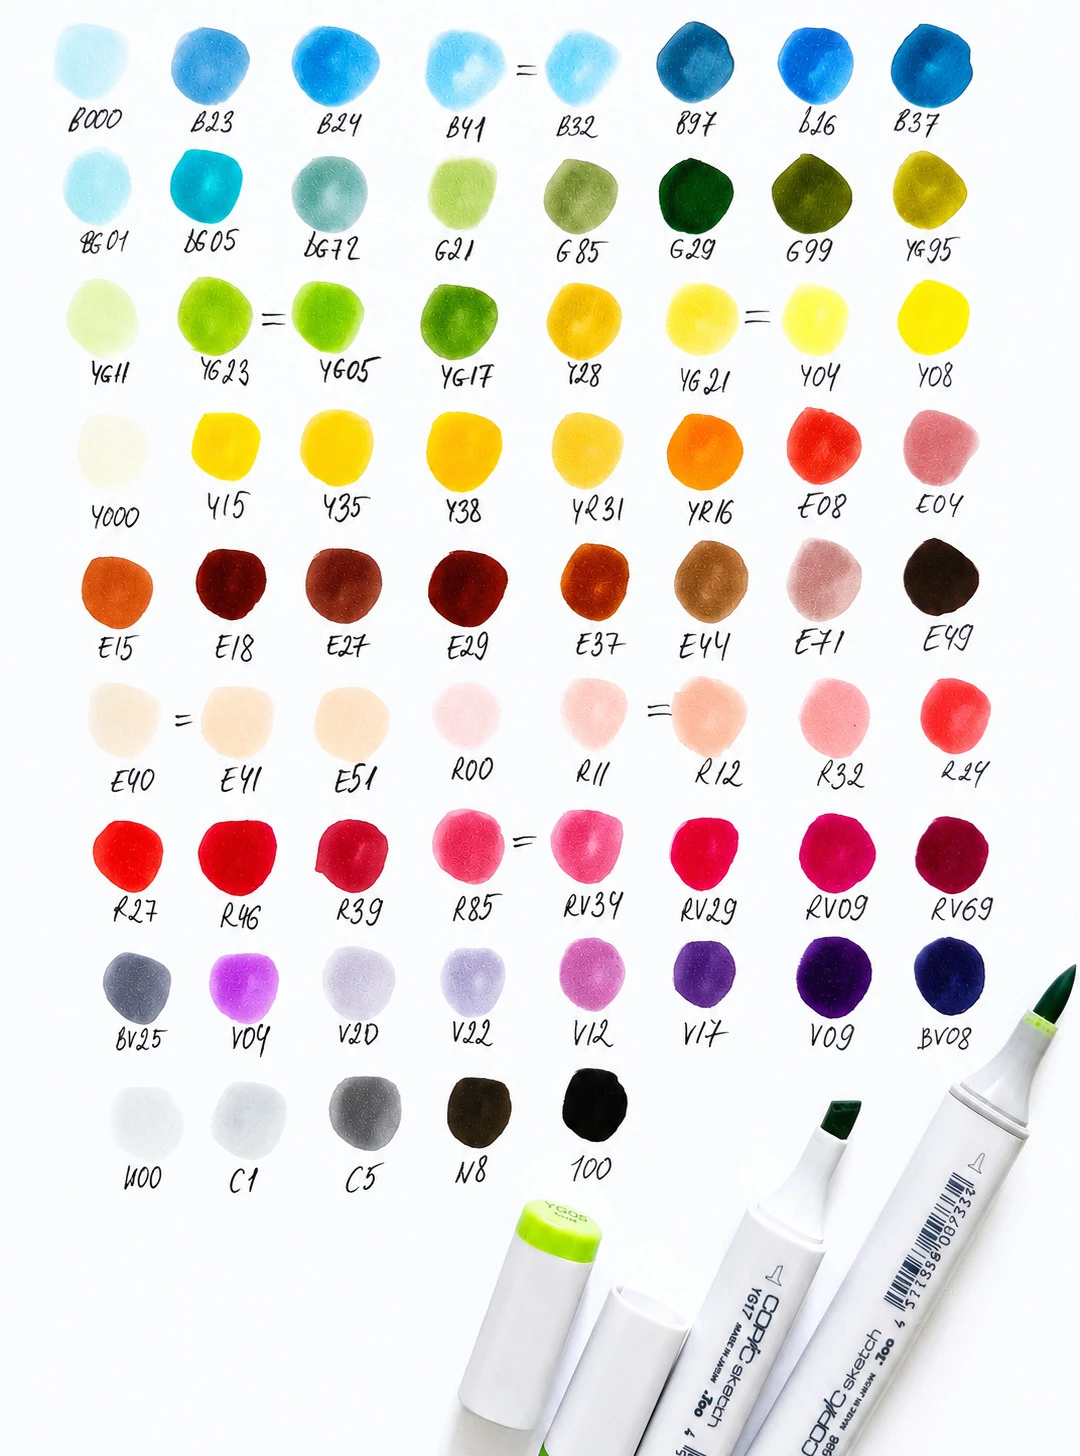
Main palette (or similar shades):
- Grays and neutrals: C1, C5, W8
- Yellows and oranges: Y000, Y04, Y08, Y15, Y28, Y35, Y38, YR16, YR31
- Reds and pinks: R12, R24, R46, RV29
- Greens: YG17, YG23, YG95, G85, G99
- Blues: B000, B23, B26, B32, B97, BG93
- Purples: V04, V22, BV25
- Browns: E08, E18, E37, E41, E44, E49
Colored pencils
Wax-based colored pencils work great (Derwent Coloursoft or similar are recommended). Main colors:
- White
- Lilac
- Blue
- Light Blue
- Terracotta
- Light Green
- Yellow
- Orange
- Red
Fineliners
- Black waterproof: 0.1, 0.3, and 0.6 mm
- Colored waterproof: red, green, yellow, and blue
Additional materials
- White acrylic marker 0.2–0.6 mm or white gel pen
- Simple HB or B graphite pencil
- Soft eraser
- Tracing paper, or a plastic sleeve, or a clear plastic cover / transparent film (1–2 sheets)
- Permanent marker in any color
- Printed references
Choose your plan
- 8 realistic artworks: from delicate flowers to juicy berries and fruit
- 13 lessons: theory + practice + artistic tips and tricks
- Machine translated subtitles: English, German, French, Italian, Spanish, Greek, Polish, Portuguese, Hungarian, Chinese, Indonesian.
- "Course Unfreeze" — the option to start learning at a time that works for you
- Access to artwork analyses from other participants
- Lifetime access to course materials
- Review of your work and answers to your questions in the comments for 60 days from the moment you start the course
- A personal one-hour online consultation with the course expert
- +$20 bonus dollars! Can be spent on a course at the next marathon. Expires in 3 months
- 8 realistic artworks: from delicate flowers to luscious berries and fruit
- 13 lessons: theory, practice, and artistic tips and tricks
- Machine translated subtitles: English, German, French, Italian, Spanish, Greek, Polish, Portuguese, Hungarian, Chinese, Indonesian.
- "Course Unfreeze" — the option to start learning whenever it's convenient for you
- The ability to watch artwork analyses from other participants
- Lifetime access to the course materials
- Review of your work and answers to your questions in the comments for 60 days from the moment you start the course
- A personal one-hour online consultation with the course expert
- +$20 bonus dollars! You can use them toward a course purchase at the next marathon. They expire after 3 months
Frequently Asked Questions
Absolutely! Anyone can draw! It's simply a skill that develops with practice. Our course is structured from simple to complex, so that anyone can complete it — even with zero experience. Throughout the course, you'll gradually build your hand and learn to draw, step by step, through the practice of creating the course artworks.
At the end of the lesson, you'll post a photo of your work. The instructor will have the option to leave a text comment, a graphic comment (notes on the drawing), or an audio comment.
At the bottom of the final lesson, there will be a comments section where you can ask any questions about the course.
If you're on a plan without feedback, it all depends on your own personal pace as you work through the lessons.
On plans with feedback, we actively work through the lessons over two months from the moment you "unfreeze" the course.
In general, I recommend going through the course at a relaxed pace. Enjoy the process as much as possible.
Yes, this course will be valuable for both beginners and those who are more experienced.
It's never too late to learn to draw. In our school, 30% of students are over 50 — and they draw with joy, develop their skills and creative thinking, and feel younger in heart and mind!